
For the next couple of months my more practical posts are going to feature music-based activities that don’t actually make a sound. I know it seems odd, doesn’t it that a blog all about music should feature something that isn’t actually musical? Bear with me though, because this site is all about things you can do as a parent to support your child(ren)’s interest in music, and these next couple of practical posts (today’s and the one at the end of April) are things that might just be good fun for them and pass an hour or so on a rainy afternoon. Now the Easter holidays are almost upon us and you know that at least half of the holidays are going to be days where it just doesn’t stop raining!
So, for this month’s musical DIY, I thought I would test out a DIY musical instrument kit that you can buy from online craft shop, Baker Ross. In this case the “D” of DIY stands for “Decorate”, as these are instruments that look nice but don’t make a sound.
Baker Ross are an online craft shop. They do not have a physical presence so you do need an internet connection to be able to shop with them. I generally order direct from them (click here for the Baker Ross website), but you can get their kits from other online retailers like Amazon. Personally I have always found that the price you pay is cheaper when you order direct from their own website. I love a Baker Ross craft kit. They are great little activities to do with the children that fill that odd half hour, or hour during the holidays when you have nothing else planned. I have bought all sorts of kits from them for the children, from seasonally inspired sticker scene kits, like a nativity sticker scene or a Halloween haunted house scene, to wooden birdhouses or bug hotels to paint and put together.
There are now quite a few Baker Ross musical instrument DIY kits that you can get for your children. Like all Baker Ross kits they always come in multi-packs rather than singles. If you order from their website pay attention to the quantity you are ordering as there are some packs with large quantities of craft kits, intended I think for schools to purchase. You can see some of the other kits that we did last year here, and also one I reviewed very recently.
DIY Wood Block- Decorate Your Own Kit from Baker Ross
Baker Ross DIY Star Wooden Clappers Kit
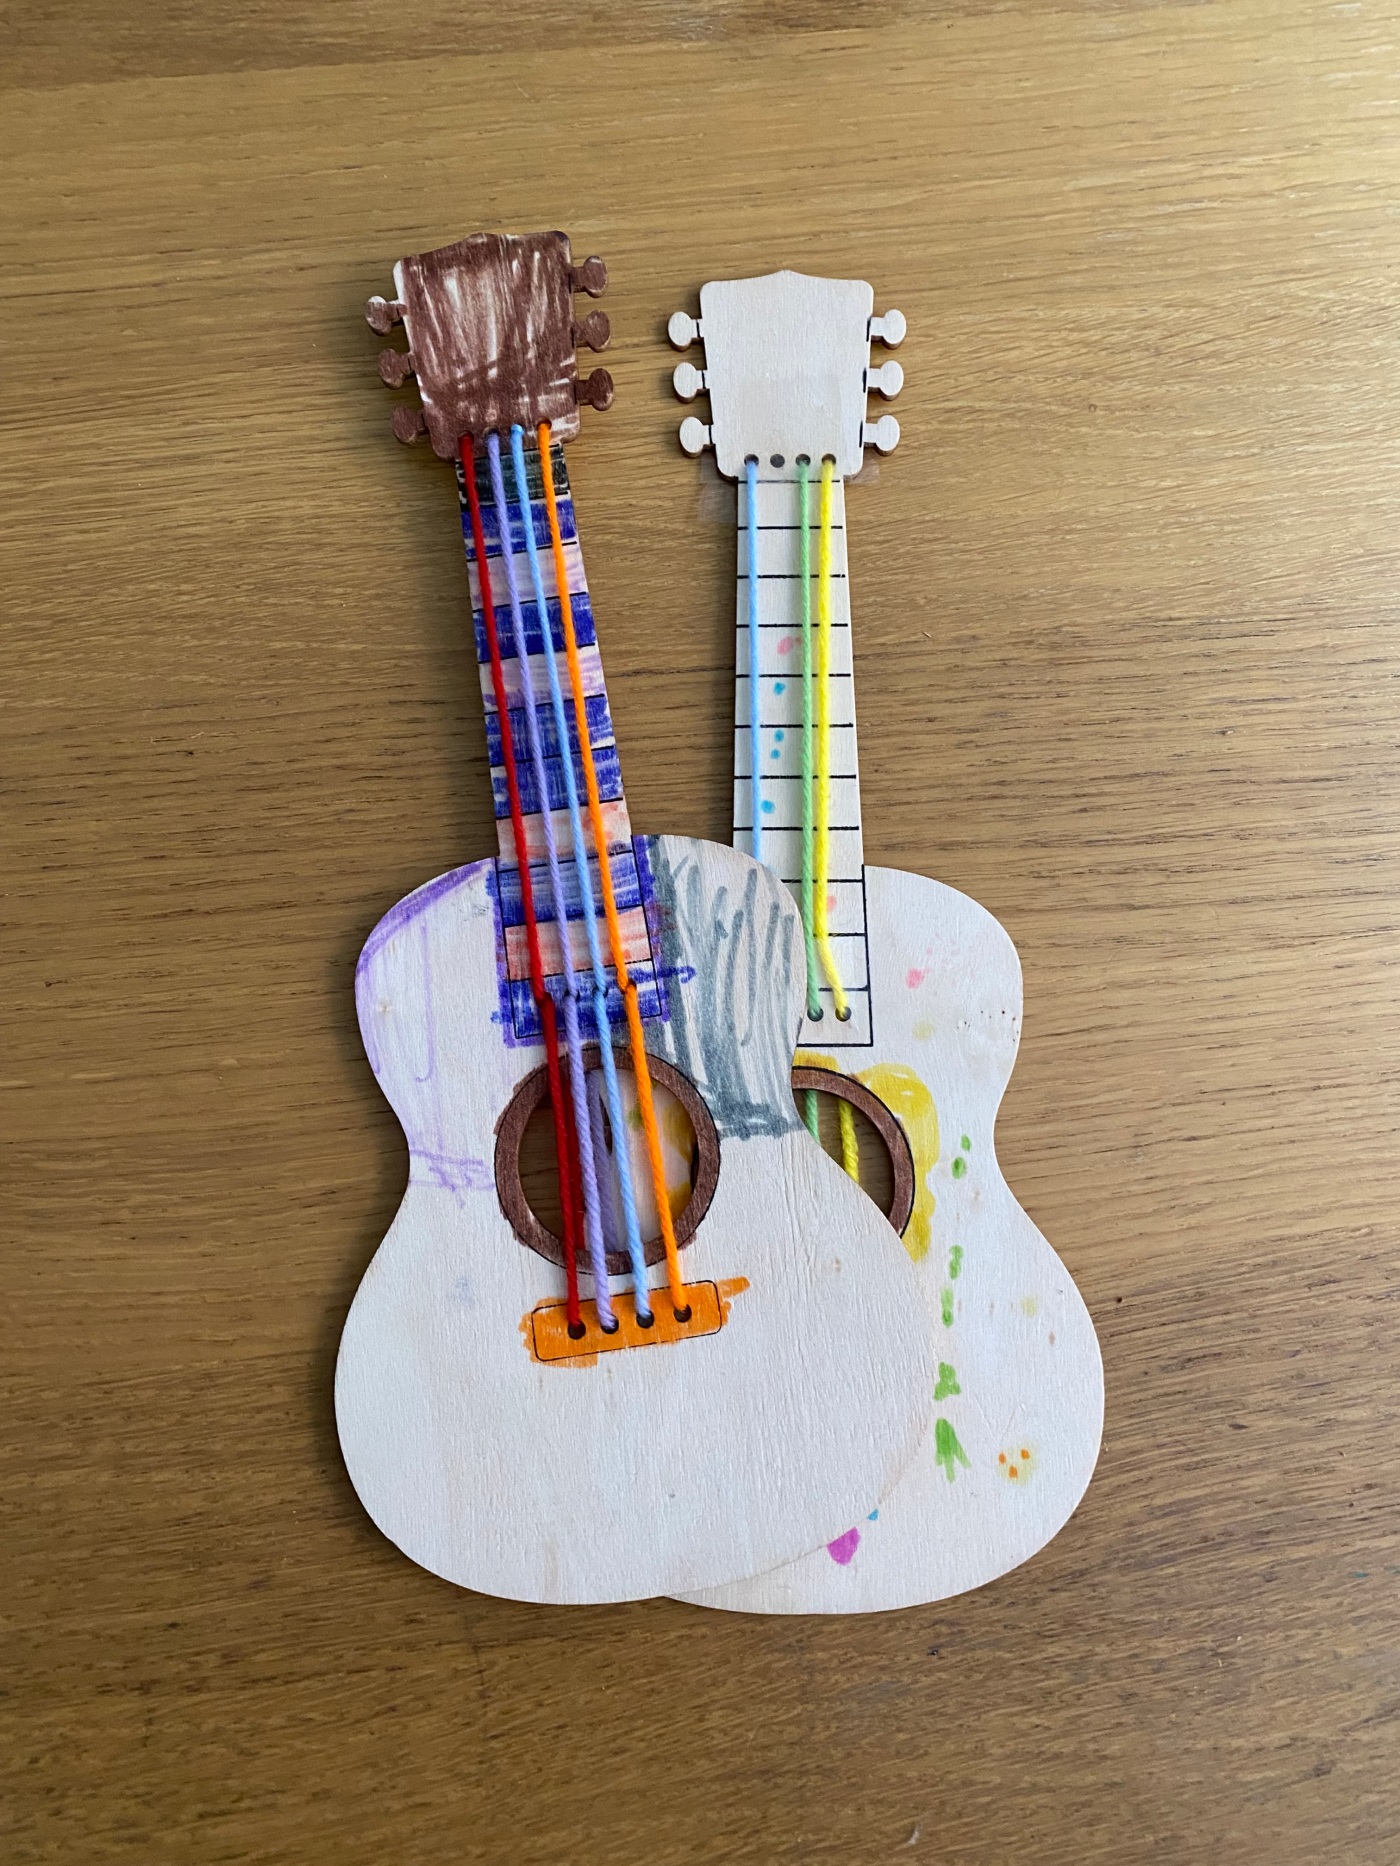
So. this kit then. It is a guitar decorating kit. I say guitar, but as a musician I do take issue with this just a very little bit. Why? Well, the kit comes with almost everything you need to put the instrument together including yarn for the strings and pre-drilled holes to thread the yarn through. There are pre-drilled holes for 4 strings for this instrument. Here’s the musician who likes a little bit of accuracy in me – a guitar has 6 strings. A ukulele has 4 strings, but a guitar has 6. So if we were being accurate this would be a Decorate It Yourself Ukulele kit. But they have called it a guitar, so that’s how I will refer to it for the rest of the post.
Just a quick note of caution here before I tell you what we did to decorate the clappers, if you are doing these with small children in the house, please be aware that they are not suitable for under 3s because they may have small parts which could be a choking hazard. It’s not a big thing, but the card packaging attached to a plastic envelope that the guitar shapes are in is secured with staples that could prick small fingers if they aren’t careful with them. and finally there is a packet of silica gel in the plastic package that your children must not put in their mouth.


So, what can you use to decorate the guitars with? There are no decorating materials included in the pack (except for the yarn for the strings), so you will need to use stuff you have at home, or buy them separately. We have done a few of these kits in the past and used all sorts of materials to decorate them – paint, washi tape, chalk markers, paint pens and felt tips. Washi tape comes off easily and quickly becomes quite irritating, it takes a good 2 or 3 coats to properly paint these instruments, whether that’s ordinary washable paint or chalk markers, as the wood they use is incredibly porous and it just drinks the paint. It may be that this happens because I use washable paint, but as you know, children get paint everywhere and I am absolutely not trusting even my 8, nearly 9, year old with anything other than washable paint. I have found, surprisingly, that the best thing to use to decorate these wooden instruments is just felt pens. They work really well.
So we got the felt pens out and the children spent a little time decorating the guitars. Once they had finished with the felt pens, we started work on the strings. The kit provides multi-coloured yarn to use for the strings in this instrument decorating kit. But it provides them uncut, so you will need to measure the length of yarn you need for each string and cut it accordingly. There is plenty of each colour of yarn, so be generous when you are estimating how much you need for each string. We chose to do a different colour for each string, but you may want to do all of your strings the same colour, or just use 2 colours. However you want your guitar to look. I roughly estimated with one string and then used that one as a template and cut the rest of the strings to the same length. I put a pile of the cut yarn in the middle of the table and let the children choose what they wanted from that pile.
Baker Ross have included a couple of plastic tapestry needles in the kit for threading the strings through the pre-drilled holes in the guitar. Tapestry needles are safe for children to use under supervision. They have more blunt ends to them than normal sewing needles and so are not as sharp. They tend to have wider eyes as well so it is easier to thread them, especially with yarn. I can see to thread tapestry needles without my glasses, whereas I need to use a threader every time to get thread into a sewing needle.


While there are some instructions as to how to thread the yarn through the pre-drilled holes in the instructions in the pack, this is what we did:
- Knotted the yarn and pulled it through the hole at the top above the fret board (the fret board is the thing that looks a little bit like a ladder). Here we pulled the yarn through from the back of the wooden shape to the front.
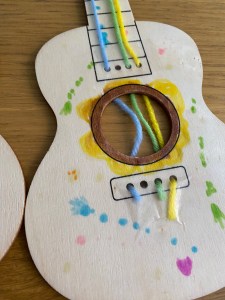
- Pushed the yarn through the hole at the top of the large circular hole, the yarn being pushed from the front of the instrument to the back.
- There is another pre-drilled hole for the yarn at the bottom of the large circle, and we pulled the yarn through here from the back of the guitar template to the front. My son decided to finish here and he put a knot in his yarn and trimmed the ends here.
- For my daughter, she pulled the yarn over the large circular hole and back into the pre-drilled hole above it that we had already used. We put a knot in the yarn at the back.
- The last step we did was to get some sticky tape out from our cupboard and tape over the ends of the yarn as we felt that would keep the yarn in place more securely than just putting a knot in the yarn and hoping for the best.
And this is what our guitars looked like at the end. I am not sure we taped my son’s yarn in all that well, as one of the strings has already gone walk about. The guitars do not make any sound at all as the strings are made with yarn. My children have enjoyed playing air guitar with them, though. And they thoroughly enjoyed the activity, so it was well worth getting.
I have added a little video below that I did for TikTok showing you what we did with this kit, and this shows you the yarn threading we did. I am including the video here because it is probably easier to see what we did, than read an explanation – I don’t know about you, but I find it much easier to understand these things if I have a visual example, than by reading about them.
I bought this DIY guitar kit direct from Baker Ross and paid £6.95 for a pack of 3, and at the time of writing they are the same price. You can visit the Baker Ross website by clicking on the link below:
If you have enjoyed reading my blog post, thank you. I am always looking for ideas for the blog, so would love to hear from you with suggestions for topics you would like me to cover in the future. Also, if you would be interested in supporting me to keep this blog running, buying the books to review here, and supplies to make the DIY instruments, for example, I would be absolutely delighted if you would consider buying me a coffee using the following link: Buy Me A Coffee Thank you!!
