
As readers of this blog will know I do like to make instruments with the children, and for the children. For their part, the children love messing about with bells, paint and having fun making their own musical instruments. So we do this quite a lot, especially in the holidays.
I am also a big fan of Baker Ross craft kits and always purchase a few before any of the school holidays begin. They are great to pull out on those rainy days when you have run out of any other ideas of things to do with the children. We have had Christmas or Easter themed sticker scenes, we have bought things like Paint Your Own mug or tea light holder kits for the children to make presents for relatives with. I love them. I was delighted to see that Baker Ross did a set of DIY musical instrument kits.
The first one I had a go with, and my 4 year old loved painting this with me, was a wooden tambourine kit.

In the kit you are given some wooden tambourine shapes each with 10 pre-drilled holes in them, some jingle bells, some pre-cut lengths of ribbon and a very sparse set of instructions, that are mainly in picture form. Much as I love Baker Ross kits, I do find that their instructions can be a little confusing as they are generally all in picture form, and sometimes it seems impossible to do what the picture suggests.
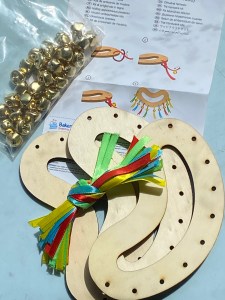
A quick note of caution before I move on from the contents of the kit, there is a small bag of silica gel in the kit bag, which you should be careful to dispose of before your children get hold of the kit.

You could make the tambourine with the contents of the kit alone, but we like to make the instruments look a little prettier – besides the activity takes more time if you decorate the tambourine as well, and can stretch to fill most of a morning or afternoon. Baker Ross generally do not include any paint or anything to decorate these wooden kits with, so we use the paint we have at home. It is just children’s ready mixed SCOLA poster paint. We have had these very large bottles for years. I can’t remember when we bought them. It was certainly a while before the pandemic and we do a lot of painting at home, especially when we were homeschooling in the last 18 months or so. These tubes of paint are still going strong, and well worth the investment!

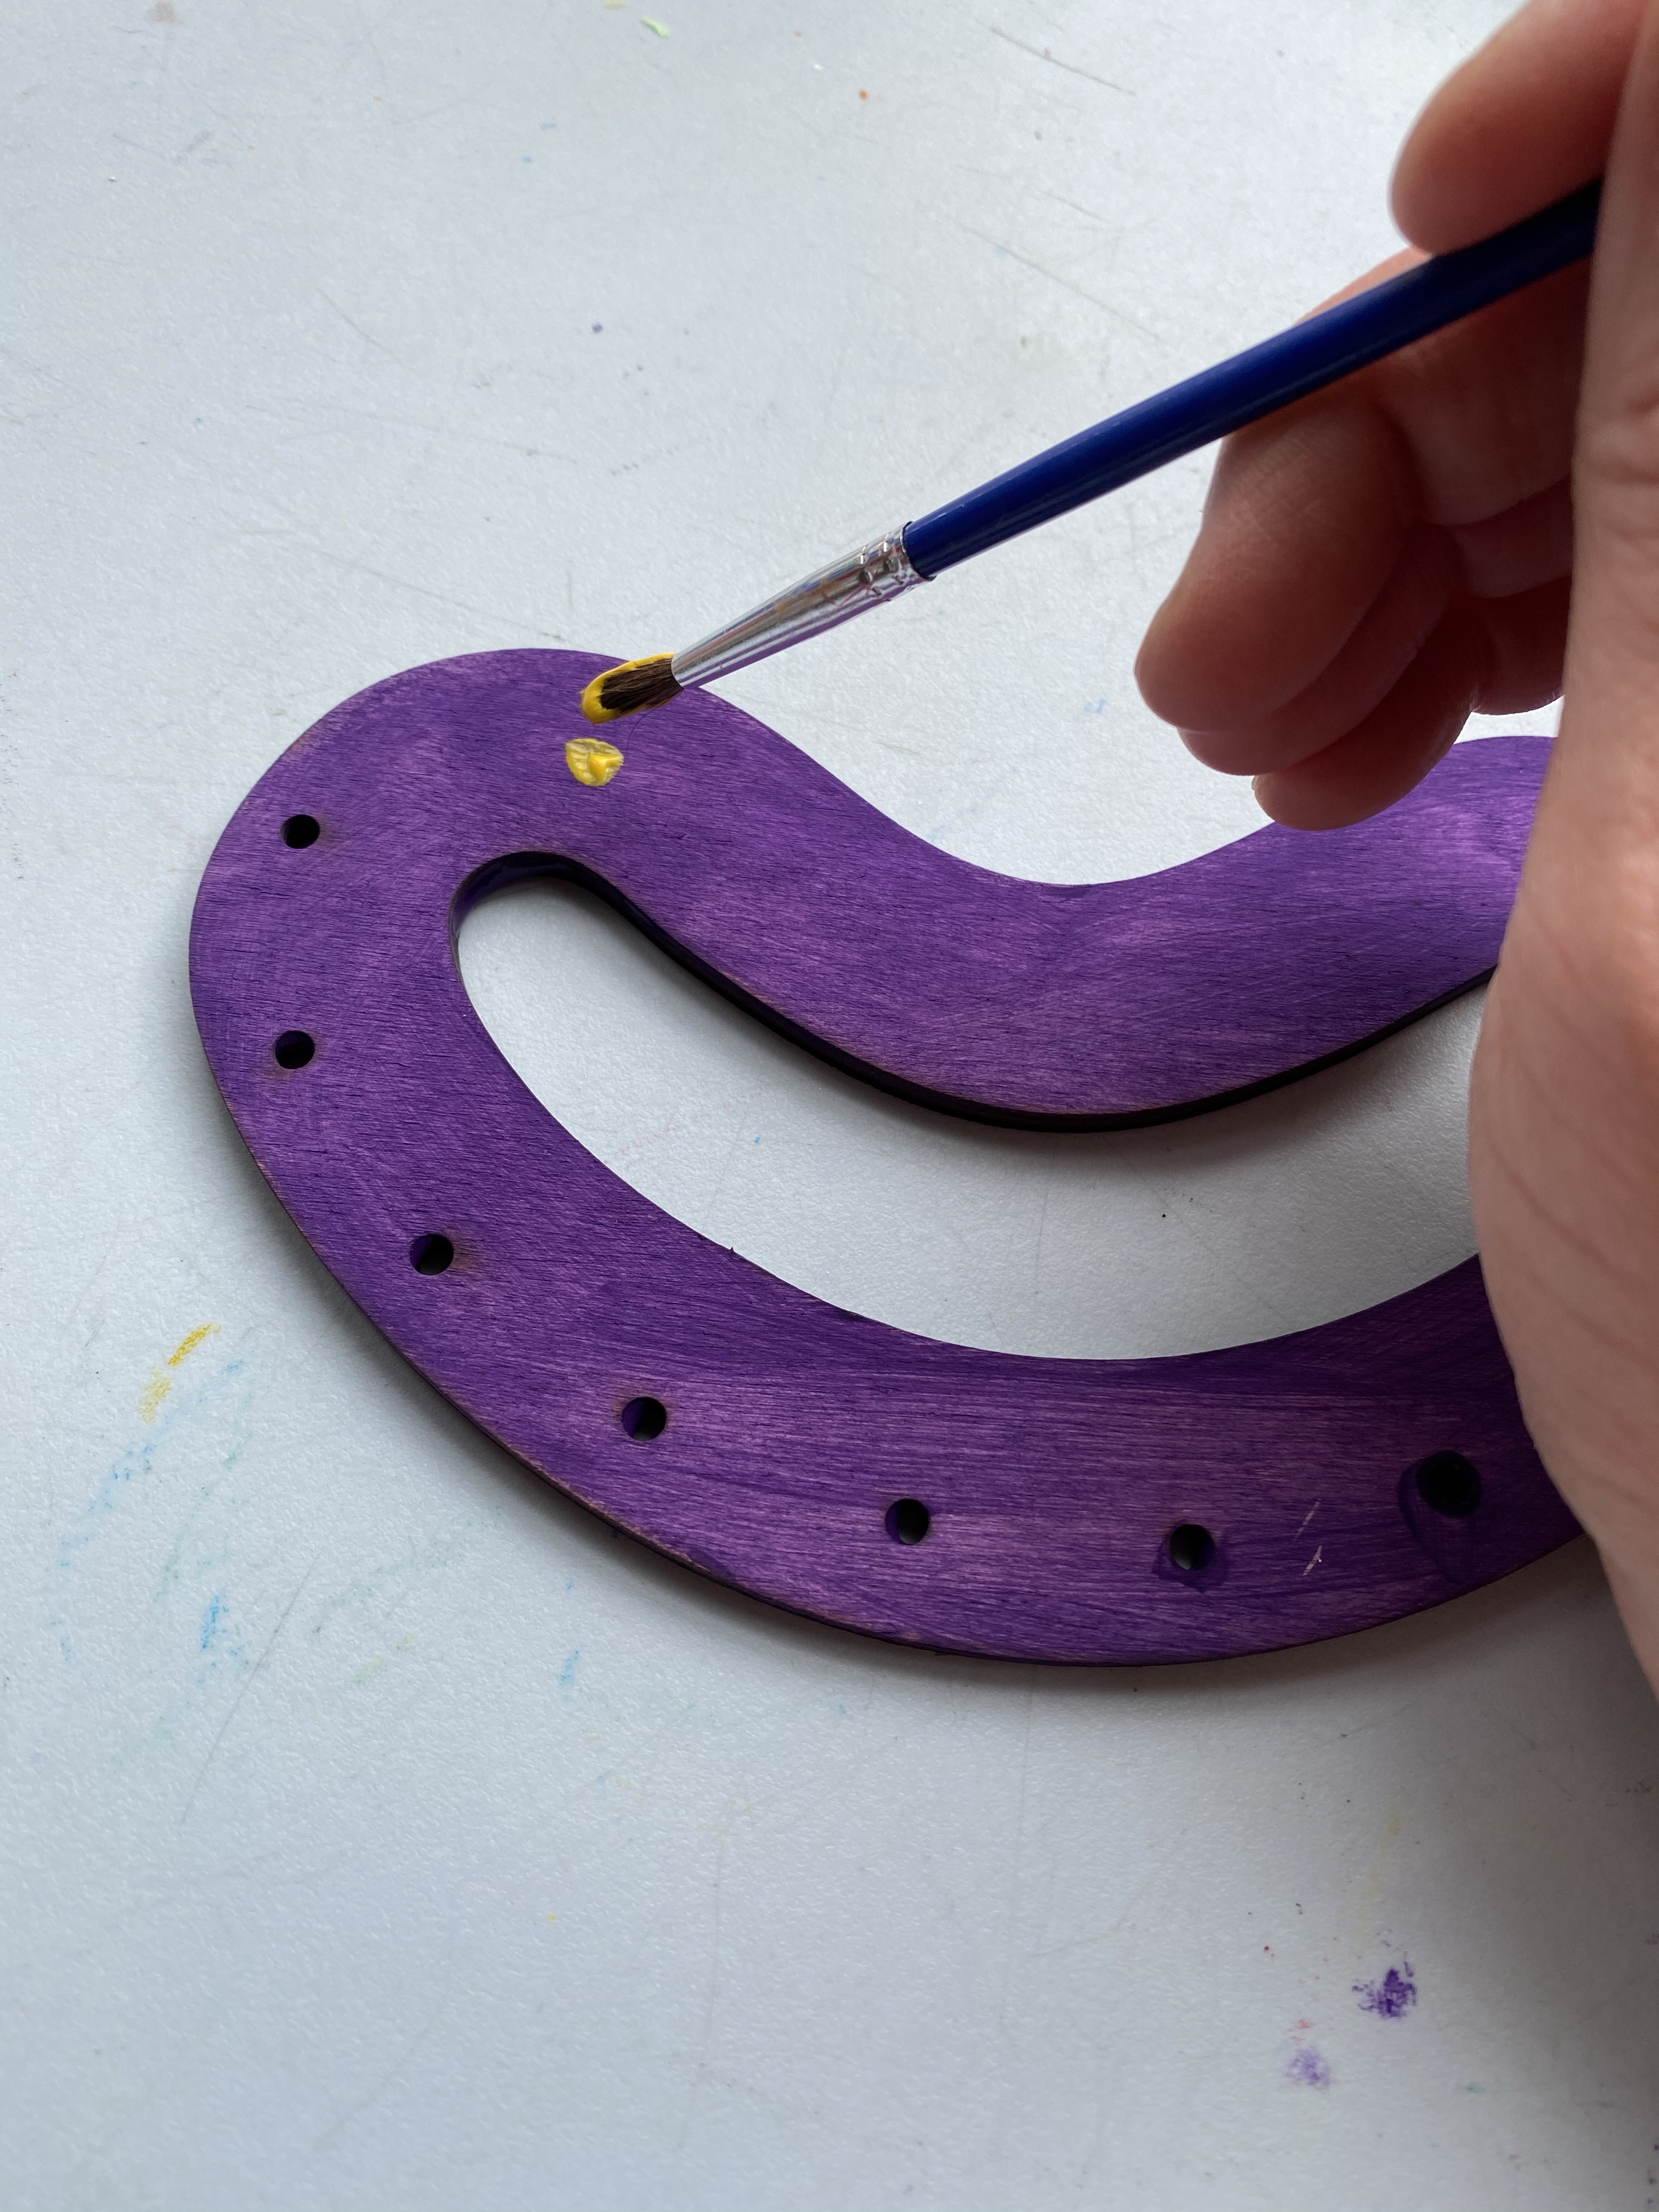
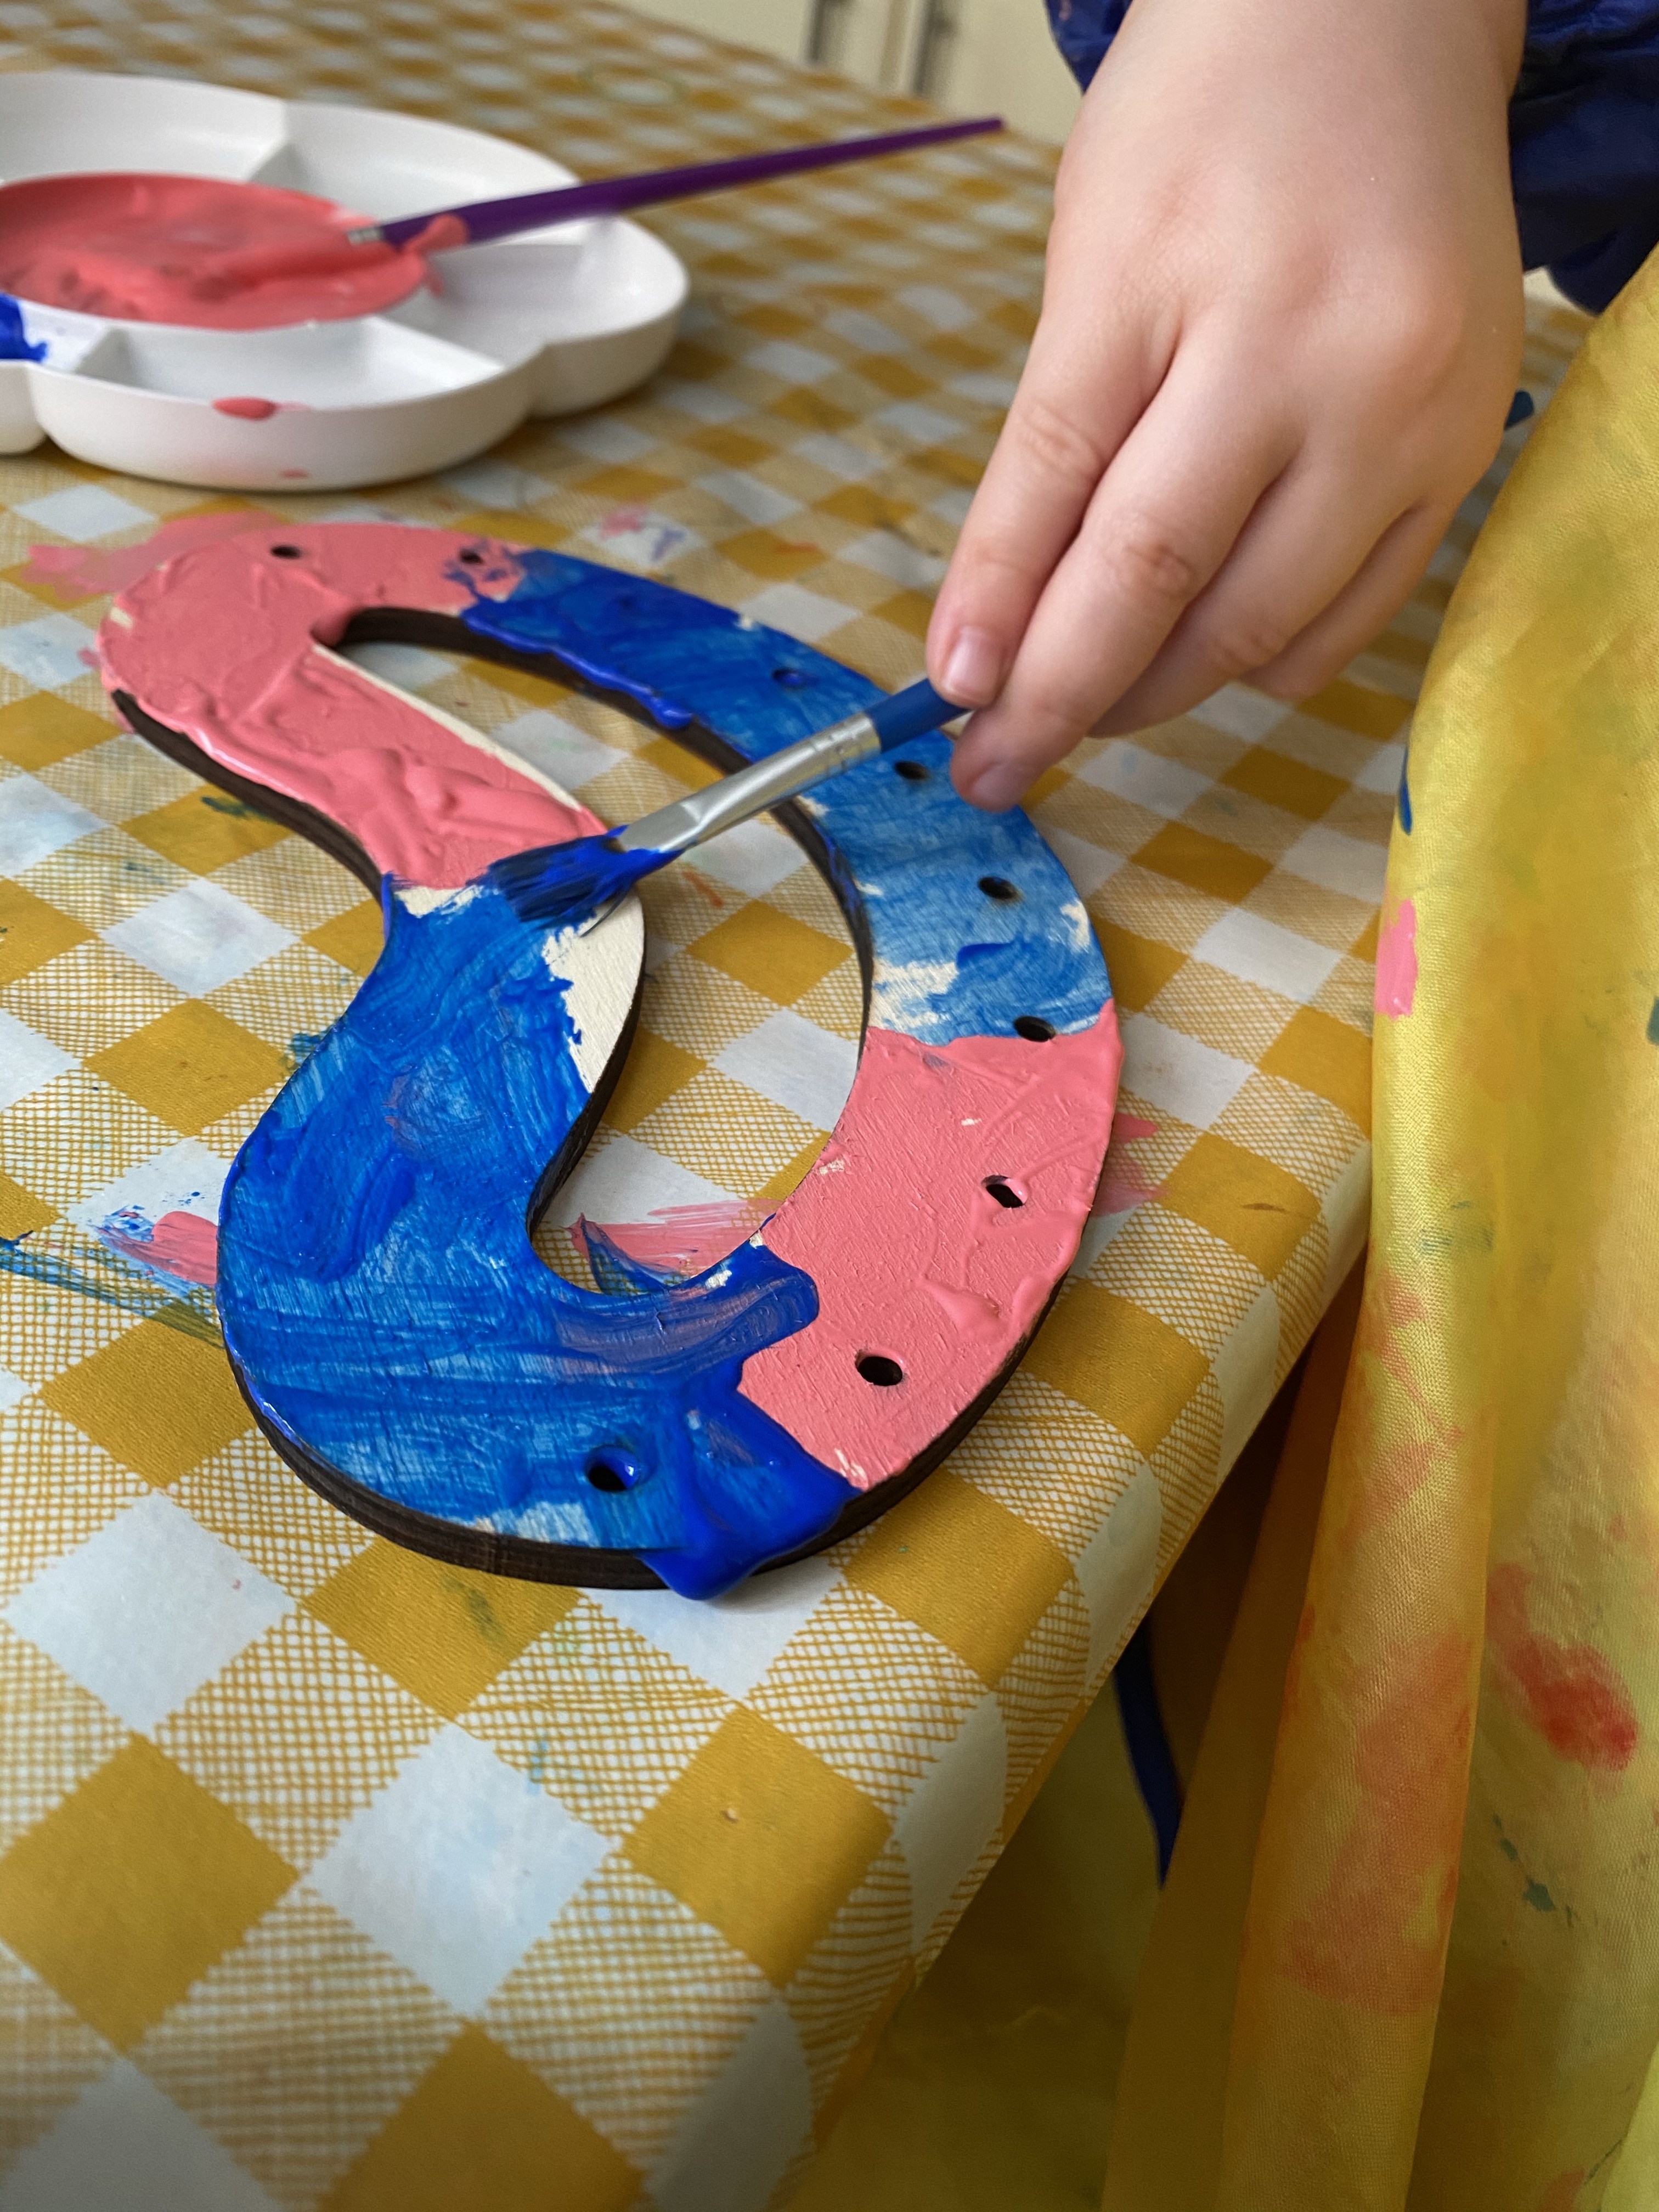
The first thing to do was to paint the wooden tambourine shape. I painted both sides of mine, allowing each side to dry before turning over and doing the other side. On one side of mine I chose to paint flowers and on the other side (pictured later on down this blog post) I did some simple stripes. I did have to put a couple of coats of the purple paint on to get good, dark coverage as the wood is quite porous. My daughter saw the tambourine drying when she came home from school (I had done mine earlier in the day to take pictures for this blog post and also so I knew what to do when helping her or my son make the tambourine), and could not wait to get her hands on one of them and some paint. She went for quite a stripy look for her tambourine as well.


The next stage was attaching the bells. For this stage I needed the decorated wooden tambourine shape, 10 ribbons (there were 10 pre-drilled holes in the wooden shape) and 10 jingle bells.
Following the picture instructions I threaded a ribbon through the first pre-drilled hole.

Tied a half knot into the ribbon and threaded the ribbon through the jingle bell, tying another double knot under the bell.

The jingle bell was firmly tied onto the ribbon, and I checked a couple of times that the knot would not come undone when shaken.

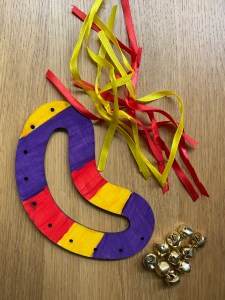
Finally, I threaded the rest of the ribbons through the pre-drilled holes, and tied a jingle bell onto each ribbon to complete the tambourine.


All that was left was to play it.
What do you think, does it sound like a tambourine? To my mind, this sounds rather more like jingle bells than a tambourine:
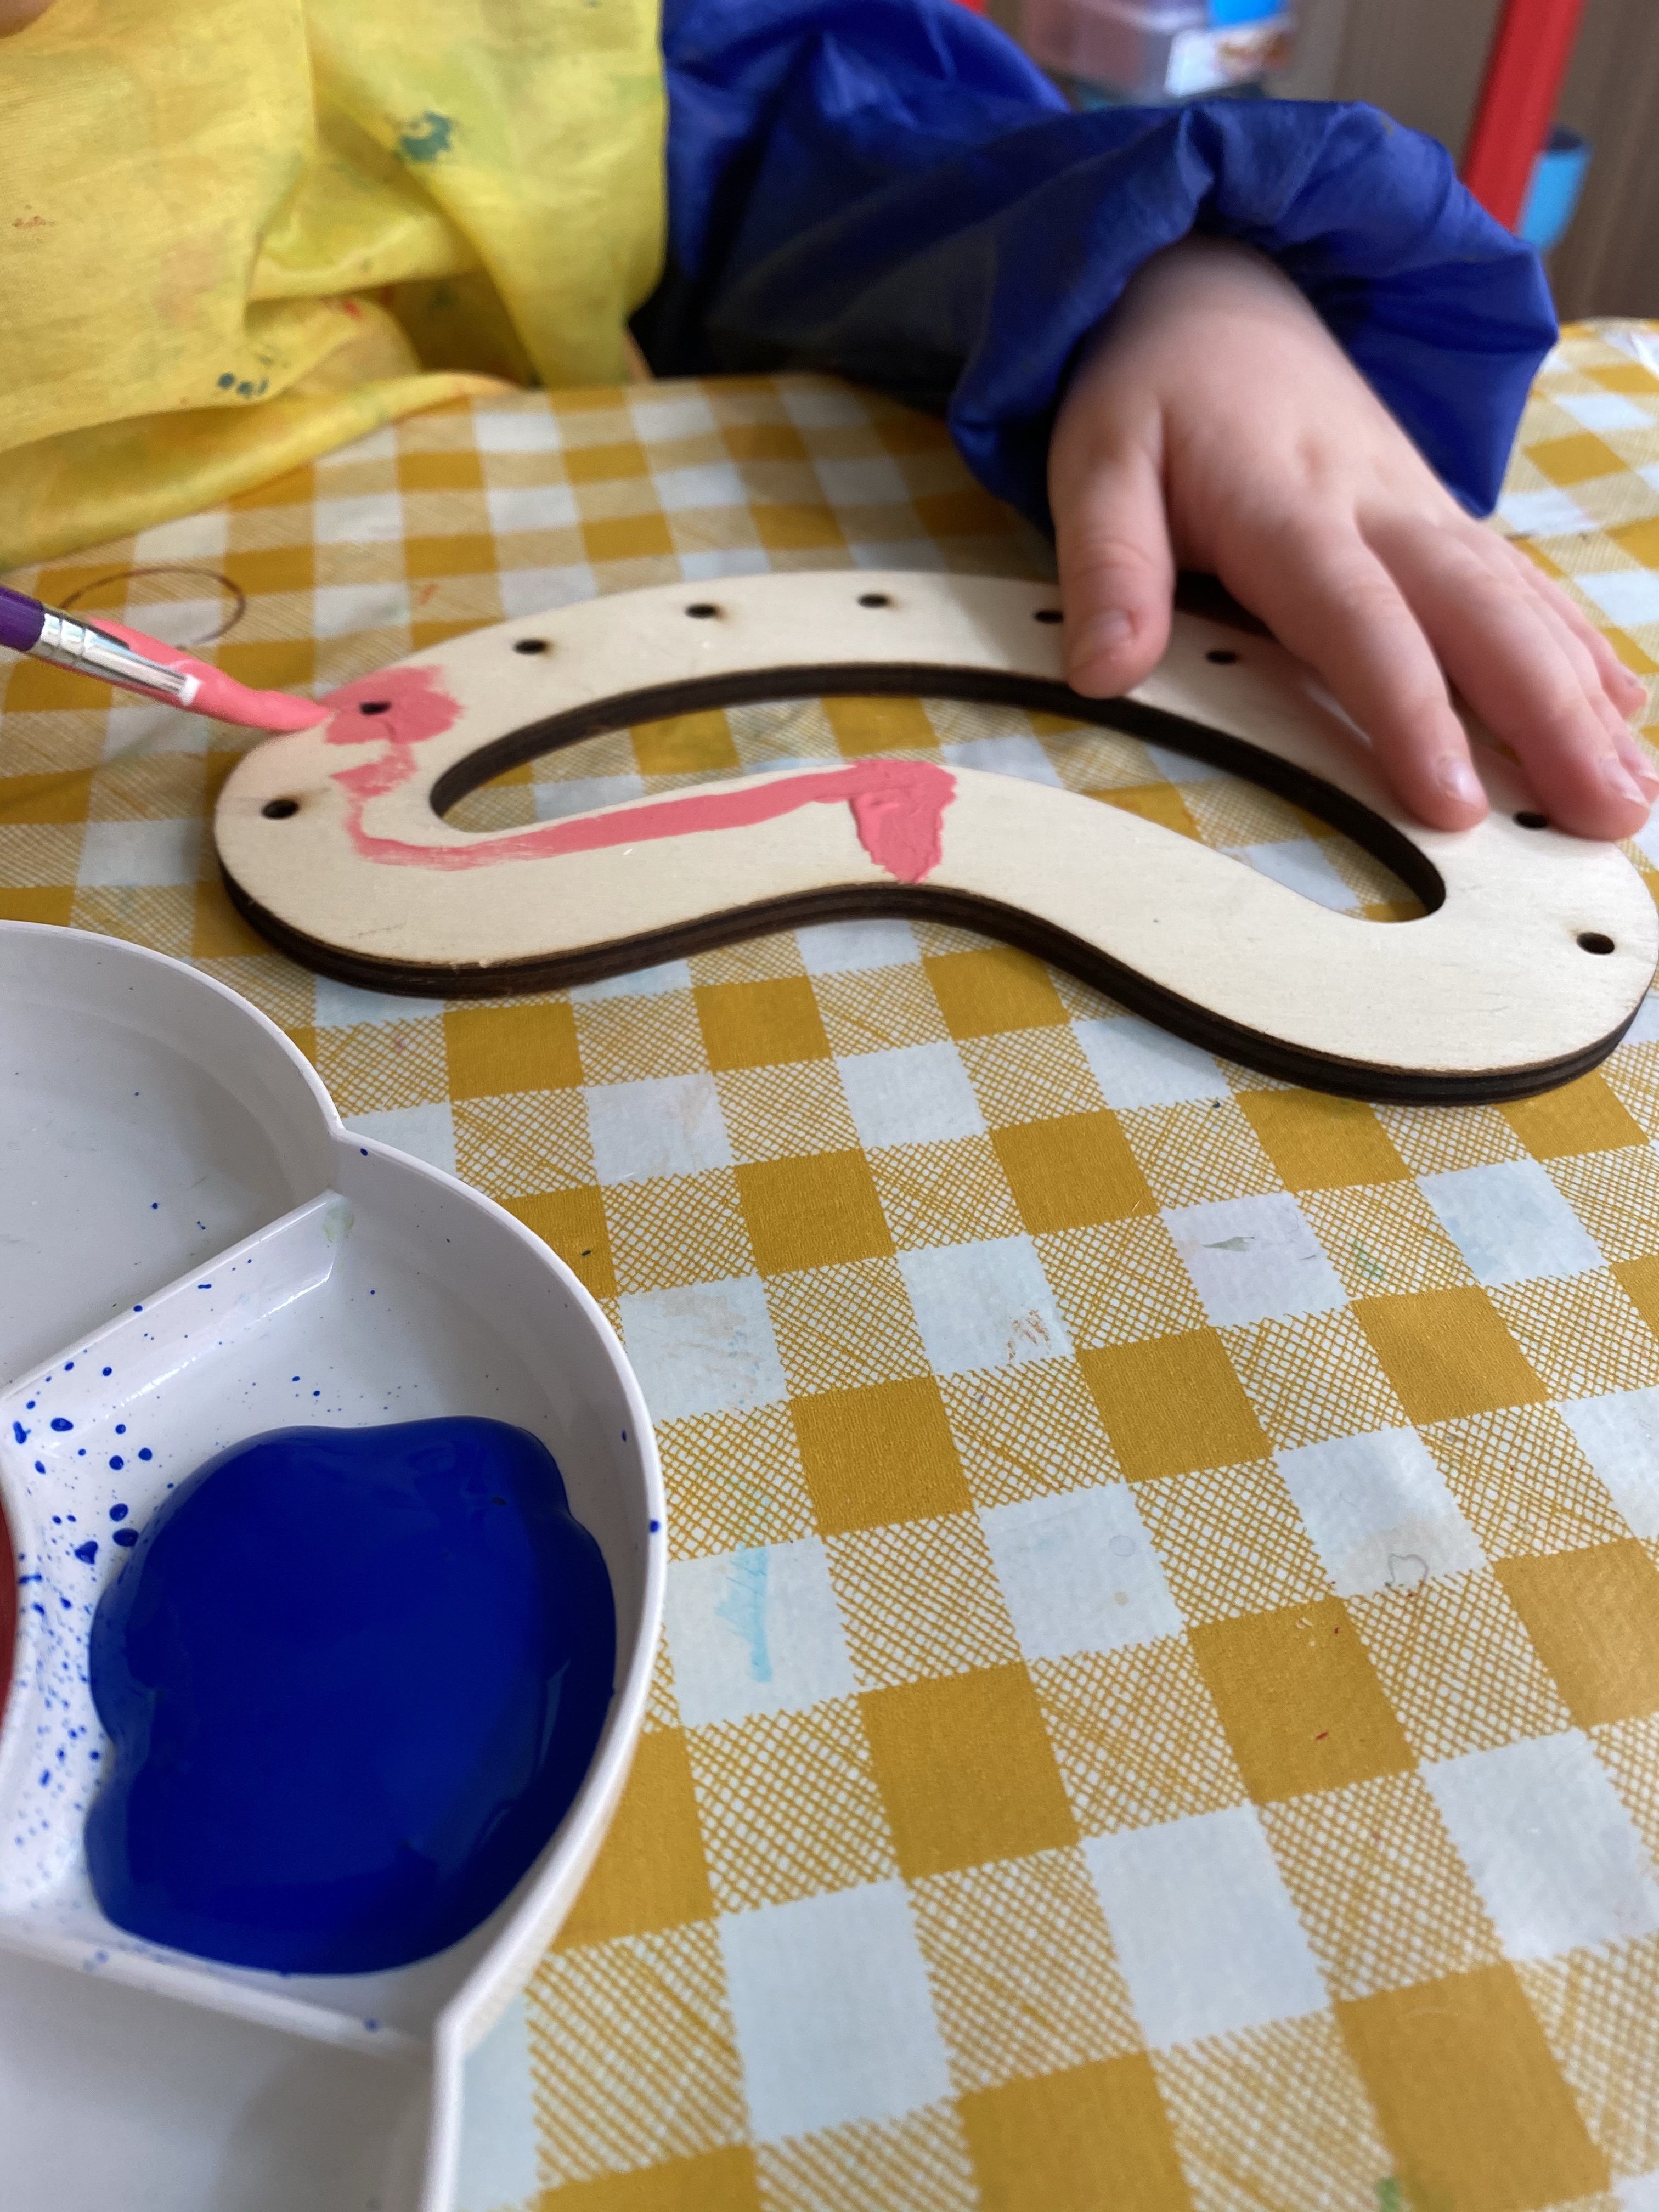
I did this activity with my 4 year old, and she loved painting the tambourine. She kept calling it a smile though, rather than a tambourine, and really loved using it to play with expressions – happy face, sad face turning the wooden shape upside down for the sad face. She played with the wooden shape without the bells for ages before we attached the bells to her tambourine. As a 4 year old she didn’t quite have the manual dexterity to thread the ribbon through the small holes in the wood, and she certainly couldn’t manage knotting the ribbon around the bell. My 7 year old would have just about managed it – however, he was more interested in playing on the Xbox at the time so hasn’t had a go yet.
If you are doing this activity with children, it does require quite a bit of parental support with younger children. The jingle bells are a choking hazard so you should not leave very young children alone with them. I believe the package says it is not suitable for children under 3 because of the small bells. It is a very fun activity to do, and you get a musical instrument to play at the end!
I bought my kit direct from Baker Ross at a cost of £4.95 for a packet of 3. They can, of course, be purchased from other retailers including amazon. If you buy direct from Baker Ross, they do options for school teachers of much larger packs to make it more cost effective to buy them for the whole class.
