
DISCLOSURE: This post contains affiliate links. This means that I may earn a small commission (at no cost to you) if you make a purchase using my link.

If you have read some of my other blog posts you will probably know already that I really like a Baker Ross craft kit. They are great things to have at home and to be able to whip out on a rainy afternoon stuck at home. They are easy enough for young children to do, and for them to complete a lot of the activity independently. So the fact that Baker Ross do some paint your own instrument kits is fantastic. One afternoon a few weeks ago, when it was just me and my then 4 year old daughter at home, we decided to get this Mini Woodblock kit out and have a go at painting and then playing the woodblocks. I have linked to the kit, and everything else we used for this activity at the end of this post in case you want to get it and have a go yourself.
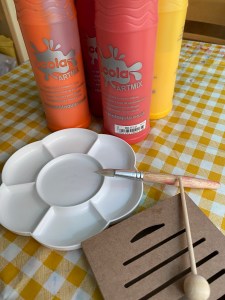
This is what you get in the kit:

You get 3 of the wooden blocks together with a wooden beater for each block. These are hollow and on the front of each block are a number of lines and cut out of the wood block together with 2 small more semi-circular shapes. This is to let the wood block make a sound (sound is created by making vibrations within a particular space here, inside the wood block). You need a way to let the sound out of the wood block, here the cut out lines and shapes. Unfortunately (for me) each of the woodblock and beater sets is wrapped individually in plastic, which I feel is rather unnecessary and could be reduced. Especially as the kit as a whole is contained within plastic wrap. There are no instructions with the kit, the picture on the front of the packaging being your only clue as to what to do, perhaps some indication of what you can use to decorate the woodblocks with could be useful. On a safety note, do be aware that there is a packet of silica gel inside the packaging that you will need to remove before your children get hold of it.
Basically, what you do with this kit is decorate it, however you or your children choose. You could use pens, stickers or paints. These are not included in the kit, and while that could be disappointing if you were hoping to have everything, I guess it is also quite liberating to be able to choose whatever you want to decorate the woodblock with. You could decide not to decorate it at all, just play the instrument.
We decided to use paints as my daughter loves painting. I bought this set of paints a few years ago, before lockdown, and we are only now starting to run out of them. They have been an absolutely fantastic buy. I will link to the paints etc in the post below so you can buy them if you don’t have them at home already.
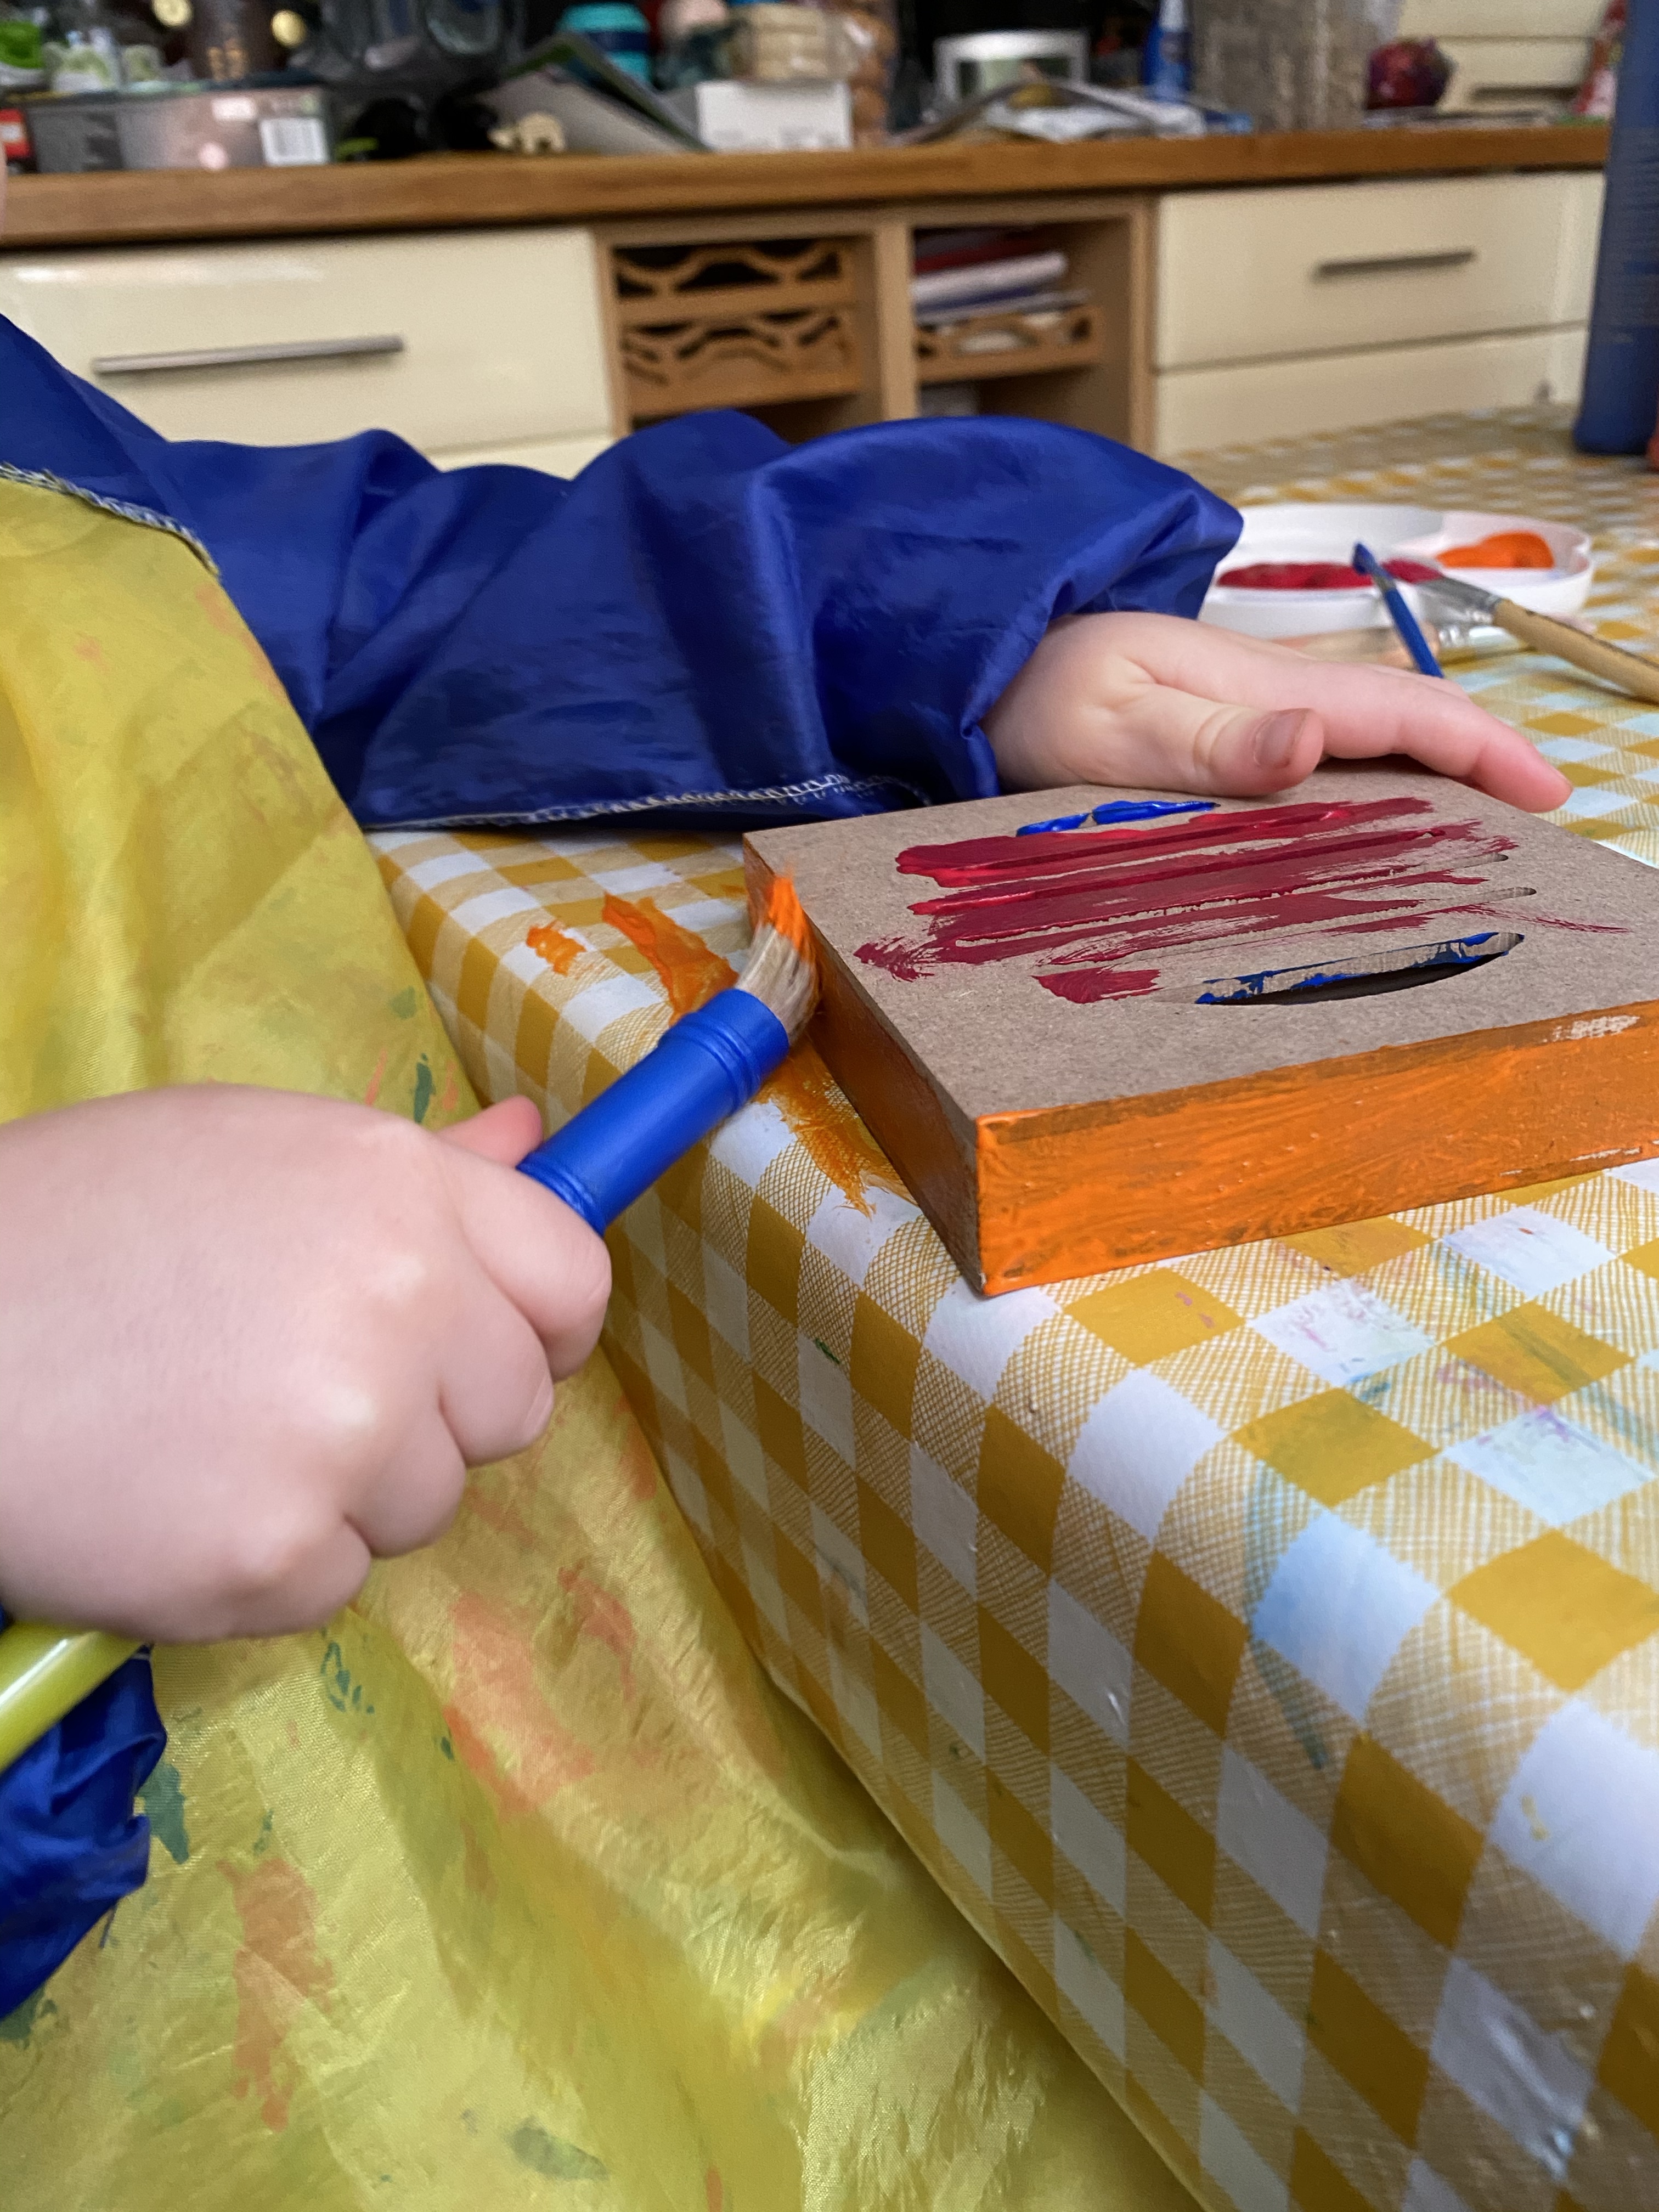
I let my daughter choose the colours she wanted to use, and then just left her to paint the woodblock as she desired. I found, when we were home a lot in lockdown, that when I sat with the children and did the activity with them, they were much more likely to stay doing it for a while. They would put a little more effort into their painting, especially my youngest who generally likes to do 17 paintings in about 15 minutes if I let her! So on this day I sat next to her and painted one of the woodblocks using the same colour paints. She watched me as I was painting, and did her own thing. But I did notice that shortly after I started painting the sides of the woodblock, she did too. When I chose a single block colour for the base, she did something similar. So she actually painted the whole of the wooden block rather than just splashing a line of paint down the middle of it, for instance, as she may have been tempted to do if I hadn’t been painting with her.


She thoroughly enjoyed painting the woodblock. And if that was where the experience ended, so it was just a painting activity, it would have been well worth it. We had a very pleasant time, listening to music as we painted – I’m sure she was in charge of the playlist, so songs from Peppa Pig, Paw Patrol or Disney movies would have been playing, and we would have been singing along at the same time. This what my daughter’s woodblock looked like when she had finished painting:

So what does it sound like? Well here is a little video of her having a go at playing the woodblock before she painted it. It sounded very much the same when she played it after it dried:
All in all, this was a really lovely activity to do, in and of itself, and at the end of it my daughter got a new percussion instrument to play with. What is not to like?
At the time of writing this post, the Baker Ross Mini Wooden Rhythm Blocks set is available from Amazon priced at £3.77 for a pack of 3. There is a link below (click on the picture itself) which will take you through to Amazon if you want to buy these to do with your children. I will also put links to the paints and pallette I used for this activity if you don’t already have these at home. These are affiliate links, so if you do make a purchase using the link provided then I may earn a small commission from that sale, at no extra cost to you.


If you have enjoyed reading my blog post, thank you. I am always looking for ideas for the blog, so would love to hear from you with suggestions for topics you would like me to cover in the future. Also, if you would be interested in supporting me to keep this blog running, buying the books to review here, and supplies to make the DIY instruments, for example, I would be absolutely delighted if you would consider buying me a coffee using the following link: Buy Me A Coffee Thank you!!
