
Today’s DIY instrument was A set of windchimes.

These are very much indoor windchimes, but I do have vague plans in my head to make some outdoor windchimes at some point in the next few weeks with some old cutlery we no longer use but have hoarded in a drawer for some unknown reason (it’s general laziness really, but I like to pretend it’s because of the small children in the house taking up all my time.) I have plans to make a lot of things “in the next few week”, so we’ll have to see what we actually manage to make!
Anyway, the windchimes. To make these indoor windchimes you need:
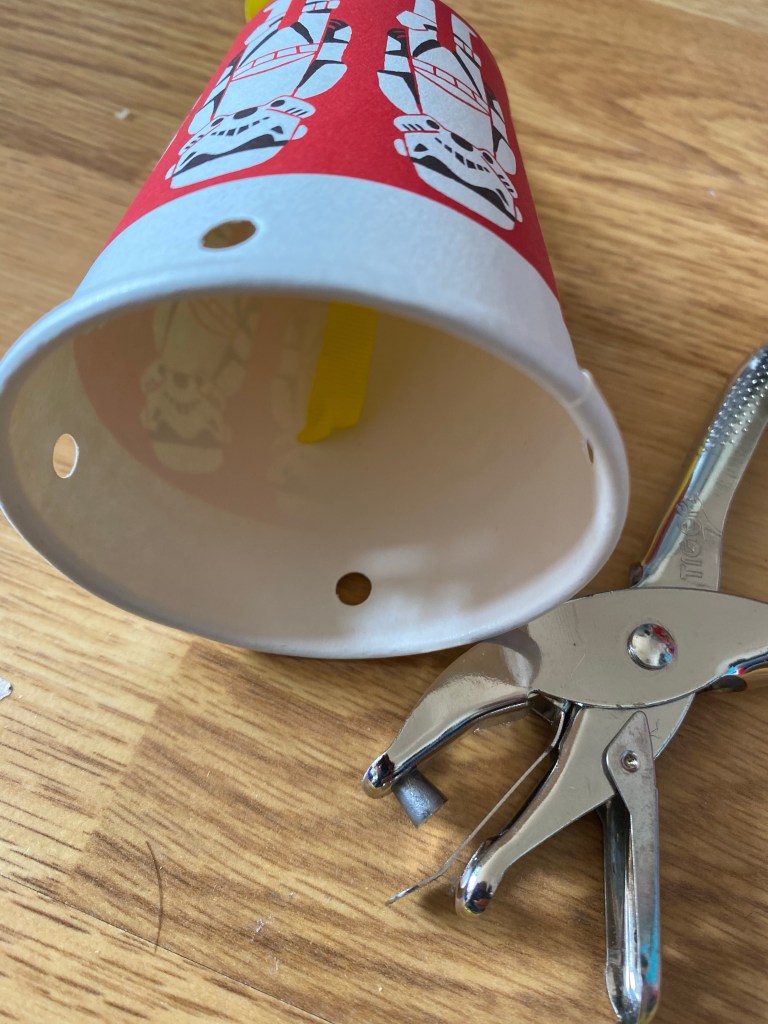
- A paper cup- we used the last of our Star Wars cups from my son’s birthday last year
- Some yarn, thread or shoelaces- weused some bright yellow yarn, cut into 4 equal length pieces for each cup
- Some ribbon or more yarn to hang the cup up with.
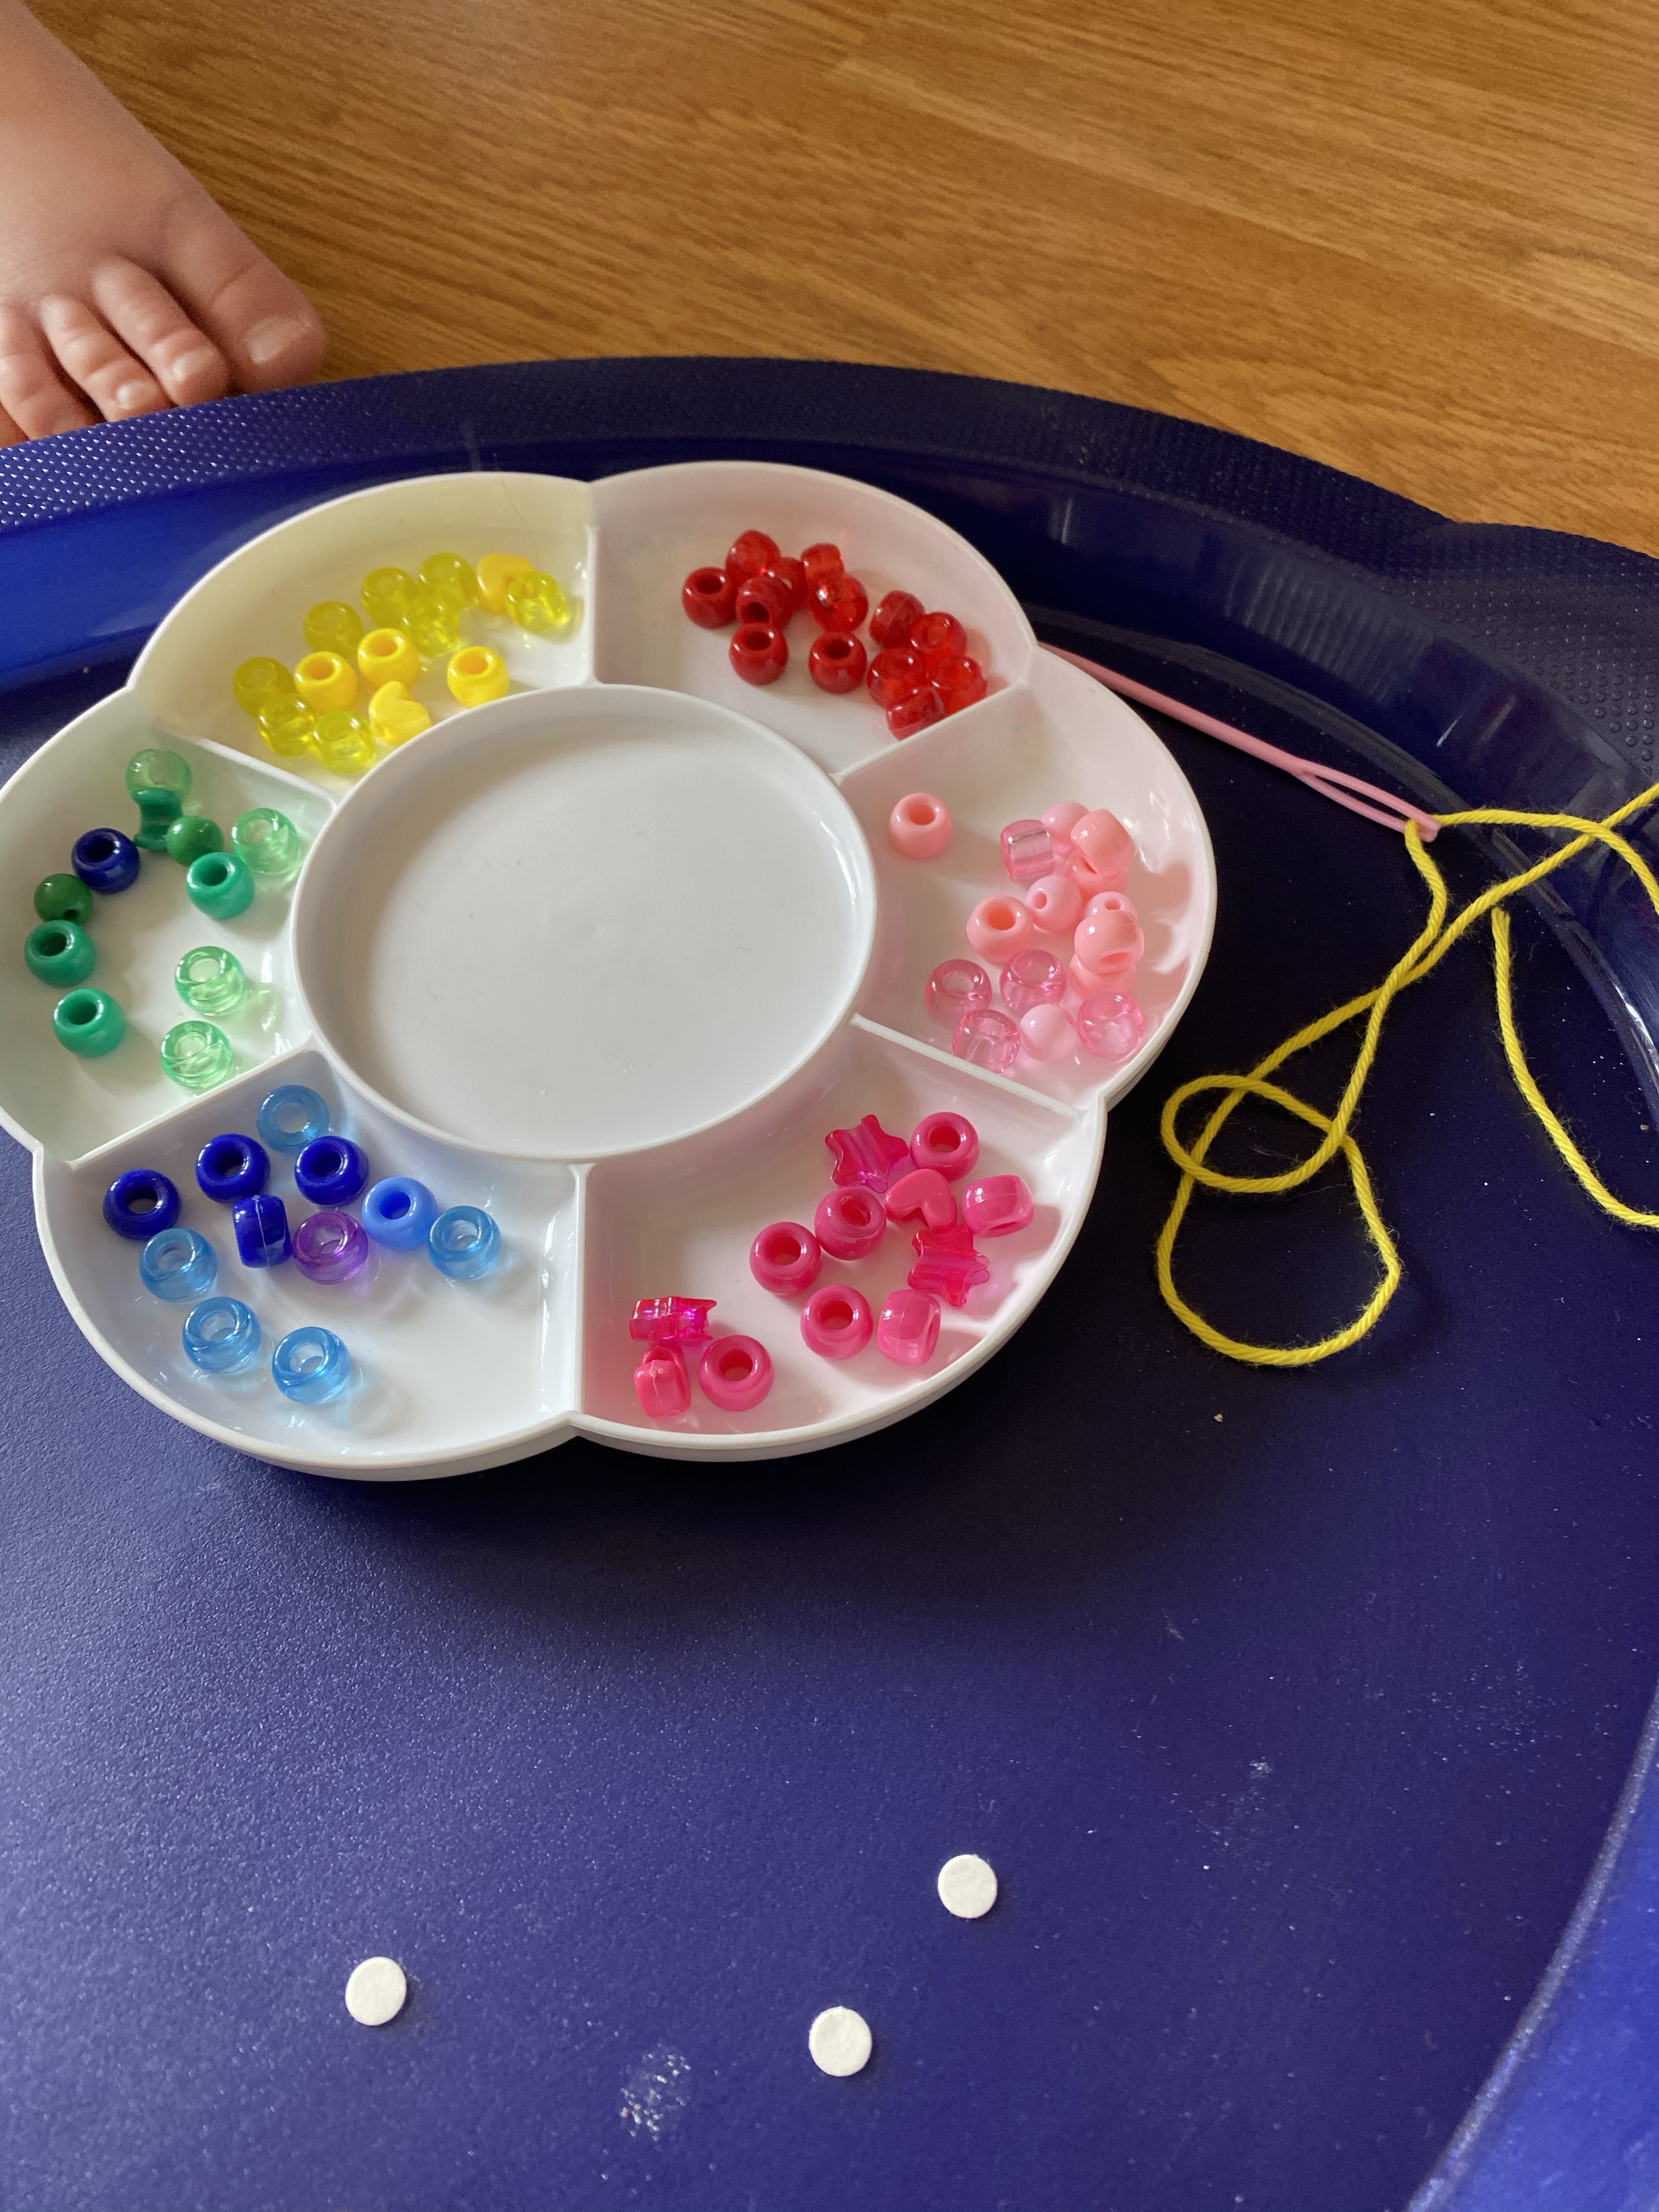
- Beads or buttons to thread on the yarn. We used a mixture of both.
- Scissors.
- A hole punch, or something to make holes in the paper cup.
- Plastic tapestry needle (optional).
- Hot glue gun (optional)

We made two windchimes. One each for each of the children. To start off with I set things up for them in advance to try to make it easier for them (and me!). I punched 4 roughly equally spaced holes around the edge of the cup with my hole punch. I could also have used scissors, my needle, a chop stick or something like that rather than the hole punch. I then made a hole in the top of the cup, we’ll the bottom of it really, and threaded the ribbon through it, tying a knot inside the cup to keep it in place and a loop at the top to hang the cup from when it was finished.


I measured out 4 equally sized lengths of yarn for each cup, and put a knot in the end of each piece of yarn. I needed a large knot because we would be using a large button, but if only small buttons or beads would be used it would not need to be as large.


If I had been doing this with just my 5 year old I would not have taken this next step, I would have let him help himself to the beads and buttons in the containers they came in. However, my nearly 3 year old was also taking part so I could foresee many beads being kicked all over the room if I let her at them all as they were! So I gave them each four giant buttons, one for each piece of yarn, and a selection of buttons. We had these paint mixing pallets at home, so I used those for the beads.
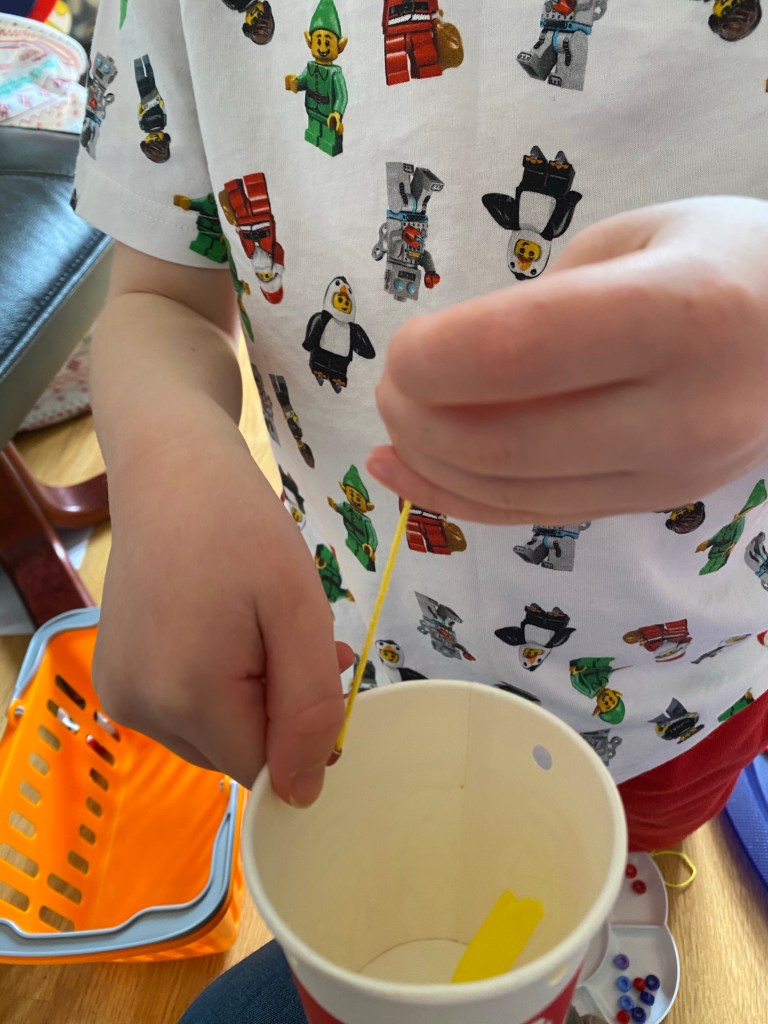
I did suggest (heavily) that they use the giant button on each piece of yarn first so that it was at the bottom of each one. I then let them thread beads on the yarn, which is great fine motor skills practice. They needed to add the same number of beads to each piece of yarn and so we got some number practice in as well. I got them to use plastic tapestry needles to thread the beads onto the yarn with. These tapestry needles can be bought online or from most haberdashery stores. I got mine in a set of about 15 from amazon. They are great for small hands as they are larger, and not as sharp as regular needles so much easier and safer for them to use.


My boy, who likes making things with beads anyway, managed to do all four sets of beads himself. My girl, the youngest, managed to nearly finish one piece of yarn by herself, helped pick the beads out for the second and then abandoned the project altogether for the last two pieces of yarn!
Once there were enough beads on the yarn, we threaded them through the holes made around the edge of the paper cup, and then trimmed the yarn to the right length. I was a little concerned that the knots I tied in the bottom of the yarn would not hold out so I used my hot glue gun on the knots to make sure they stayed in place.


There you have it DIY windchimes. A fun activity that my 5 year old especially enjoyed doing and they will hopefully make a nice sound when swaying in the breeze near the open window.
Or, like my son, you could decide they are octopi fighting each other and play fighting with them! (This May have been the point that I thought it would be worth using the hot glue gun…)

Leave a comment