
Another fun activity to do at home with your little ones while we are all on lockdown. Today I made panpipes using only items that I found in the drawers at home.
To make panpipes at home you will need to collect together:
- Straws. We had a stock of plastic straws at home. Paper ones would work as well, but wouldn’t last as long. Silicon straws would not work for this as you need to be able to cut the bottoms off the straw to make the instrument.
- Sticky tape
- Scissors
- Stickers/paper tape/ anything you want to use to decorate the panpipes with (optional)

So, the first thing I did was to choose a number of straws I wanted to make the instrument. There is absolutely no hard and fast rule about this. I wanted to be able to make a few because I have small children, and if I haven’t given them both exactly the same to play with/put stickers on then I immediately regret it. I wanted to make one for myself to experiment with and then one each for the children to decorate and play.
The straws need to be lined up so that they lie in a fairly nice, straight line at the top. This is the side of the instrument you will be blowing down to play, so it does need to be a relatively uniform height. I then used sticky tape to attach the straws together.
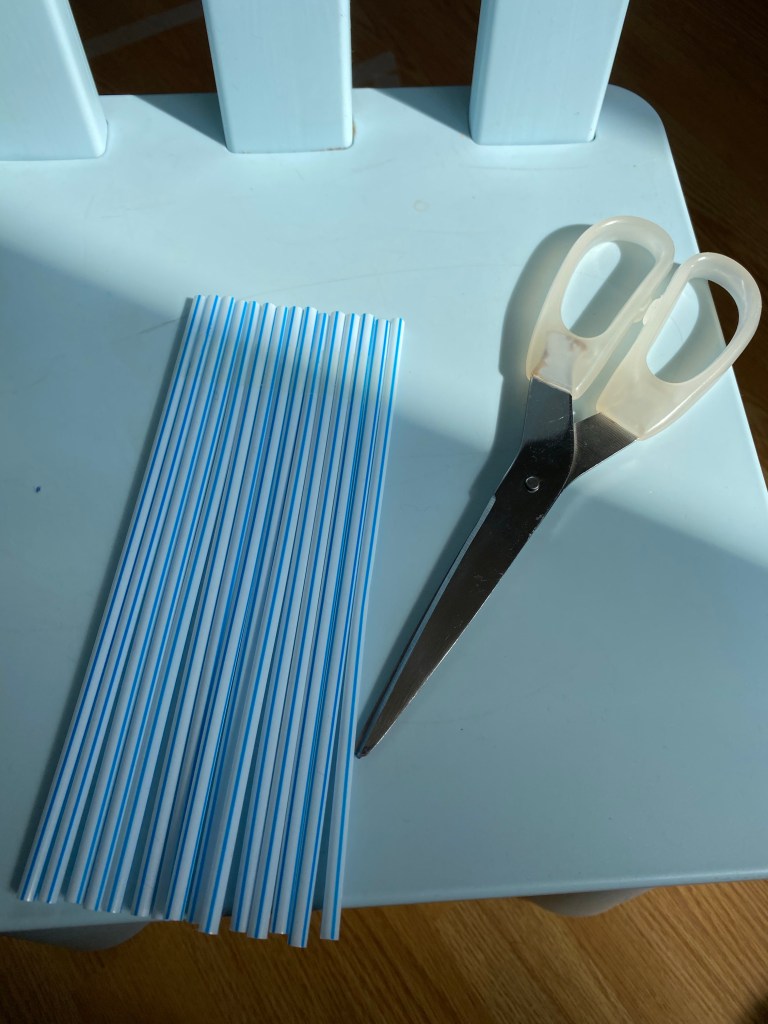
Once the straws were all stuck down (I’ll be honest, this didn’t really last all that long once my 2 year old got hold of it and started her usual exploration of things by squeezing it….) I then cut the bottom of the straws to make the panpipes. I held my scissors at an angle so that I ended up with a lovely even slope for the bottom of the instrument.


Here’s the reason for the sloping angle. Panpipes are wind instruments. This means that you use use your own breath blown down or across a tube to make a sound.
With these simple wind instruments, the pitch of the note produces is dependent on the length of the tube the air has to travel down. So here, with these panpipes, the shorter straws produce a higher note, or higher pitch, than the longer straws. The longest straws produce the lowest note, or pitch. If all of the straw were cut at the same height, they would have produced the same pitch (and it would have largely been pointless cutting the straws in the first place). I could have cut each straw individually and then arranged them from low to high pitch (longest to shortest straw). However panpipes are played by moving your mouth from one side to the other (skilled players can play actual tunes on panpipes, but we are very much NOT skilled panpipe players!) and that makes sounds that move evenly in pitch from left to right and right to left. The easiest way to achieve this was to angle my scissors and cut the straws using a steep angle as shown in the picture, and the height of each straw was then much more evenly distributed.
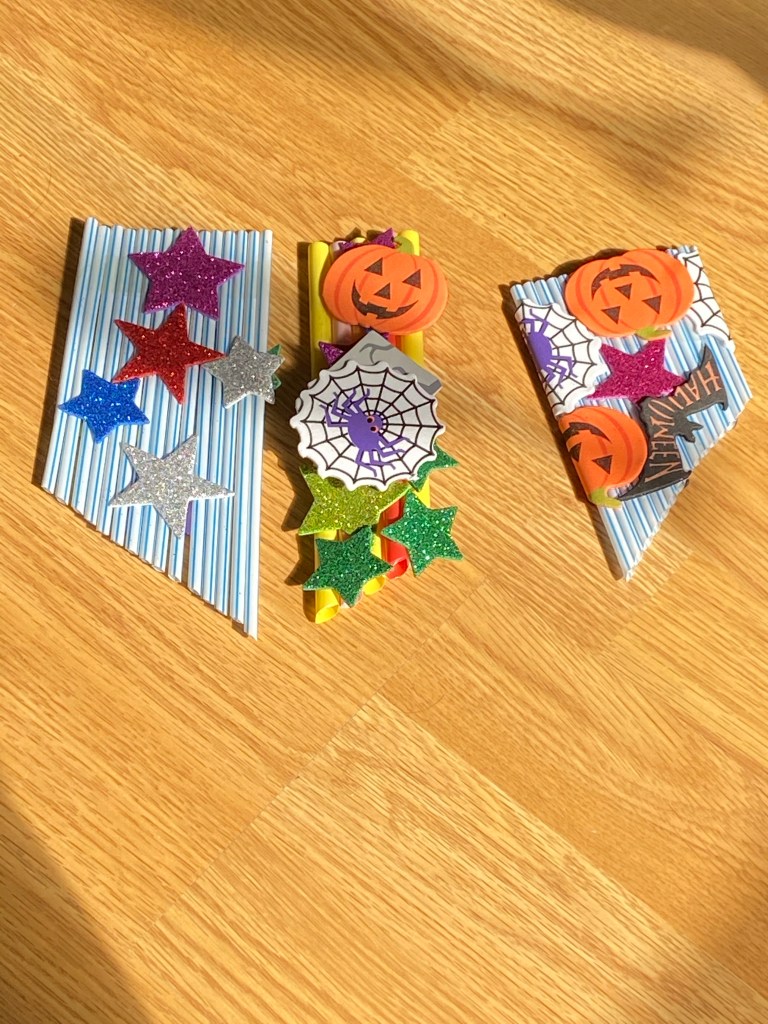
My children were asked to decorate the panpipes. We have a lot of stickers at home- there will be considerably fewer left at home, if any, once this lockdown has ended! – and they certainly didn’t hold back with their use of sticker decorations. And apparently it is absolutely the done thing to make a Halloween themed panpipe at the start of spring…..
So what did they sound like then? Well, again I will be honest, I don’t think we will be worrying any panpipe manufacturers with our homemade versions. In fact you have to listen very carefully to detect the difference in pitch. But having made several quite noisy instruments with the children, it was something of a delight to make a quiet instrument. And they do work. You can definitely hear the rising pitch as you blow down the straws and move your mouth across the panpipe from the longest to the shortest. You just have to listen very carefully- a skill that every musician needs to acquire!
If you have a go at making your own panpipes I would love to see and hear how you got on.
