I do love the sound of a wind chime tinkling away in the breeze on a summer’s day. I have previously made a wind chime with some lovely, brightly coloured jingle bells, and if you want to have a look at that post, you can do so here.
So, this wind chime needs a little equipment to complete such as a drill, or a jewellery hole punch – I guess you probably could use a nail and hammer as well but I think that would be difficult because of the size of the bottle tops you will be working with. Basically you need something to help you make a hole in a metal bottle top.
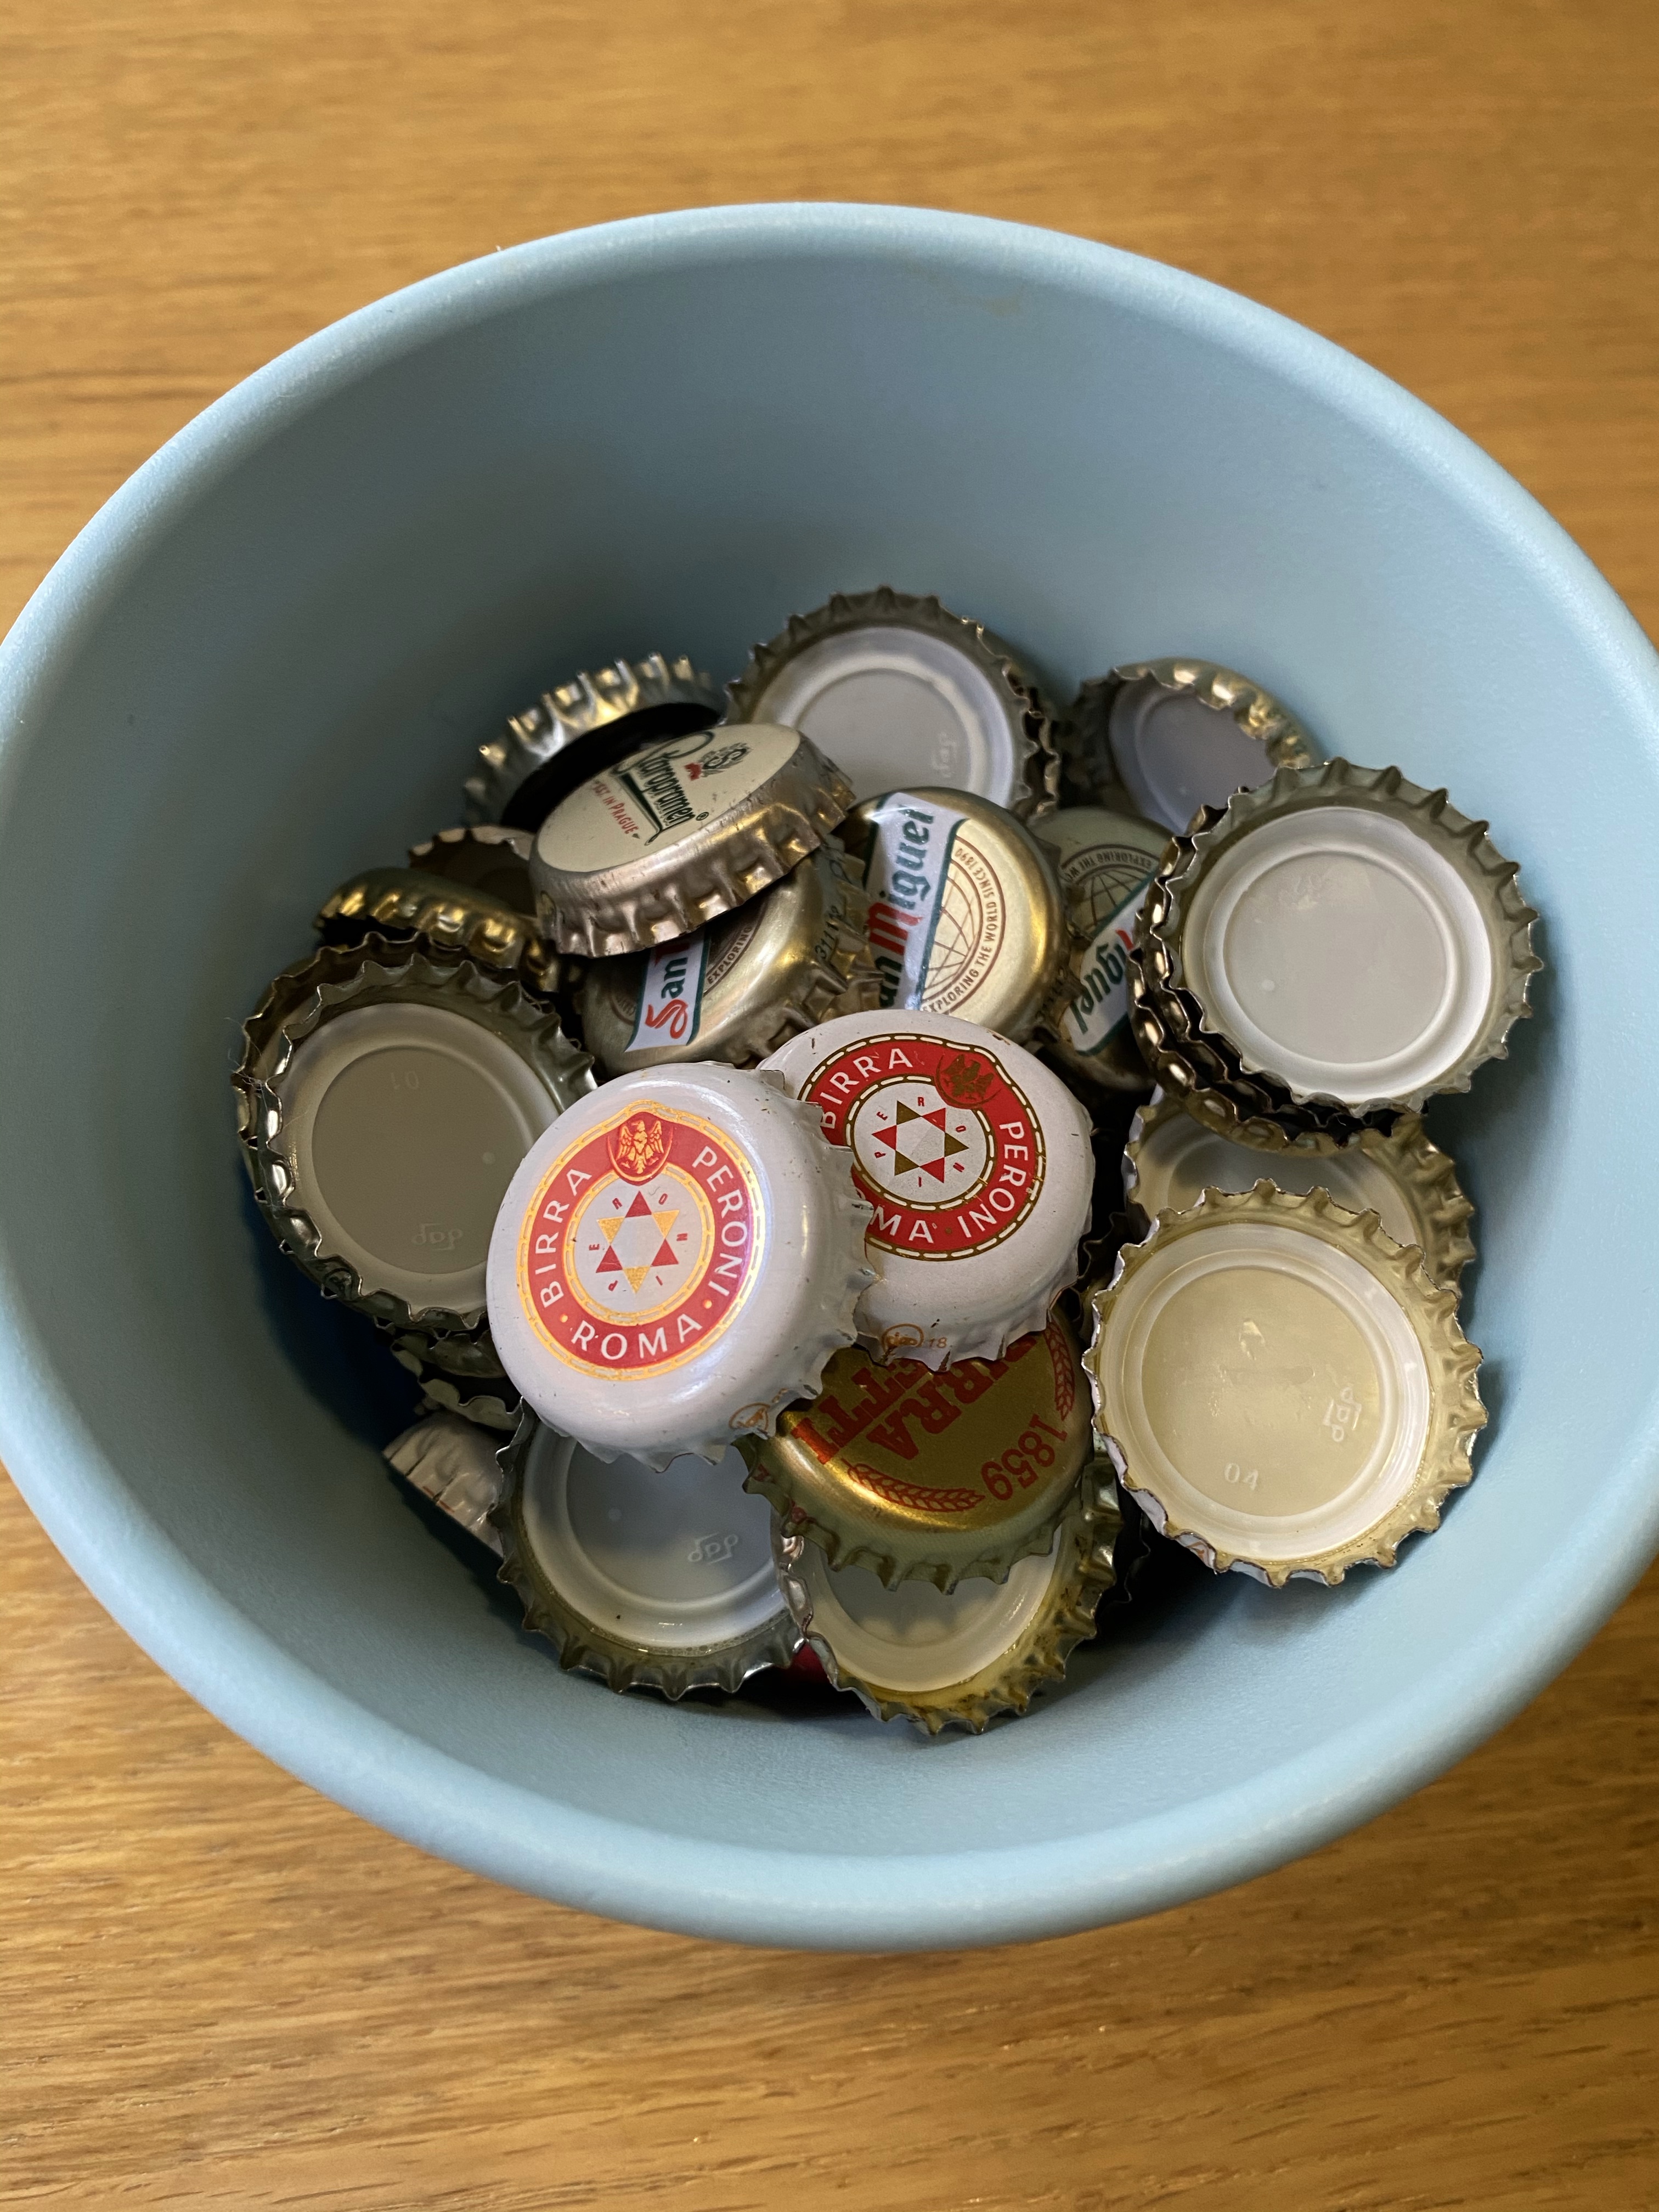
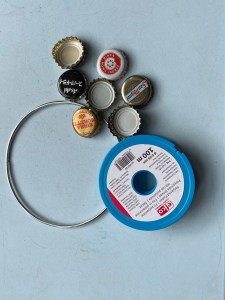
I have been planning this wind chime for ages, well over a year in fact and so I started collecting the metal bottle tops when we had a bottled beer in preparation for this in the spring of 2020. I didn’t use all of the bottle tops I had collected, but I think I used about 45 of them for the wind chime.
So, the equipment you need to make a bottle top wind chime is as follows:
- Beer or other soft drink metal top
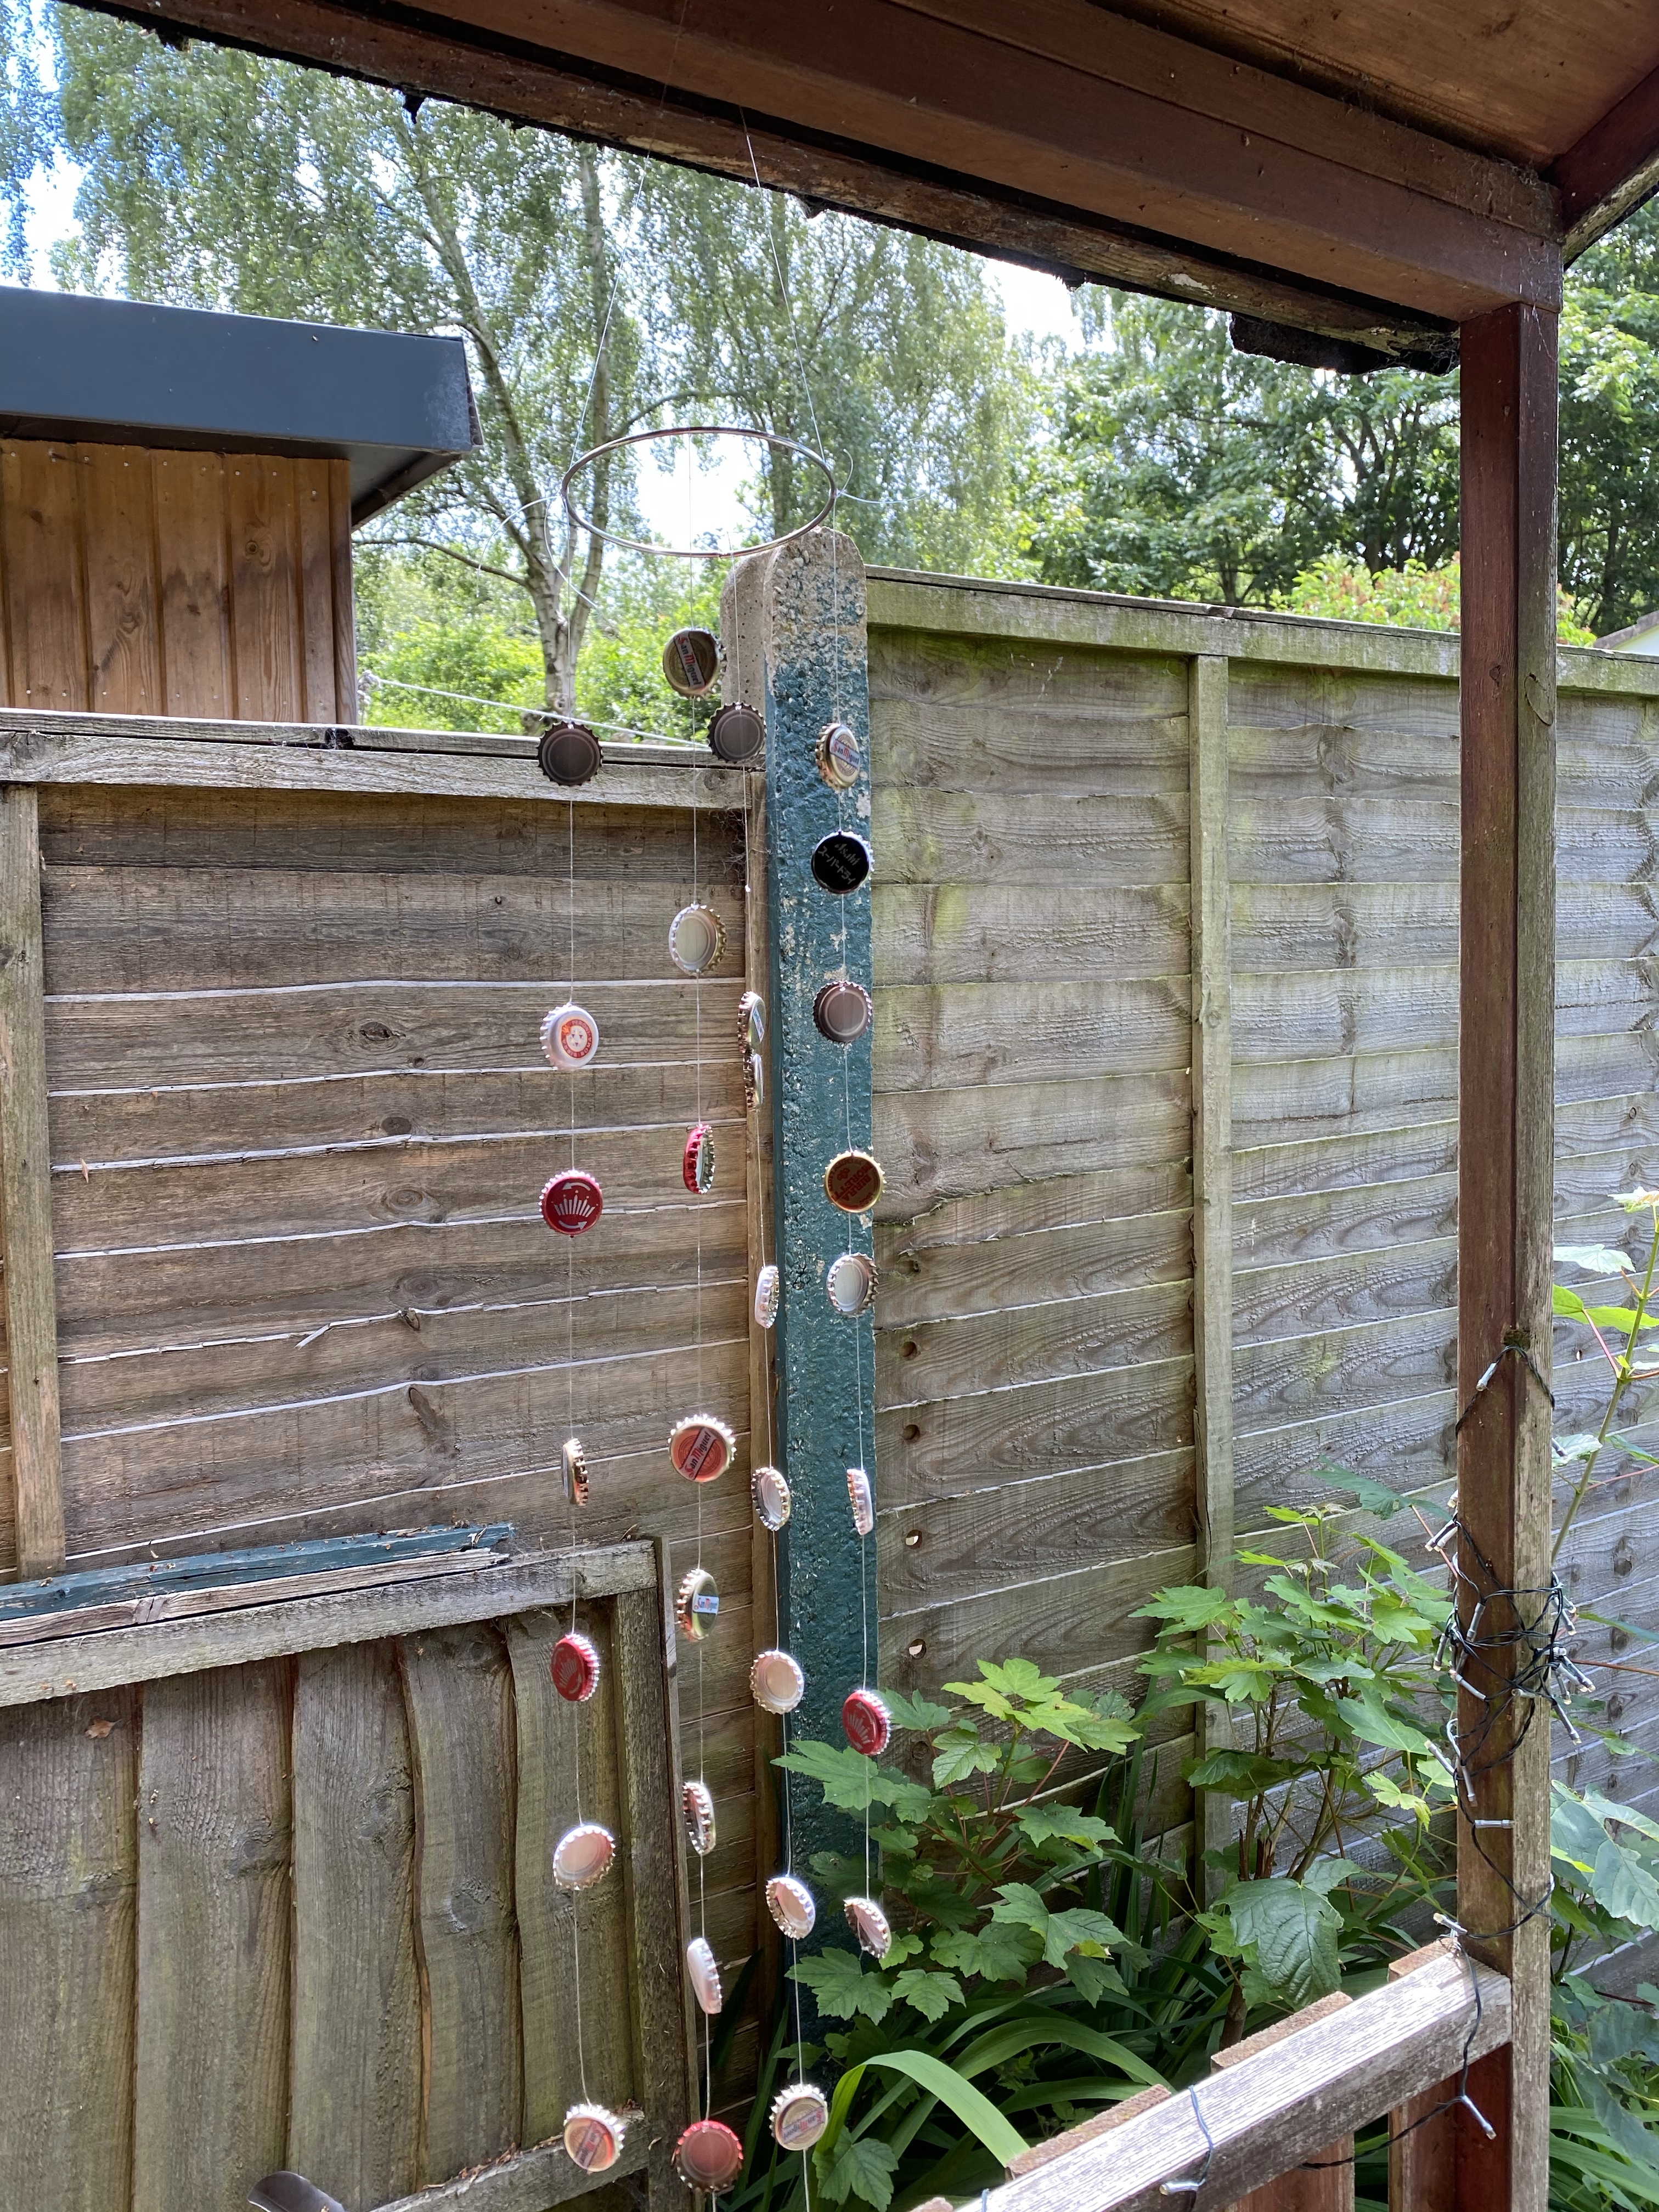
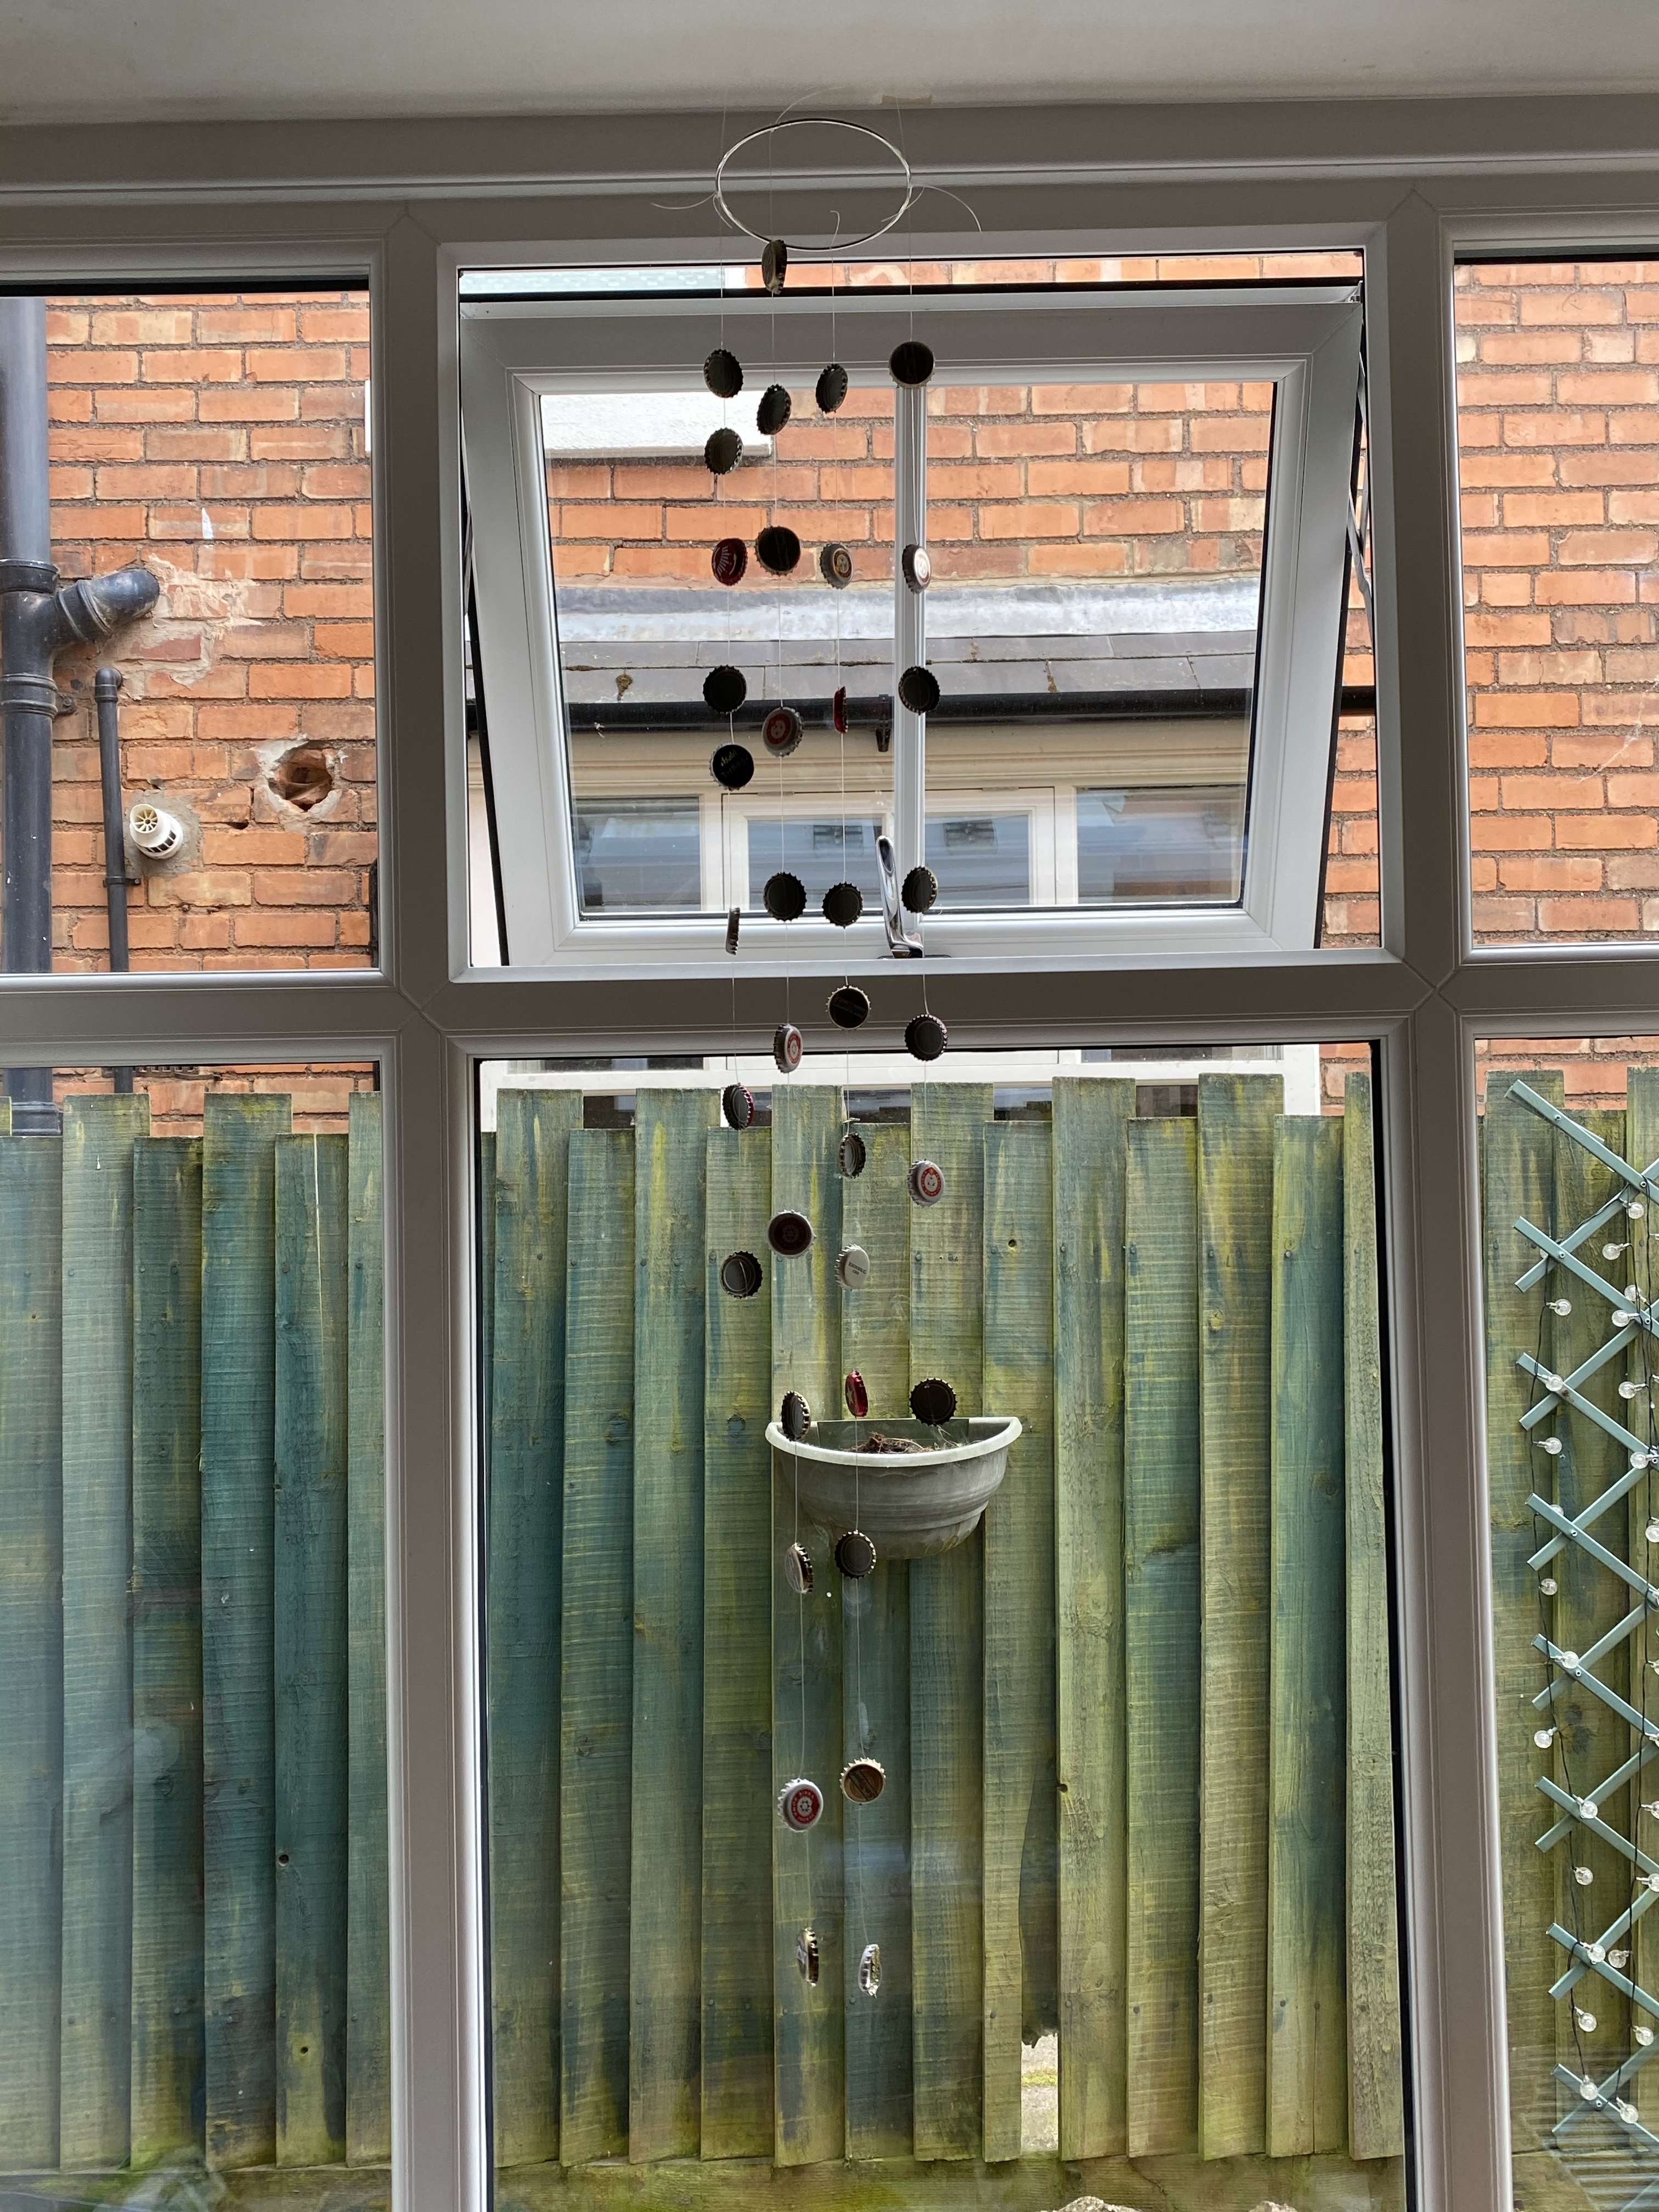
- Dream catcher hoop, or similar
- Fishing thread
- Jewellery hole punch
As I had been collecting the bottle tops for some time, the first task when making this wind chime was to give them all a good wash and dry. An odd experience to be sat at the kitchen table washing old beer bottle tops I have to say!
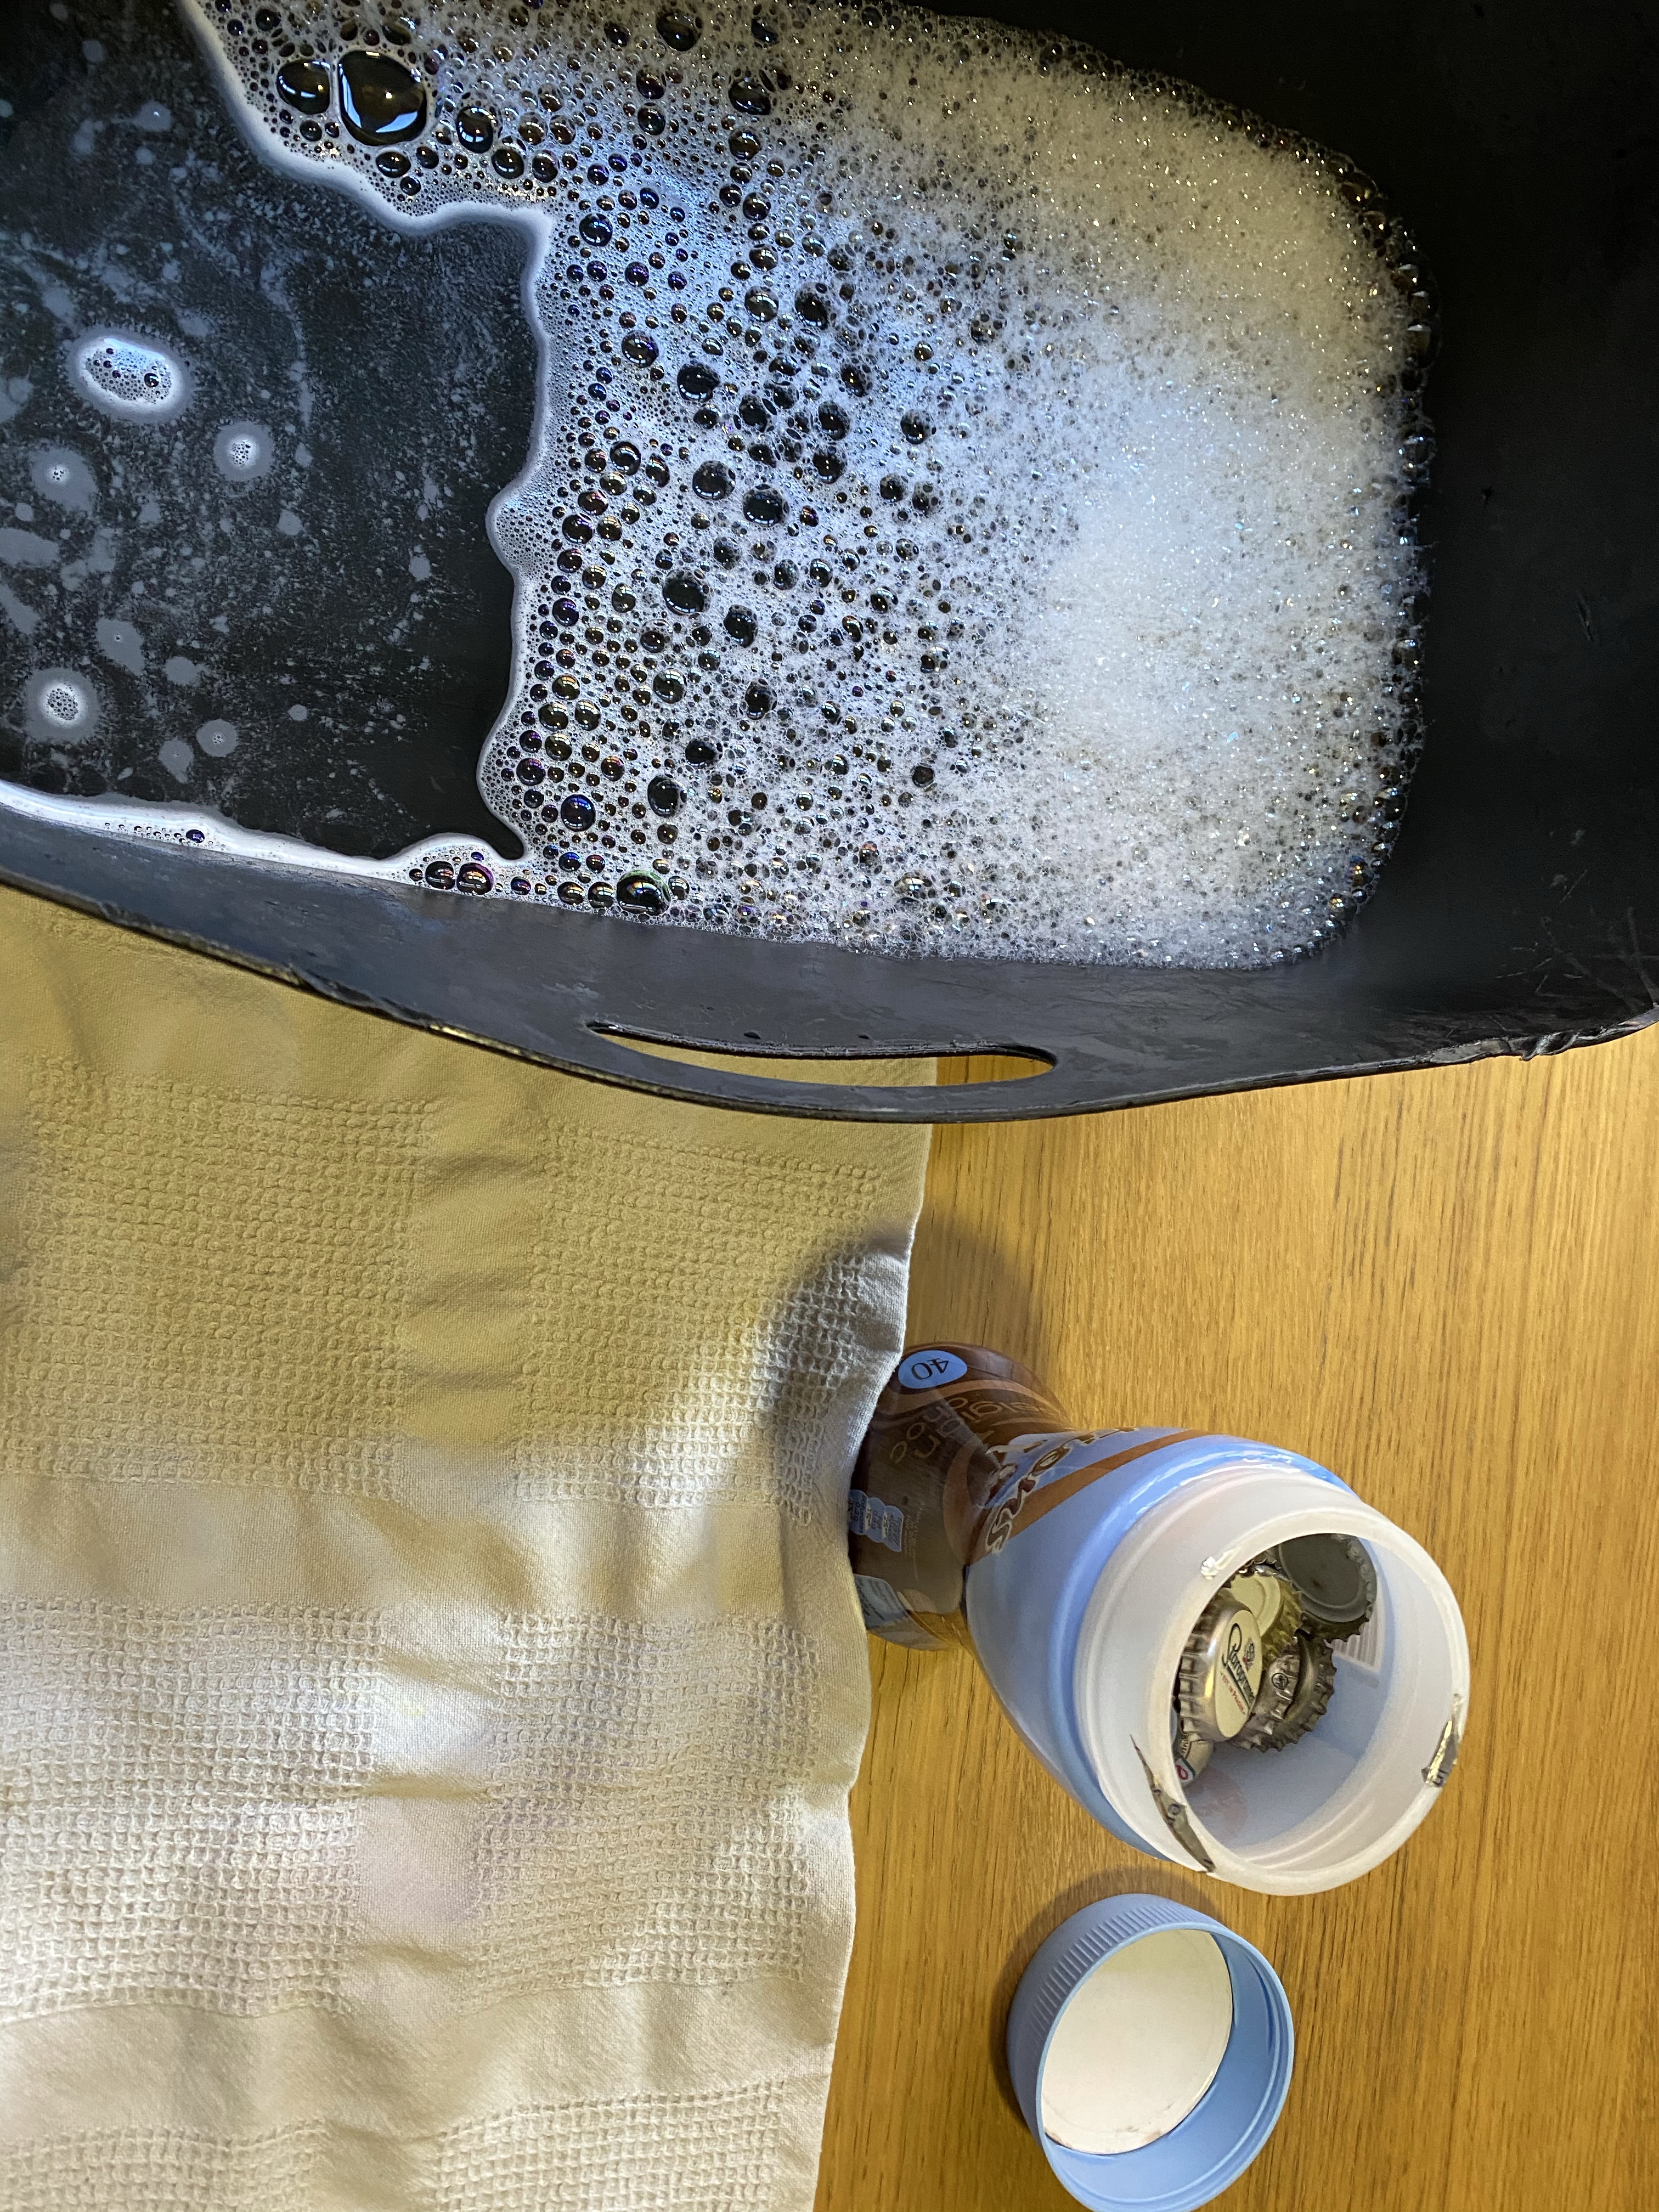

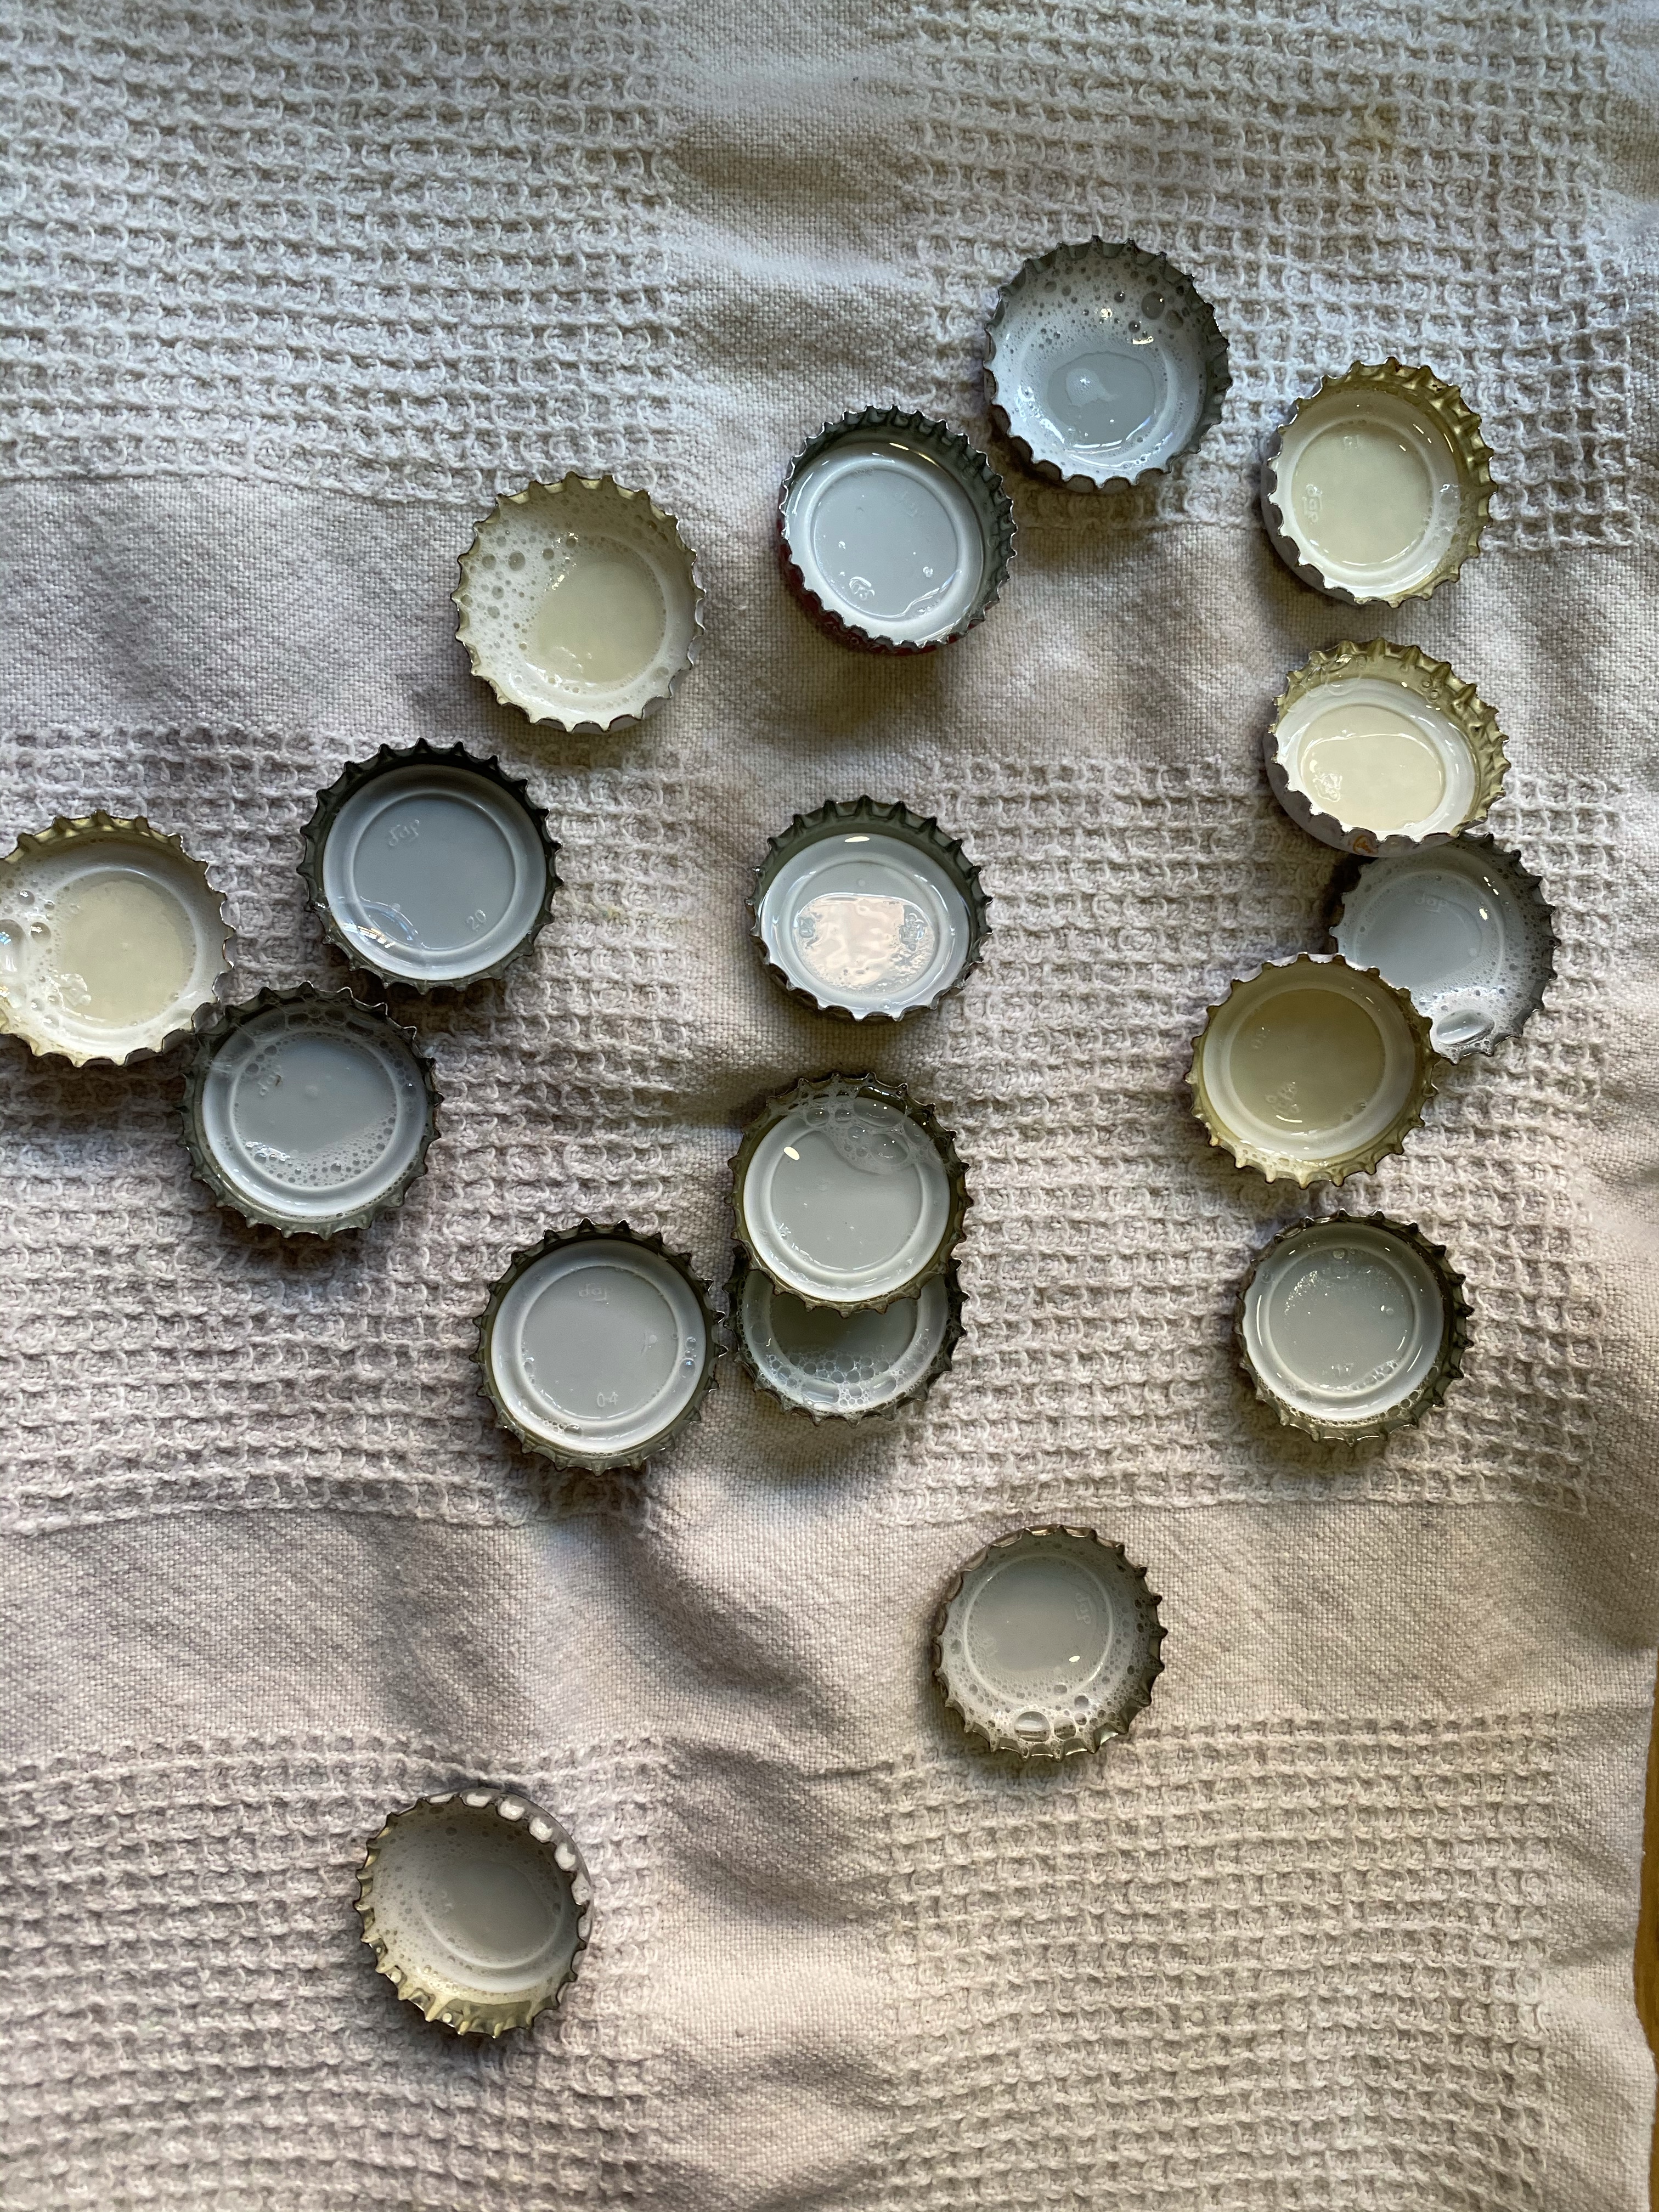
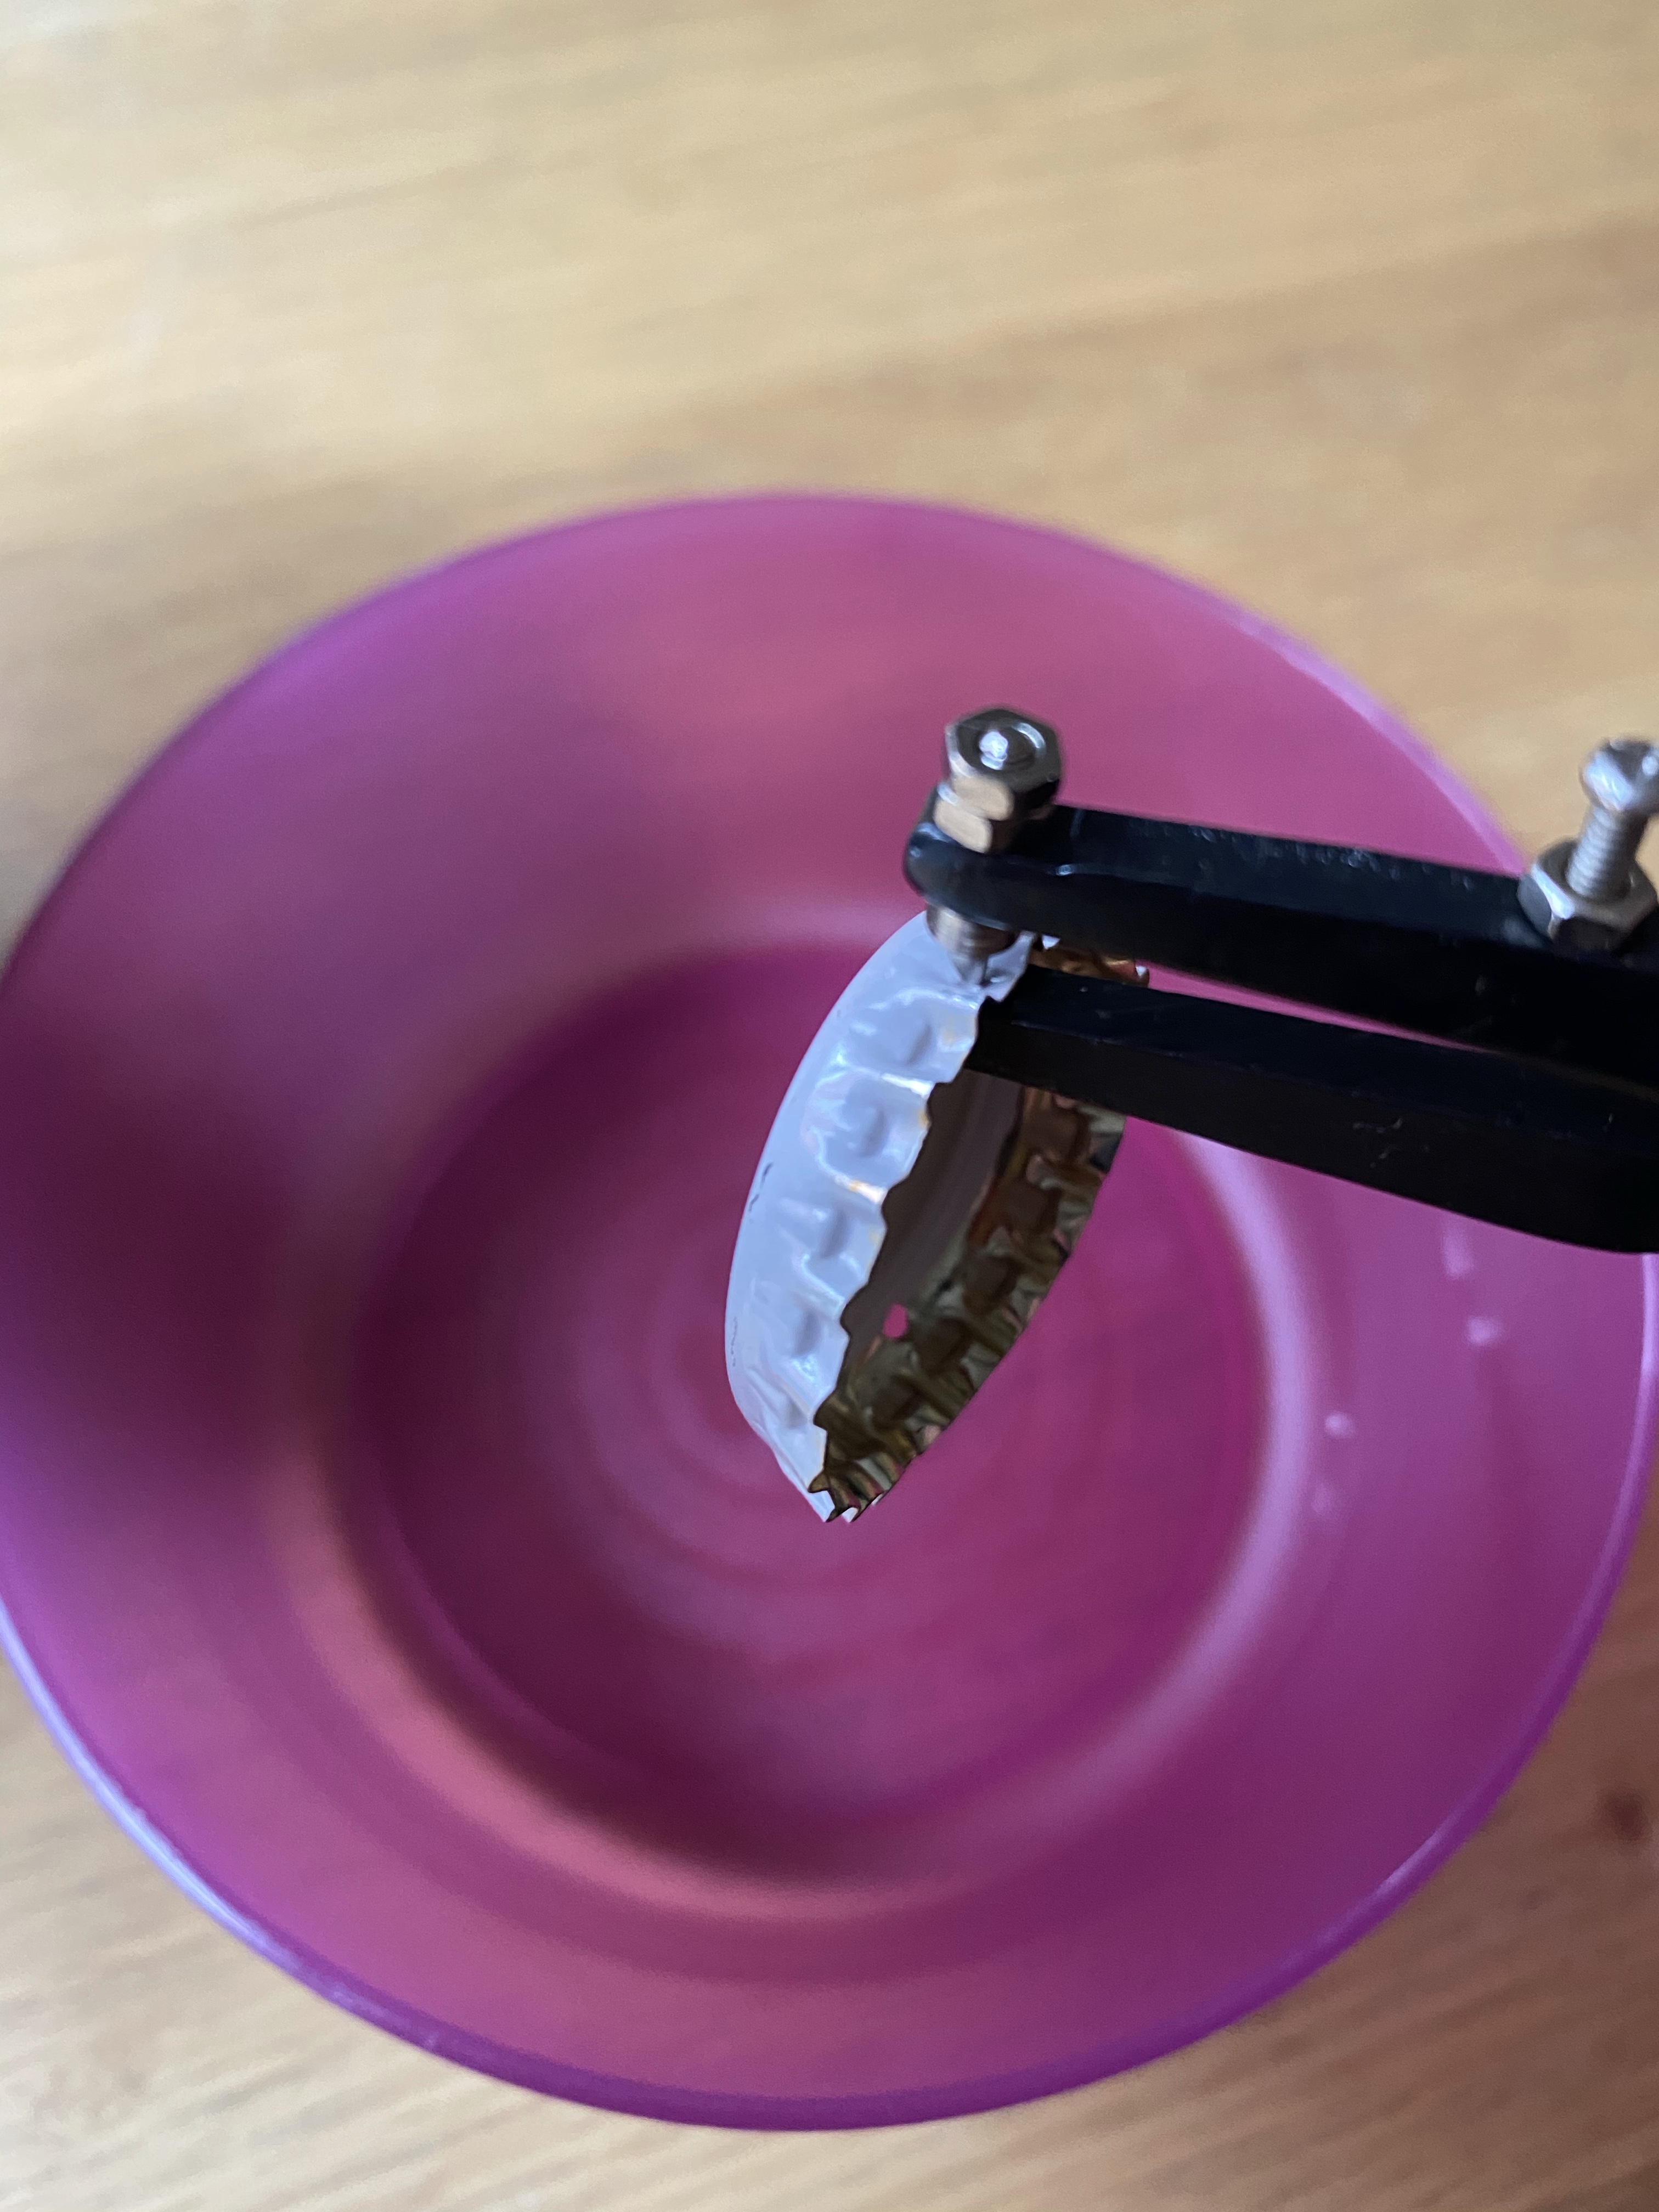
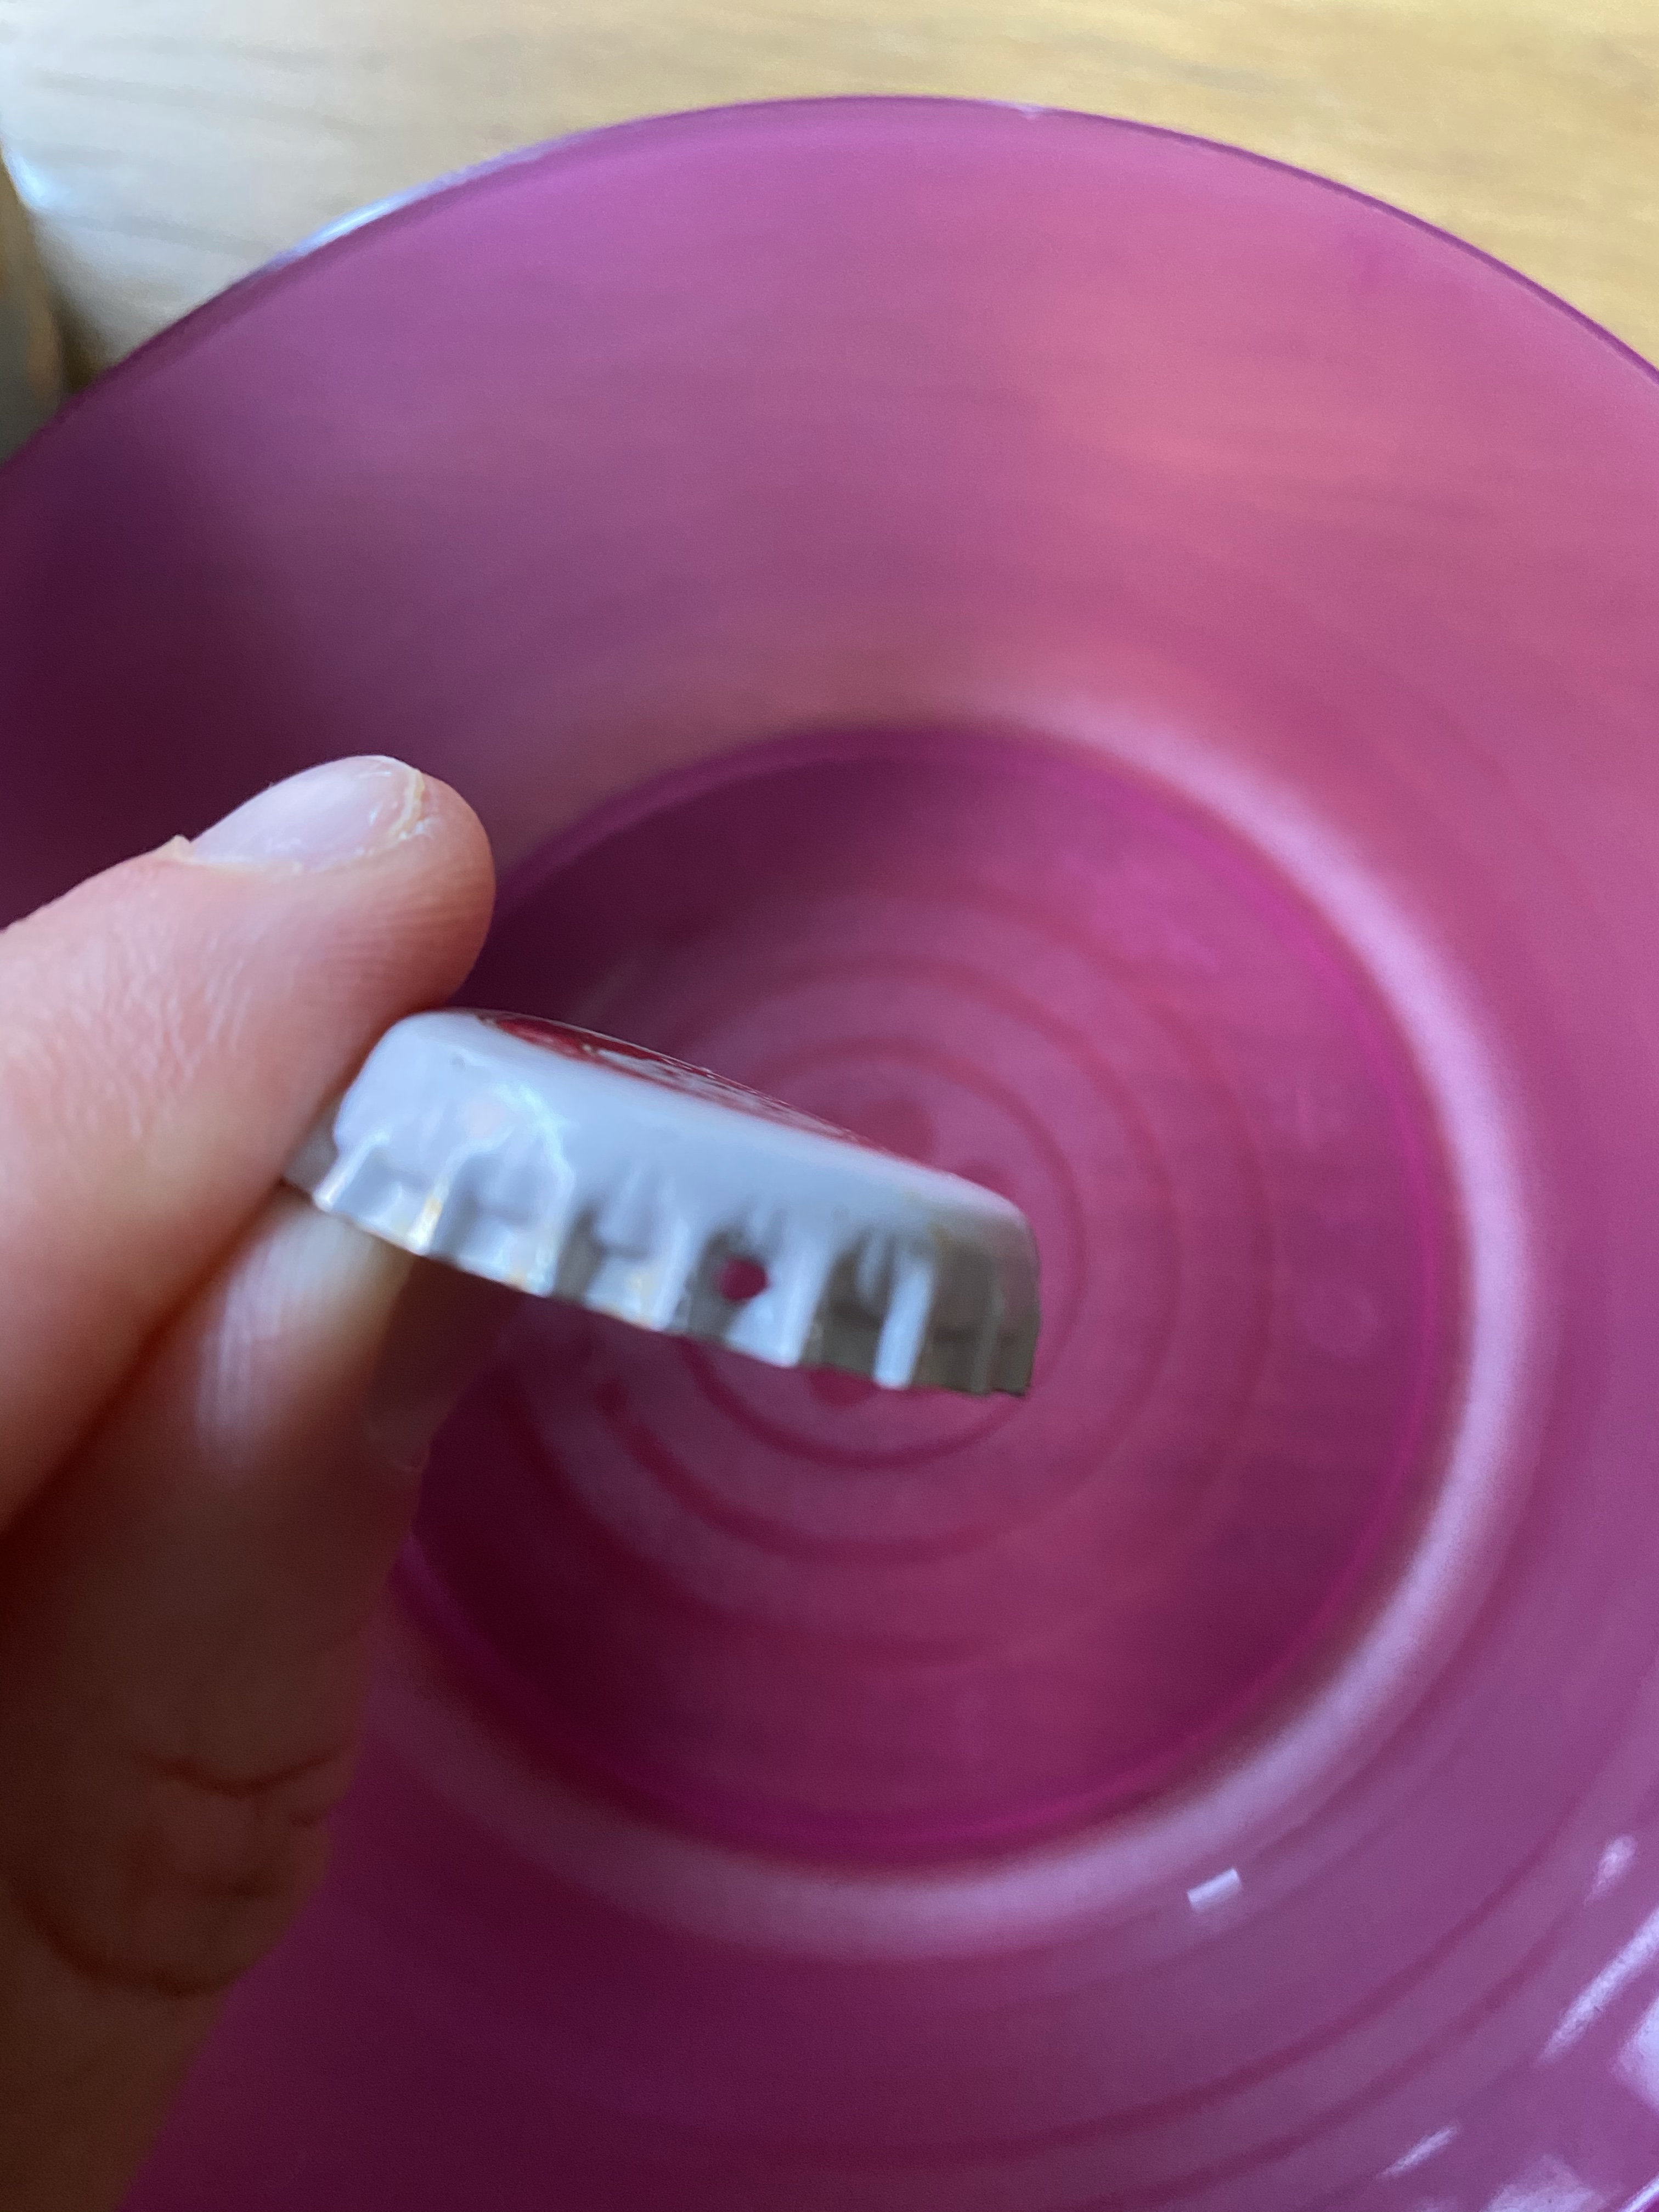
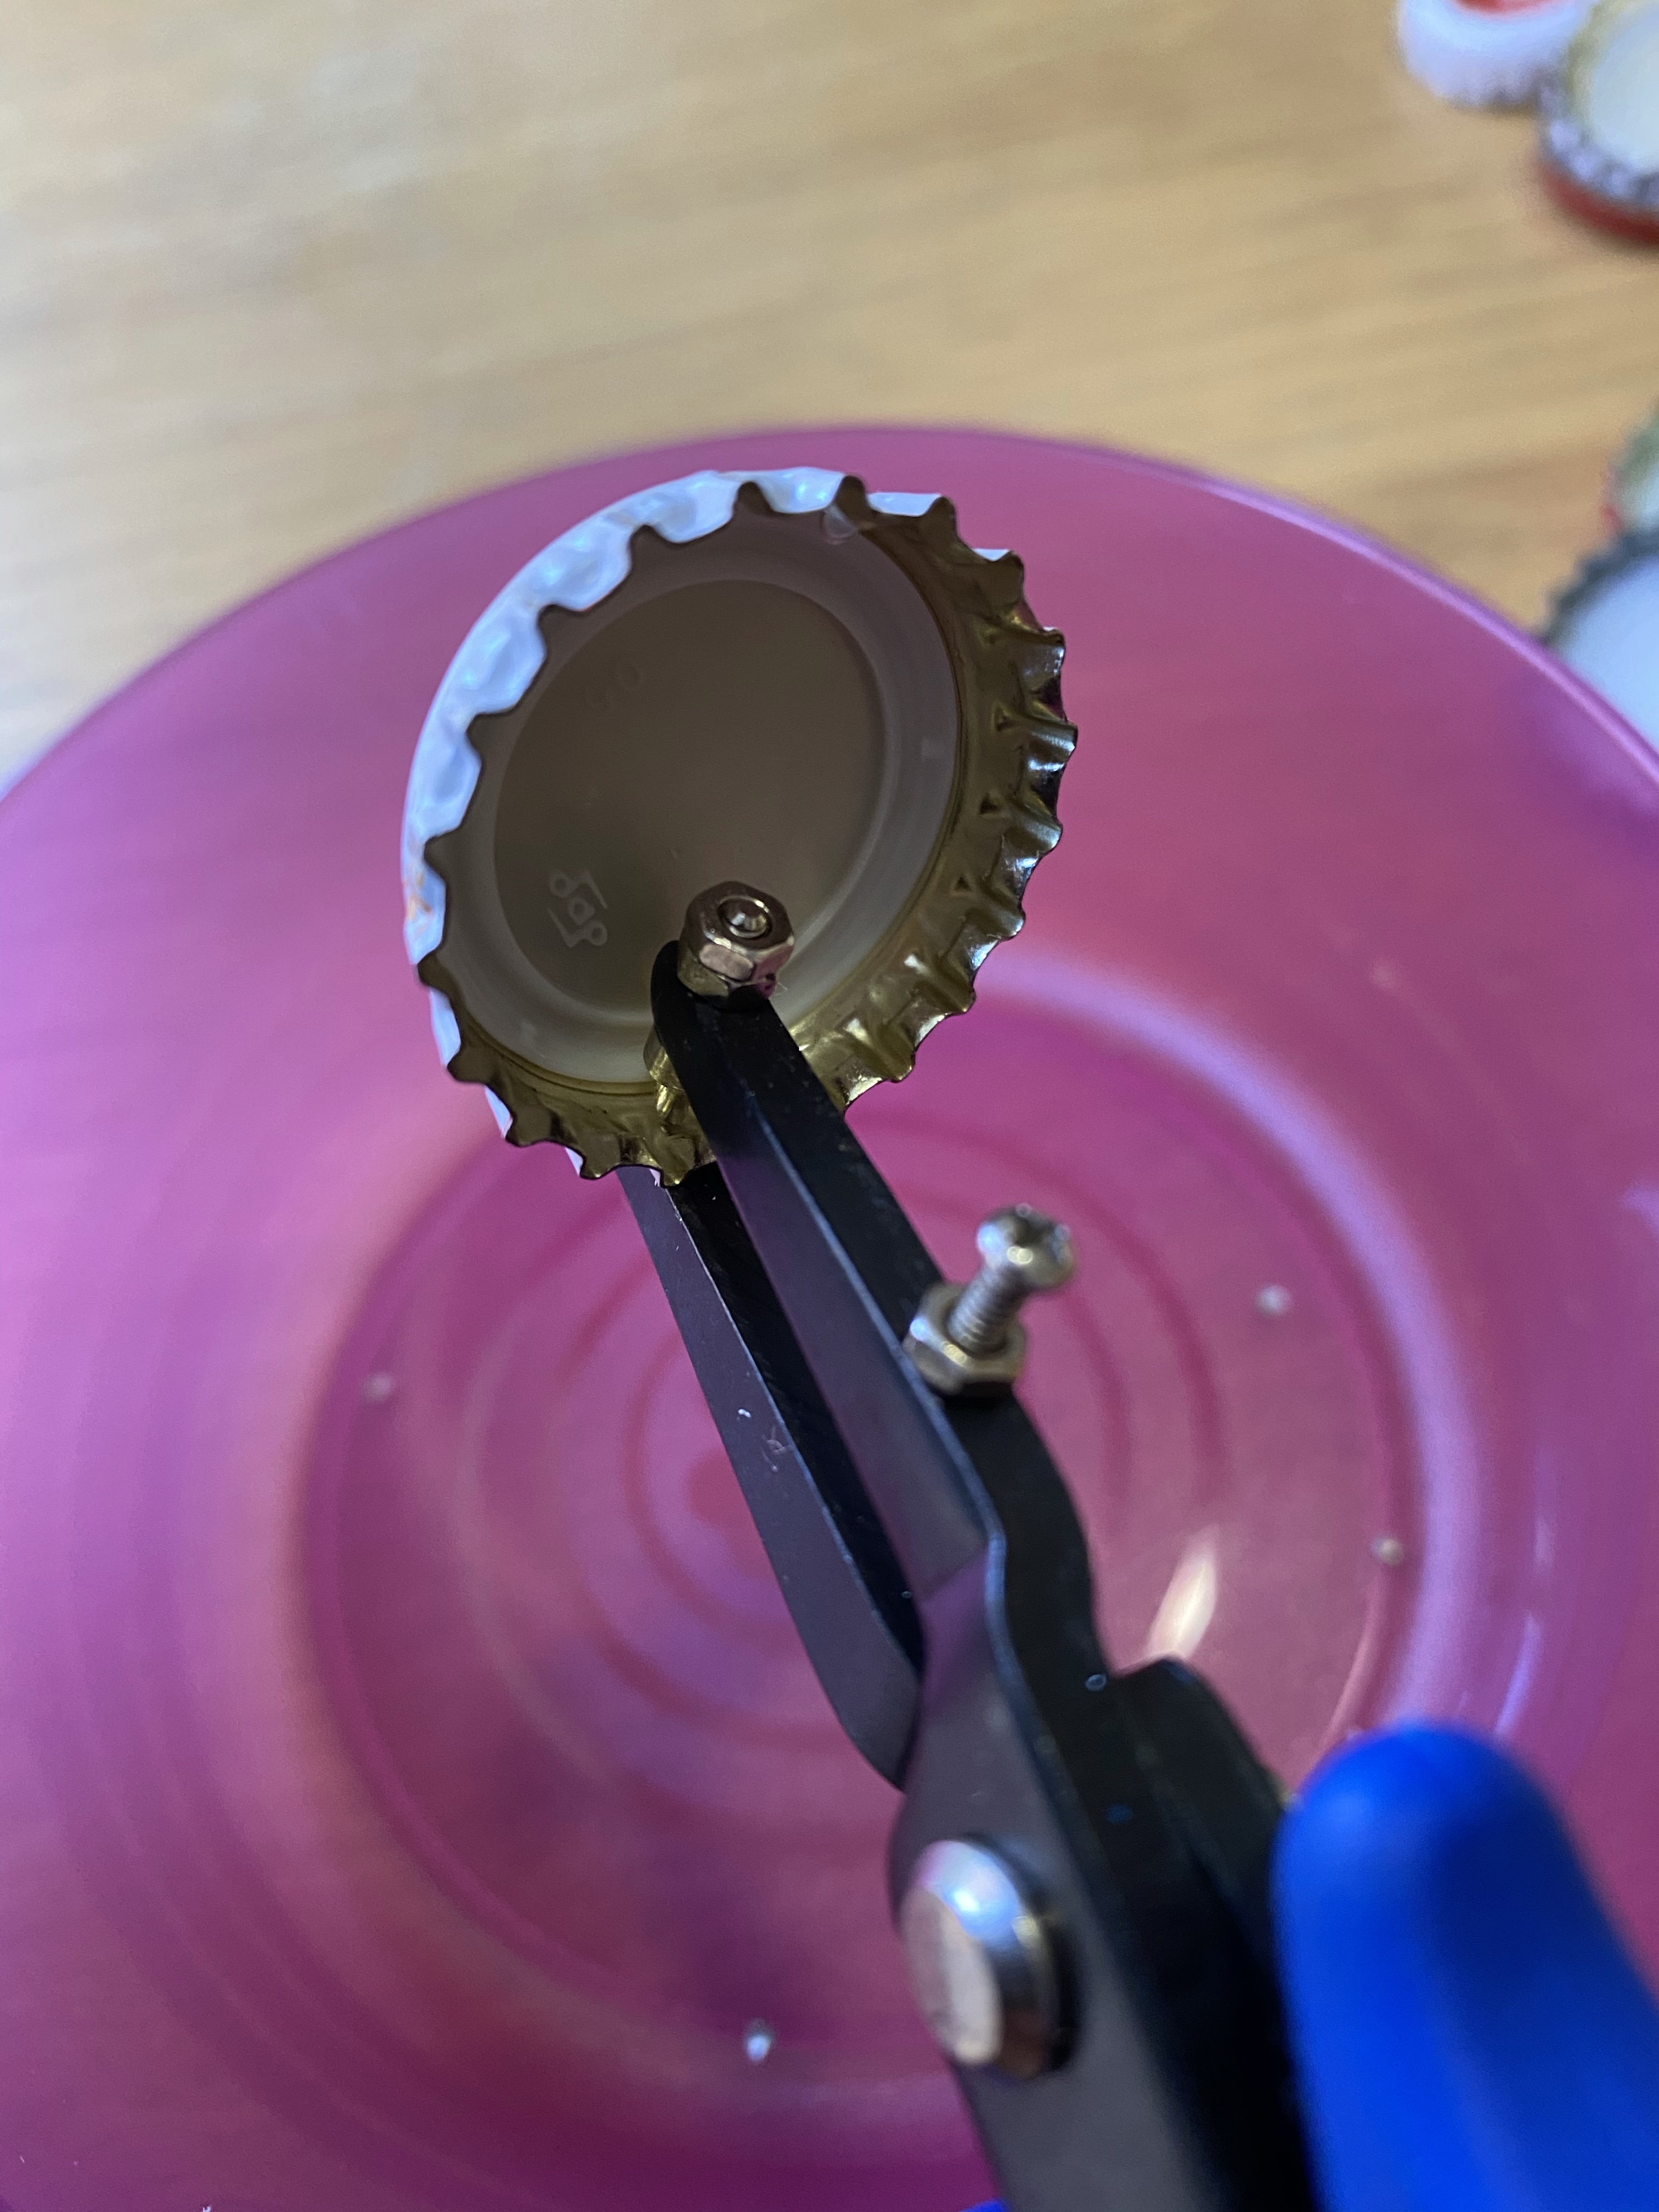
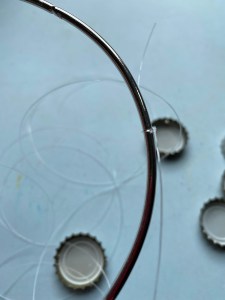
I then used my jewellery hole punch to make holes in the sides of the bottle tops. I knew that I would want to thread the fishing wire through both sides of the bottle top, so roughly aligned the holes to be able to do this. While it was pretty easy to punch holes in all of the bottle tops, because they are made with quite thin metal, there was one brand with gold colouring on it that had far softer metal than the other brands. I would say that it probably took about 45 minutes to wash, dry and hole punch all the bottle tops, and this was doing more bottle tops than I really needed to use as I wasn’t sure how large I wanted to make the wind chime.
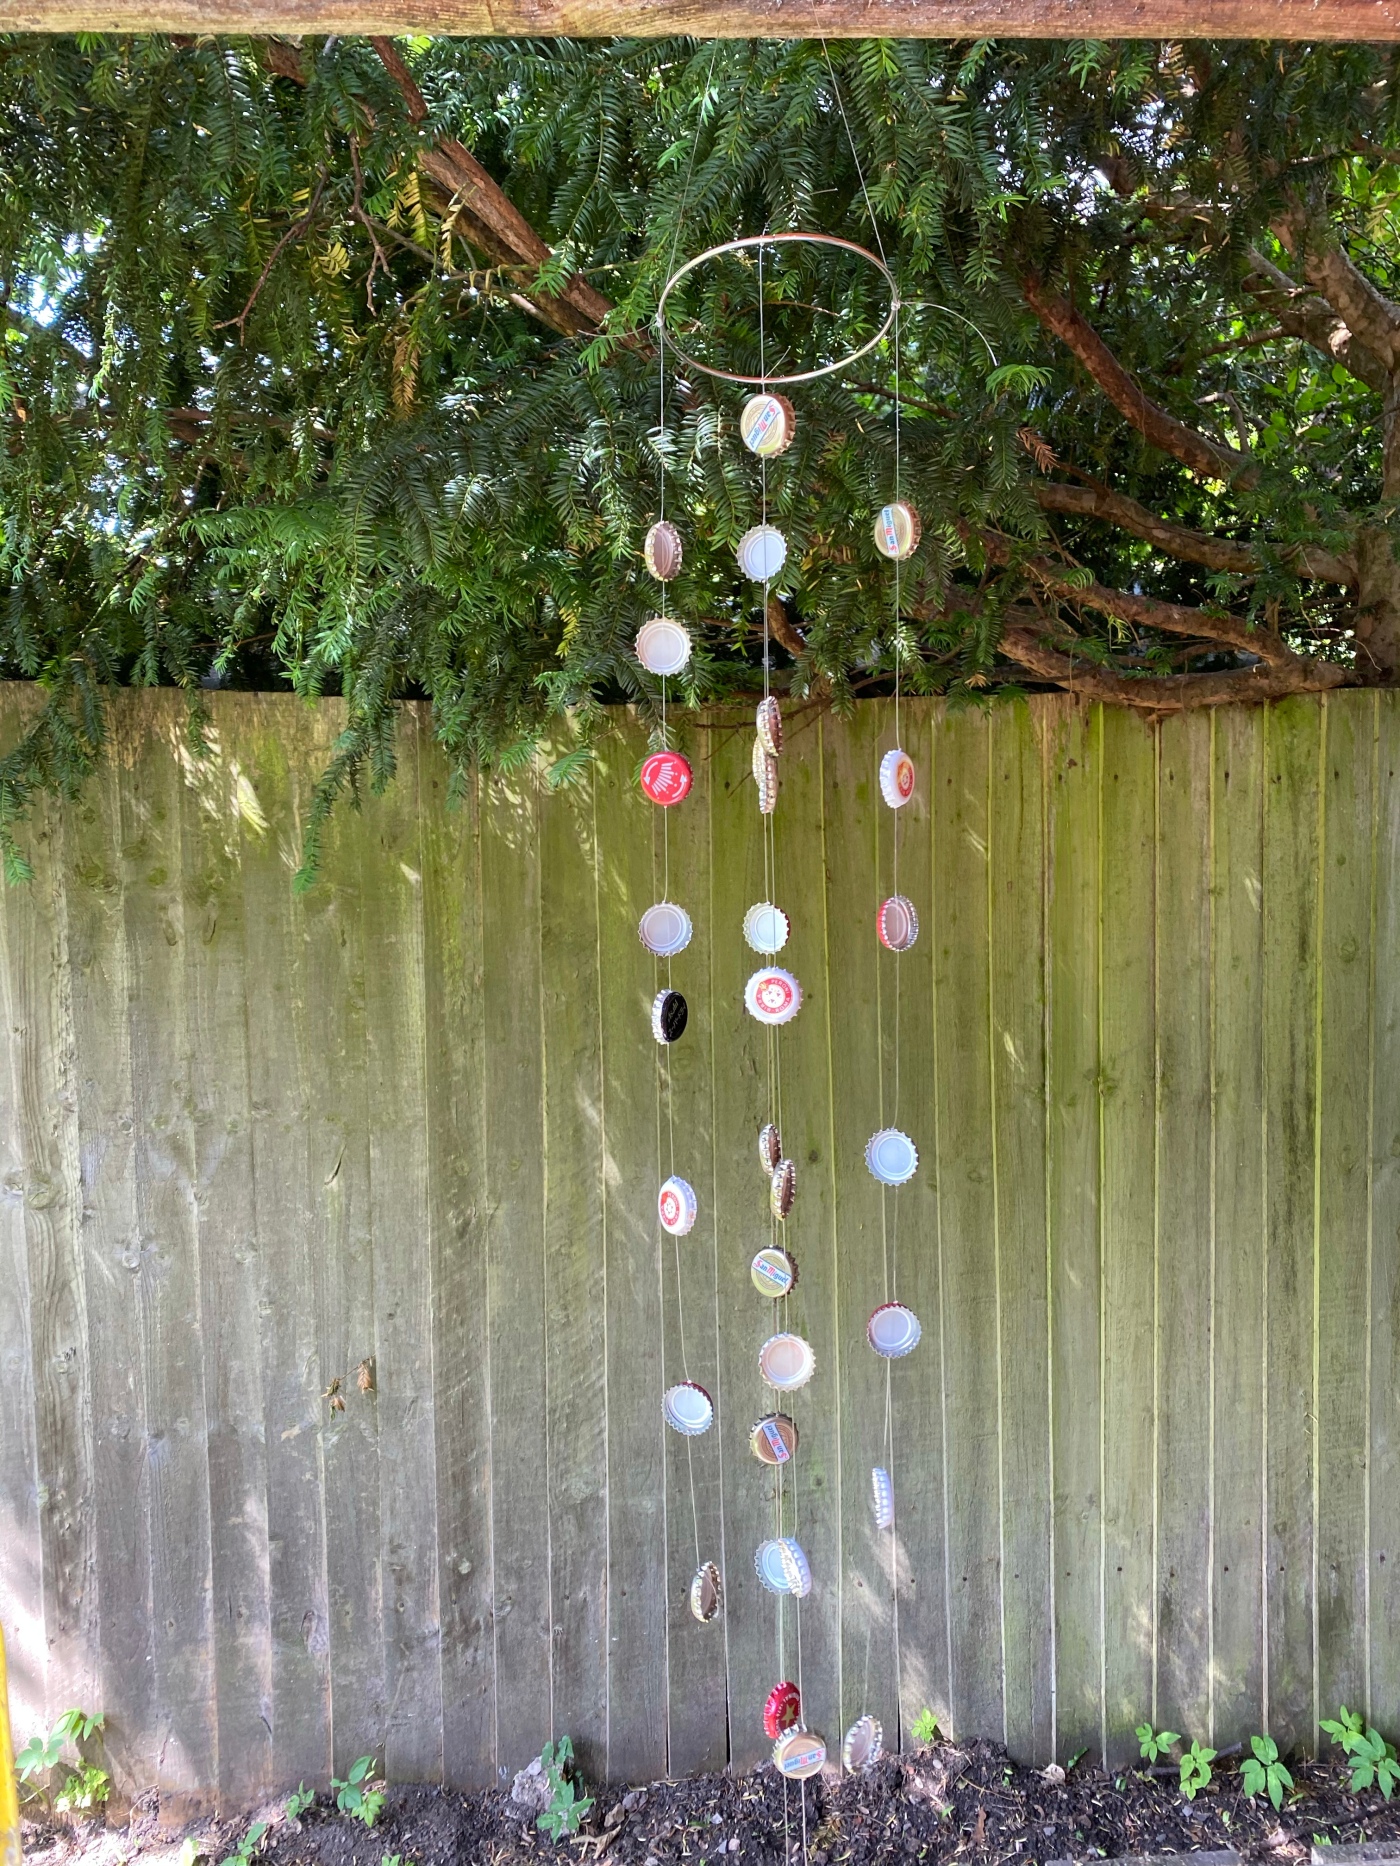
Once all the bottle tops were clean, dry and hole punched, then it came time to make the wind chime itself. I collected the hole punched bottle tops, the dream catcher hoop and fishing thread and settled down to make the wind chime. I used this thread because it is quite strong, will withstand rainy and windy conditions outside and also because it is clear and hard to see.
Firstly I attached four lengths of the fishing thread to my dream catcher hoop. I chose quite long lengths of thread and chose to make two of these lengths of thread longer than the other two. The longer two lengths of thread were attached opposite each other on the dream catcher hoop. To attach the thread to the hoop I simply double knotted them. If I wanted to make them feel more secure I could have used a hot glue gun on the knots, but didn’t really feel I needed to for this.
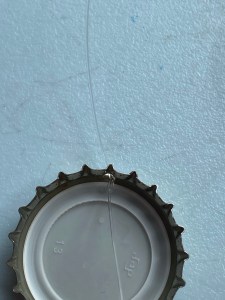
I threaded the fishing thread through the top hole in the bottle top, and knotted the thread just underneath the hole so it could not slide up and down the thread, and then through the bottom hole in the bottle top, this time not bothering to knot the thread. This way the bottle top lay nice and flat on the fishing thread and none of them stuck out at awkward angles. I thought it looked nicer that way.

I did this with about 8-12 bottle tops for each of my four lengths of fishing thread on the dream catcher hoop, then used another, shorter length of the thread to loop at the top of the dream catcher hoop to create a hook to hang the wind chime from.
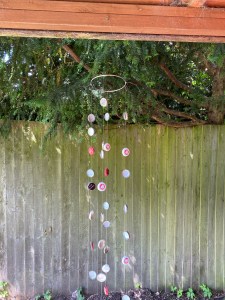
I put our new wind chime in various places both in the garden and even in our house. I quite liked having it in the kitchen near our kitchen table and listening to it tinkling away when the kitchen window was open. However the children also really liked having it there, playing with it and grabbing the tops and trying to make them hit each other – it was only a matter of time before someone accidentally got hit in the eye with it, or something like that! It could not stay there, so out in the garden it went!
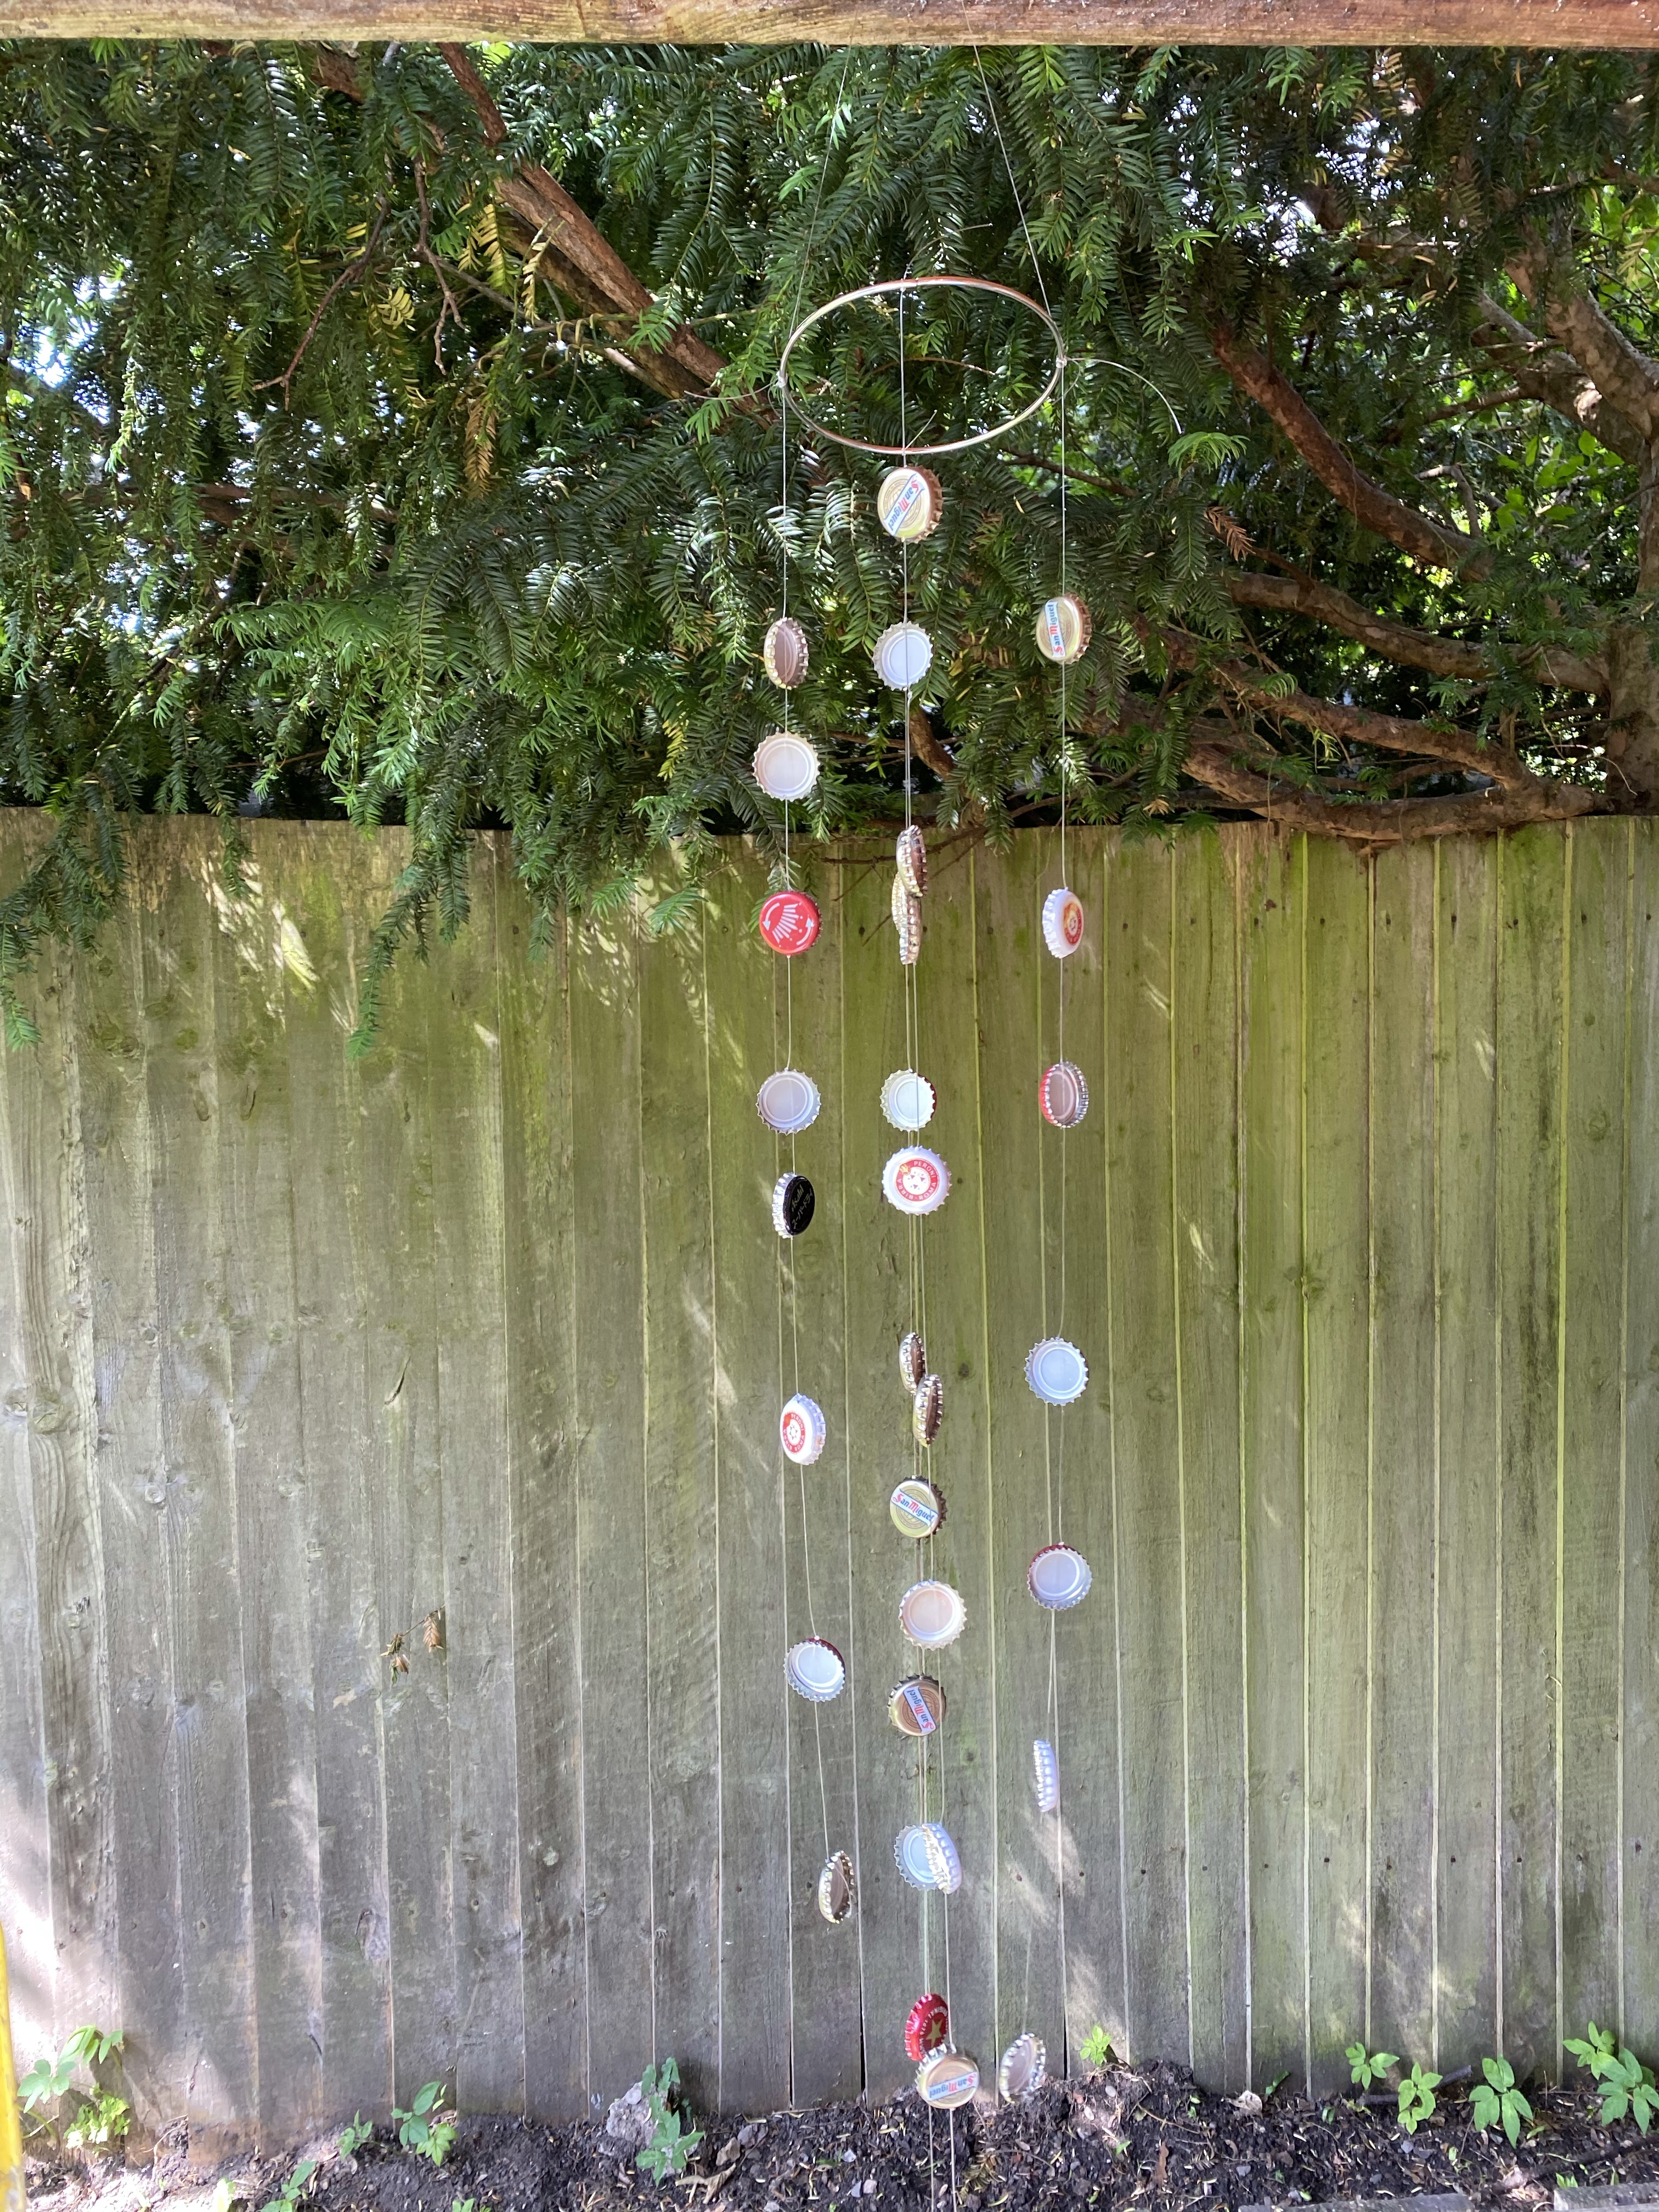
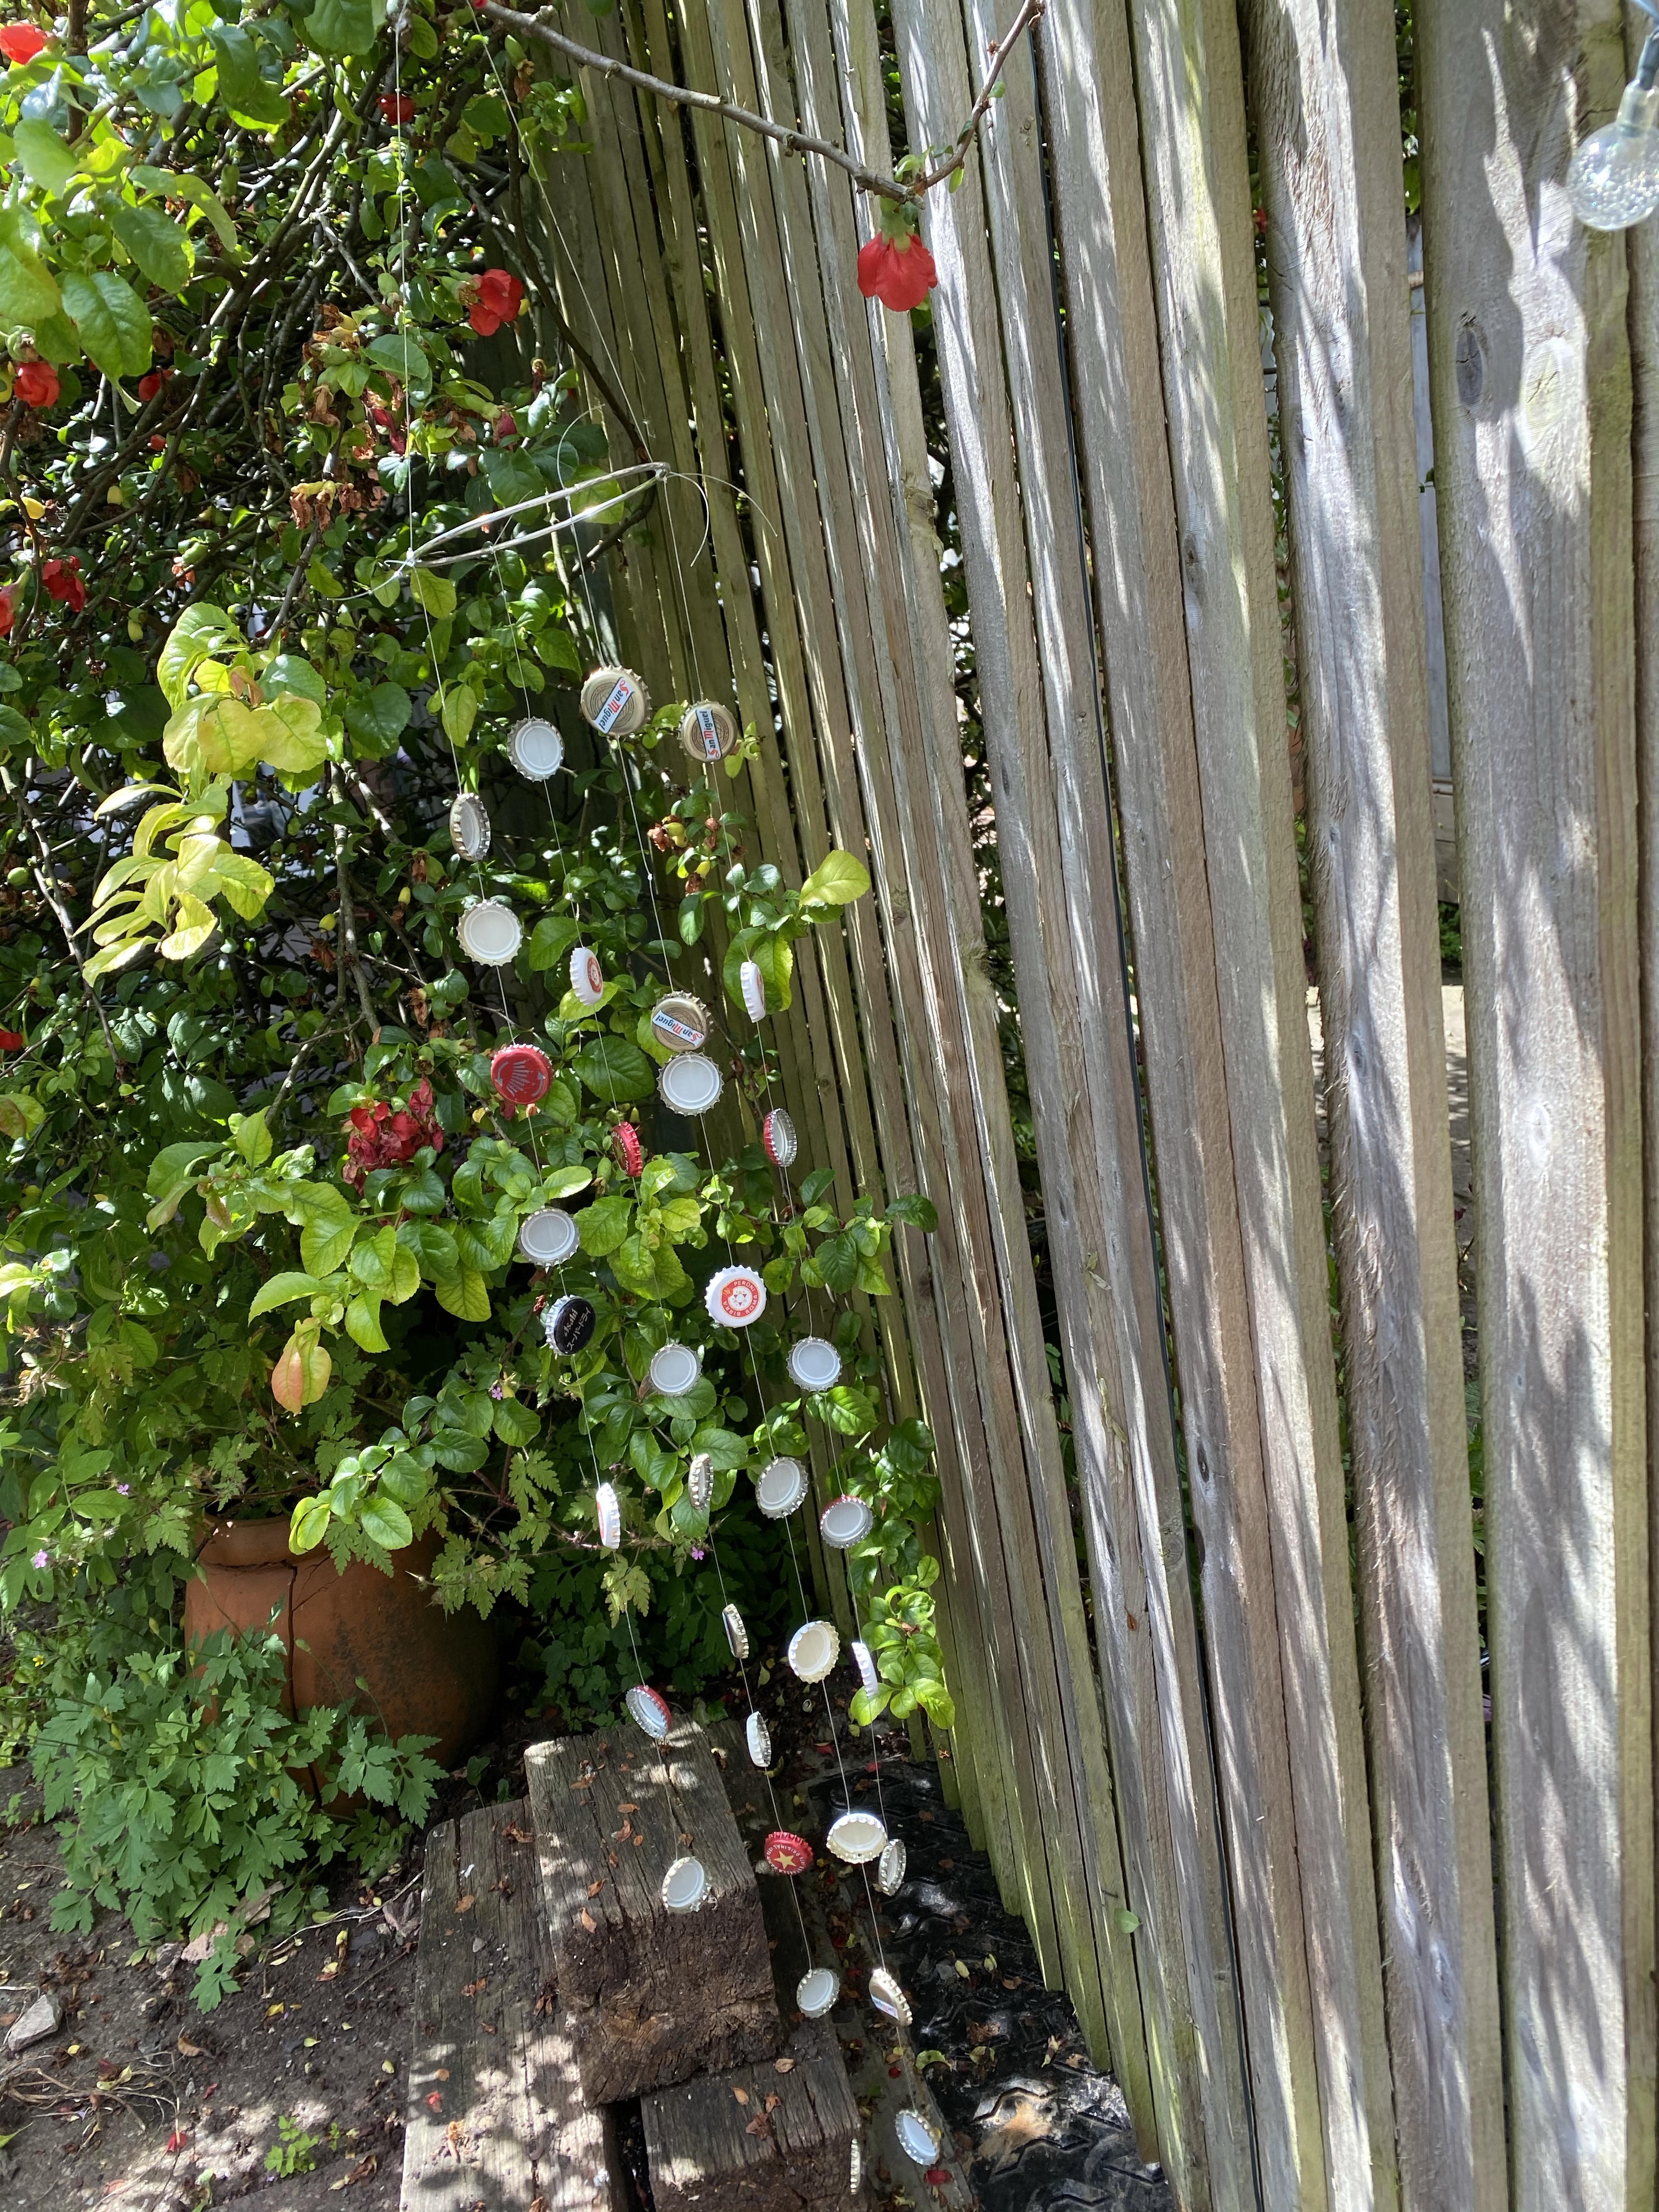
I think the outcome is quite lovely. It is not so loud that it will annoy the neighbours, but is loud enough that we will hear it when sat out in the garden this summer.
This is a project for older children given the need to use equipment like the drill or jewellery hole punch. Or for slightly younger children with a lot of adult supervision. I would probably let my 7 year old have a go at threading the bottle tops with the fishing thread, but would not let my 4 year old try this activity, no matter how much she wanted to (and she would want to if she saw me or her brother doing this). The reason I would not let my 4 year old have a go is firstly that I don’t think she would have the manual dexterity for the fine threading the thread through small holes in the metal bottle top. In addition, when punching holes in metal, there could be some sharp edges on there to watch out for.

Leave a comment