Apparently I am obsessed with shakers! I admit it. They are the easiest instruments to make at home, they can be made from so many different materials and don’t take very long to make. All things that are of supreme importance when trying to get small children interested in making instruments with you.
My eldest, at 5, nearly 6, is much better at concentrating on something for a relatively long period (although I have noticed that even he is struggling to concentrate for as long as normal in these very odd times we are having at the moment), so he can take part in larger or more complicated makes. However my youngest is only 2 – she will be 3 later on this week (and is incredibly excited about that!). She is very different to her brother. Where he likes to concentrate on something and master a new task or activity, she is much more likely to throw herself into something and give it a go straight away. This means that her patience for concentrating on anything is very limited at the moment. So, shakers are great for her in particular. She can throw herself into having a go at making something herself and not have to wait too ling before she can play with it!
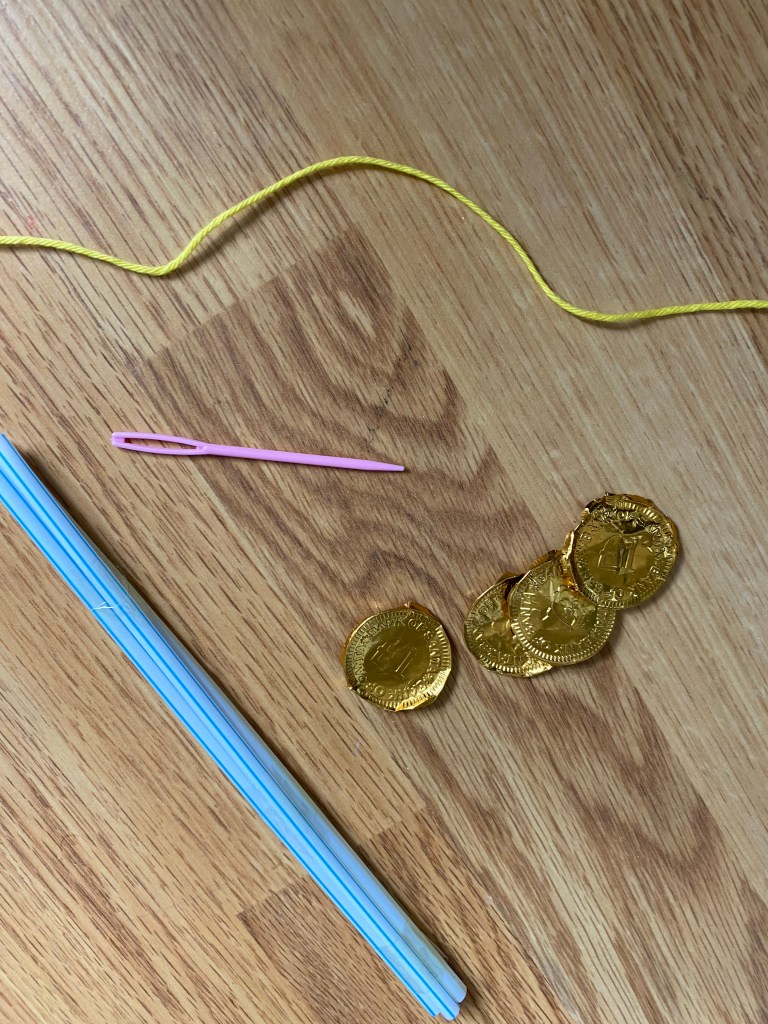
This is what you need to make these shakers:
- Straws. We used about 4 for each shaker.
- Yarn, thread or string.
- Foil from chocolate coins or bottle tops.
- Scissors.
- Sticky tape.
- A tapestry needle. I use a plastic one that is quite large to make it easier for small hands, and because it is not as sharp as a normal metal sewing needle.
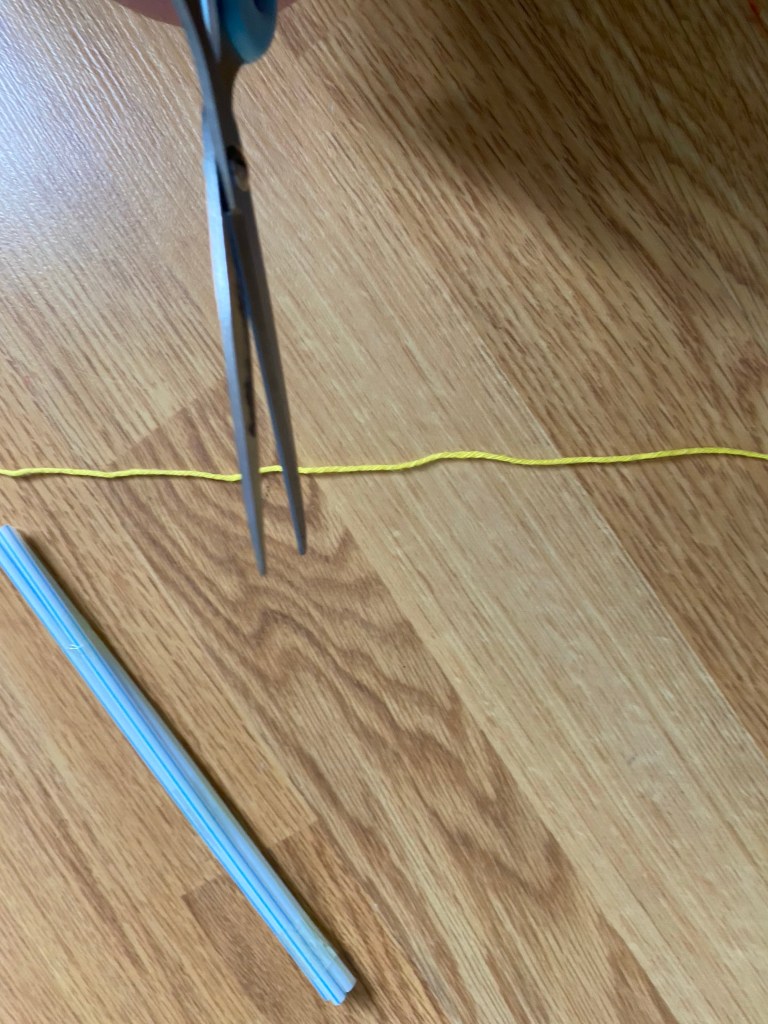
First we gathered straws, about 4 for each shaker, together and stuck them together with sticky tape, wrapping it around the bottom, middle and top. You don’t need a lot of tape, just enough to go around the straws once. Then I cut 4 lengths of yarn for each shaker. If your child is old enough they can do this themselves. I let both of my children have a go at cutting some of the yarn under very strict supervision. (Basically, I pretty much did it with my 2 year old just let her have her hands around the handles as we pressed them down together, I let my 5 year old cut the yarn right in front of me.
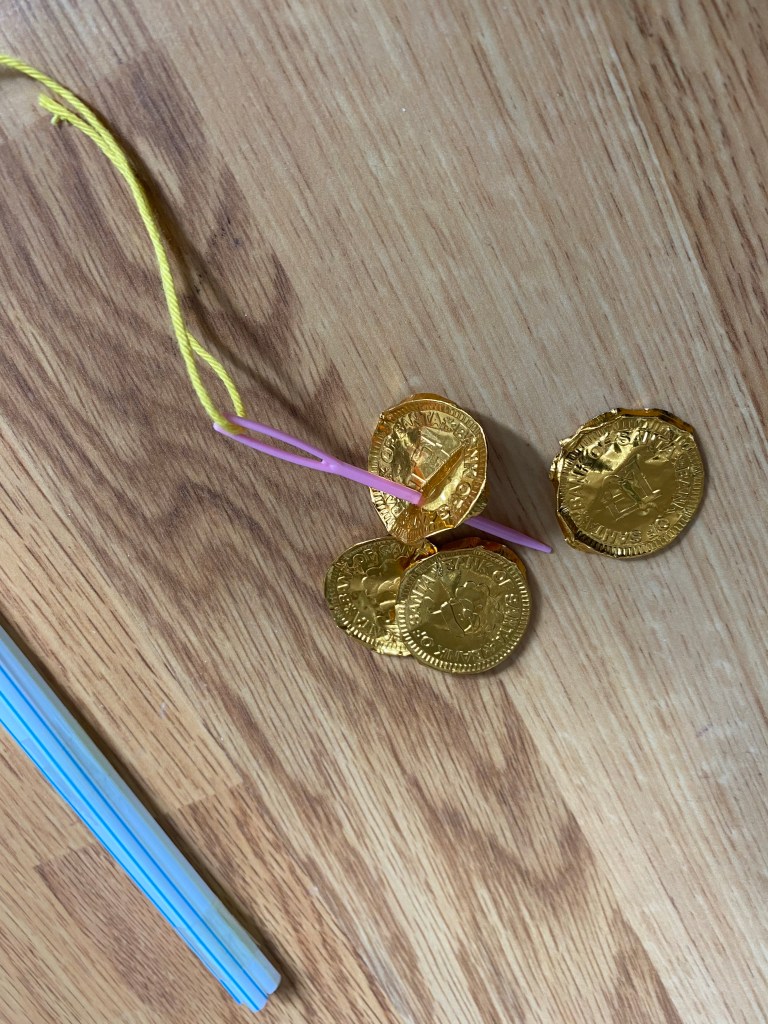
I then showed the children how to thread the tapestry needle with the yarn, which they both managed, then showed them hope to make a small hole in the foil wrapper and gently pull the yarn through that small hole. This was fun. We went through a number of the foil wrappers as they were learning how to be gentle enough not to just rip the foil apart. I’ll be honest, my 2 year old didn’t quite manage it by herself, but she had a good go! Luckily I had been saving these foil wrappers up for a while (we have been using them as rewards for potty training!) so had plenty.
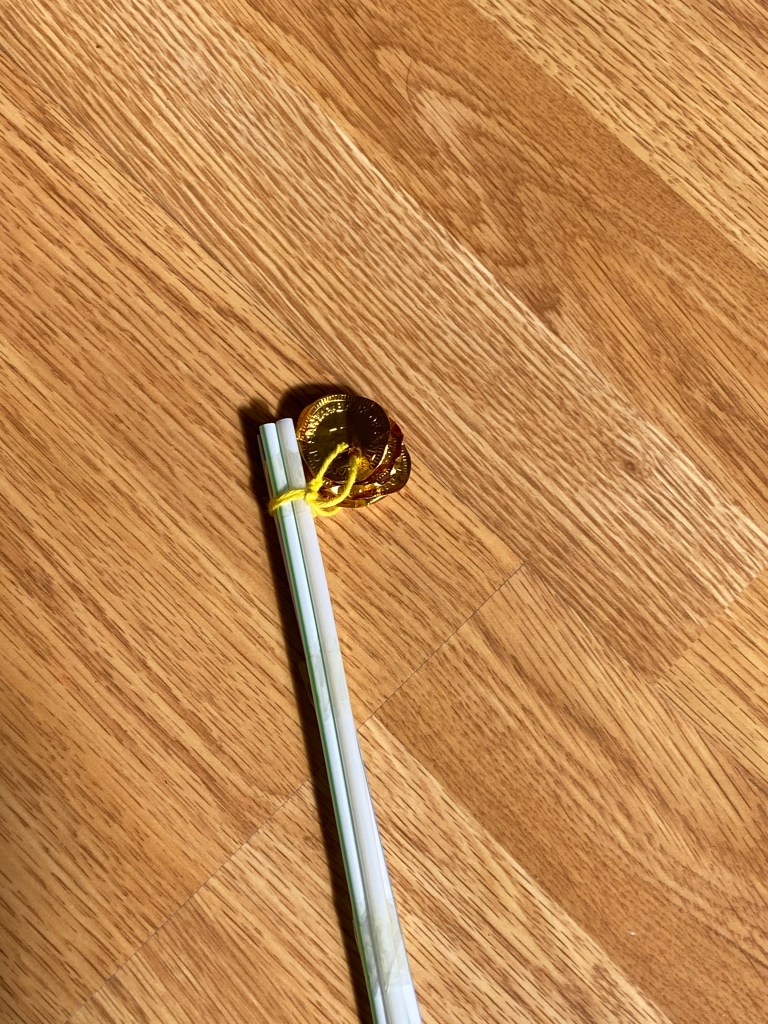
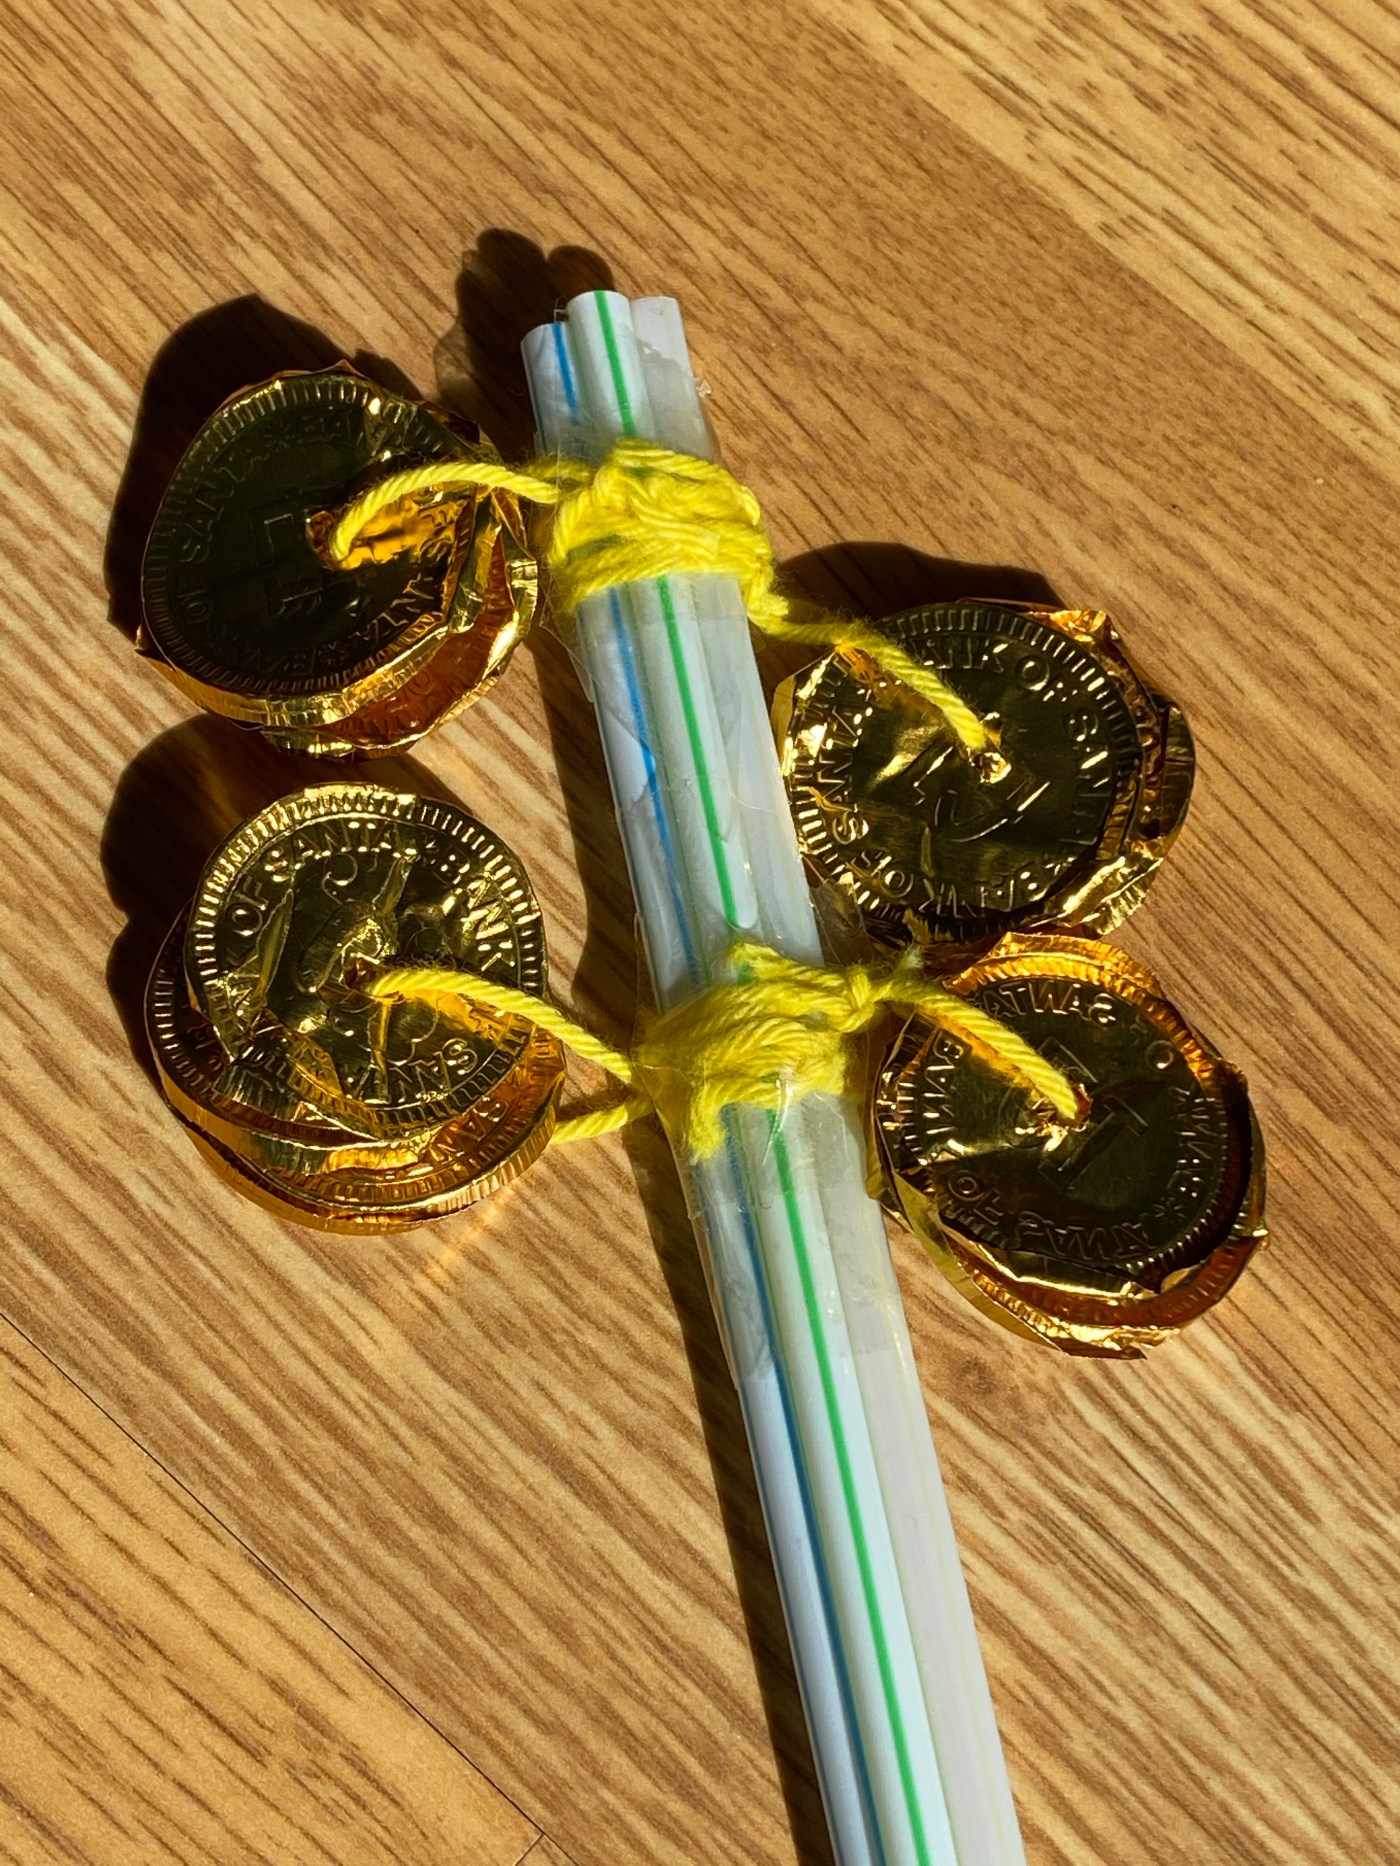
We strung four foil wrappers on each piece of yarn and then tied it around the straws, tying it securely in place and trimming the tail of the yarn.

Once I had tied four of the yarn pieces onto the foil I decided to tape them in place. You can use as many or as few of these as you like with these shakers. I wanted the foils to be fairly close together so that they hit each other when the straw was shaken to make it a slightly louder instrument.
And that is all there is to it with these. A very simple, easy and quick to make instrument. And here you have a little demonstration of how to play it from my son.

Leave a comment